
Alignment in sim racing is how the tyres are angled relative to the road and the car — camber, toe, and caster. Set correctly, it puts the largest contact patch on the tarmac at peak cornering load. The fastest single check is tyre temperature: even readings across the tread mean your camber is close to right.
Alignment is the setup area beginners skip and intermediate racers obsess over, and both are slightly wrong. You do not need exotic numbers, but you do need to understand what each angle trades, because alignment quietly decides whether the car turns in, whether it brakes straight, and whether the tyre survives a stint. I tune mine off telemetry, not feel, and that is the part most guides leave out.
Camber: The Angle That Decides Cornering Grip
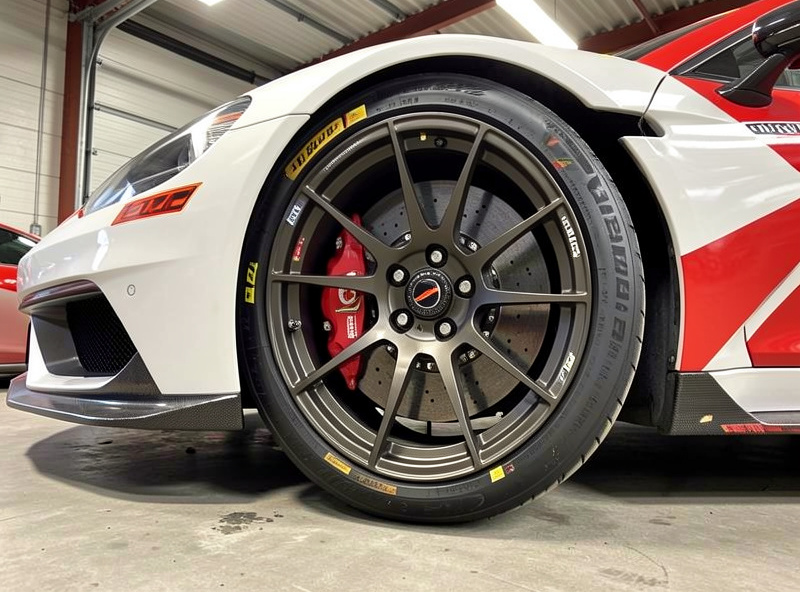
Camber is the inward or outward lean of the tyre viewed from the front. Negative camber — the top of the tyre leaning in toward the car — is what you run for cornering, because as the car rolls in a corner and the tyre flexes, that lean lets the contact patch sit flat on the road at maximum load. Get it right and the tyre works evenly; get it wrong and you are cornering on an edge.
The trade is that camber which is perfect mid-corner is wrong everywhere else. Too much negative camber means the tyre rides on its inner edge under braking and on the straights, costing braking grip and overheating the inner shoulder. The way I set it is by reading tyre temperatures across the tread: if the inner is much hotter than the outer, I have too much camber; if the outer is hotter, too little. Even temps mean the patch is working flat, and that is the target.
This is the same temperature logic used for pressures, which is why I always sort tyre pressures before fine-tuning camber — get pressure even first, then adjust camber to even out what is left. The two interact, and chasing one without the other goes in circles.
Toe: Sharpness Versus Stability
Toe is whether the wheels point slightly inward (toe-in) or outward (toe-out) when viewed from above. It is a small angle with a big effect on feel. Front toe-out sharpens turn-in — the inside wheel leads the car into the corner — but it costs straight-line stability, adds drag, and wears the tyres faster. A little is a useful tool; a lot makes the car nervous on the straights.
Rear toe is almost always toe-in, because it adds rear stability under power and braking. More rear toe-in calms a loose car at the expense of a touch of rotation and some tyre temperature; less frees the car up but can make it twitchy. I treat front toe as my turn-in adjuster and rear toe as my stability adjuster, and I change them in small increments because the effect builds quickly. Toe is also a tyre-temperature cost — run more than you need and you will see it in the wear.
Caster: Almost-Free Stability and Feel
Caster is the backward tilt of the steering axis, and it is the closest thing to a free lunch in alignment. More caster gives you stronger self-centring in the wheel, better straight-line stability, and a bit of dynamic camber gain as you turn — the outside wheel leans in more as you add lock. On a direct-drive base you feel this directly: caster firms up the on-centre weight and makes the wheel communicate load better.
The downside is mild — very high caster adds steering weight and can make the wheel heavy in long corners — so I generally run plenty of it. For a beginner chasing a vague, numb wheel, adding caster is often the fix that makes the car suddenly feel connected. It is one of the few places where “more” is usually right, within reason.
How the Three Angles Trade Off
Alignment is a balance of competing demands — cornering grip against braking grip, sharpness against stability, feel against tyre wear. This table sums up what each angle gives and what it costs, so you can reach for the right one when the car has a specific problem.
| Angle | What It Improves | What It Costs | Read It On |
|---|---|---|---|
| Negative camber | Mid-corner grip | Braking and straight-line grip; inner tyre temp | Tyre temp spread |
| Front toe-out | Turn-in sharpness | Straight-line stability, drag, tyre wear | Feel + tyre wear |
| Rear toe-in | Stability under power | Rotation; rear tyre temp | Feel + rear temps |
| Caster | Self-centring, feel, dynamic camber | Steering weight (mild) | Wheel feel |
Notice how many of these are read on tyre temperatures. That is not an accident — alignment is ultimately about keeping the contact patch working, and temperature is the most honest readout of whether it is.
How I Actually Set Alignment
My order is always the same. I sort pressures first so temperatures are in the right window, then I adjust camber until the temperature spread across each tyre is even at racing load. Once camber is even, I use front toe to dial turn-in to taste — a touch out if the car is lazy on entry — and rear toe to settle the car if it is loose under power. Caster I set early and generously for feel, then rarely touch.
Throughout, I change one angle at a time and read it on my telemetry overlay over three to five clean laps, exactly as in the main car setup guide. Alignment rewards patience because the effects are subtle and they stack — a small camber change plus a small toe change can transform a car, but only if you made them one at a time and know which did what. If alignment still feels overwhelming, the beginner workflow shows where it fits in the bigger order, and the suspension guide covers the roll behaviour that alignment is reacting to.
Static Versus Dynamic Camber: Why the Garage Number Lies
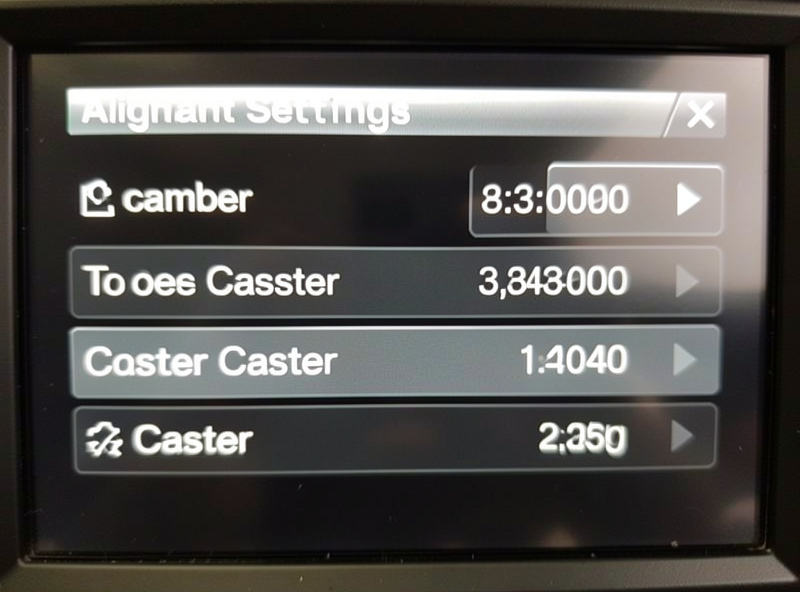
The camber figure you see in the garage is the static value — the angle with the car sitting still. What actually matters is the dynamic camber: where the tyre ends up once the car is loaded, rolling, and squatting in a corner. Suspension geometry adds or removes camber as the car moves, which is why two cars with the same static number can want completely different settings. The garage value is a starting point, not the truth.
This is the reason temperature reading beats copying numbers. When you set camber by tyre temperature, you are measuring the dynamic result directly — the only thing the contact patch cares about. A stiffer setup that rolls less keeps the tyre closer to its static angle and generally wants less camber; a softer, rollier setup loses camber to body roll and wants more to compensate. That coupling between roll and camber is exactly why I sort the suspension roughly before fine-tuning alignment, then go back and re-check temps. Change the springs or bars and your ideal camber moves with them.
It also means alignment is car-specific and tyre-model-specific. A formula car on stiff suspension and a GT car that rolls more will not share camber numbers even on the same track, and the tyre model in each title reacts differently to heat. Trust the temperature spread on your own telemetry over any number you read in a setup thread.
Common Alignment Mistakes
The mistake I see most is piling on negative camber because it sounds fast. Beyond the point where the tyre sits flat at load, more camber only costs you braking grip and overheats the inner edge — you are slower in a straight line and the tyre dies sooner, for no mid-corner gain. If your inner tyre temps are running away from the outers, you have gone past the useful limit.
The second mistake is using toe to fix a problem that belongs to another setting. People add front toe-out to cure understeer when the real issue was camber or the differential, and they end up with a nervous, draggy car that wears its fronts out. Toe is a fine adjuster for turn-in feel, not a sledgehammer for balance. The third mistake is ignoring caster entirely — leaving a car feeling vague when a few clicks of caster would have given it the on-centre weight and connection the driver was missing. Use each angle for the job it is actually good at, and read the result on telemetry rather than guessing.
Frequently Asked Questions
How much camber should I run in sim racing?
Run as much negative camber as keeps the tyre temperature even across the tread at racing load. If the inner edge is much hotter than the outer you have too much; if the outer is hotter you have too little. Read it on telemetry rather than copying a fixed number.
What does toe do in a sim racing setup?
Front toe-out sharpens turn-in but costs straight-line stability and tyre wear, while rear toe-in adds stability under power at the cost of some rotation. Use small amounts: front toe to tune turn-in, rear toe to settle a loose car.
Is more caster always better?
Usually, within reason. More caster gives stronger self-centring, better straight-line stability, and useful dynamic camber gain, with only a mild increase in steering weight. For a vague, numb wheel, adding caster is often the fix that makes the car feel connected.
How do I know if my alignment is wrong?
Check tyre temperatures across the inner, middle, and outer tread after a few laps. Uneven temperatures point to too much or too little camber, while a car that will not turn in or feels twitchy on straights usually points to toe.
Should I set alignment or tyre pressure first?
Set tyre pressures first so the contact patch is roughly even, then adjust camber to even out what remains. The two interact through tyre temperature, so chasing camber before pressures is sorted just sends you in circles.
Does alignment affect tyre wear over a stint?
Yes. Excess camber overheats the inner shoulder, and too much toe scrubs the tyre and raises its temperature, both of which shorten tyre life over a long run. For endurance stints, run the least camber and toe that still gives the grip you need.
Further Reading
- The Complete Sim Racing Car Setup Guide — where alignment fits in the order.
- Tyre Pressure and Compounds — the angles you read alignment through.
- Suspension Tuning — the roll behaviour alignment reacts to.
- Car Setup for Beginners — the simpler starting workflow.