
The simplest way for a beginner to set up a sim racing car is to start from the game’s baseline setup, fix tyre pressures until temperatures are even, then make one balance change at a time using the anti-roll bars and differential. You do not need to touch every slider — most early lap time comes from four or five changes, made in order.
I get asked this constantly: “there are forty settings in this menu, where do I even start?” The honest answer is that you start by ignoring most of them. When I first built setups I changed everything and learned nothing; the version of me that actually got faster changed one thing, drove, and read the result. This guide is that beginner workflow — the one I wish someone had handed me before I wasted a month in the garage screen.
Start From a Baseline, Never a Blank Garage
Every modern sim ships a safe baseline or “fixed” setup for each car. Load it and leave it alone for five laps. A baseline is deliberately conservative — mild understeer, soft springs, sane pressures — which makes it forgiving and, more importantly, makes the car’s problems easy to feel. You cannot fix a handling issue you have not first felt clearly, and a baseline gives you a clean, repeatable starting point to feel from.
This matters because the alternative — building from a default or copying a fast alien’s qualifying setup — drops you into a car that is either random or tuned for a driving style you do not yet have. Start safe, get comfortable, then change things deliberately. The whole philosophy behind the order of operations lives in the main car setup guide; this article is the hands-on beginner version of it.
Fix Tyre Pressures First
Tyre pressure is the first thing you touch because every other setting is read through the tyre. Run a few laps, then check your tyre temperatures across the inner, middle, and outer of the tread. If the middle is much hotter than the edges, your pressure is too high and the tyre is riding on its centre; if the edges are hotter than the middle, it is too low. Adjust a click at a time until the three readings are roughly even at racing speed.
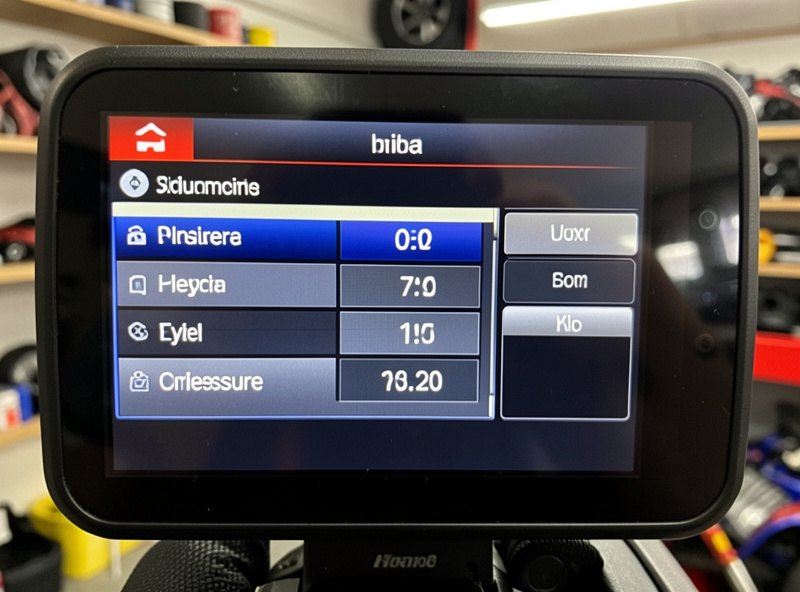
Even temperatures mean the full contact patch is working, and that is where grip comes from. This one change — which most beginners skip entirely — often finds more lap time and consistency than anything else they do all week. The deeper version, including compounds and how pressure changes over a stint, is in the tyre pressure and compounds guide.
Make the Car Balance With Two Tools
Once pressures are sorted, the car will probably still understeer (push wide) or oversteer (rotate too much). As a beginner you fix this with just two tools: the anti-roll bars and the differential. Ignore springs, dampers, and aero for now — they are refinements, and touching them early just adds variables you cannot yet read.
The logic is simple. To cure understeer, soften the front anti-roll bar or stiffen the rear; to cure oversteer, do the opposite. If the car steps out specifically when you get on the throttle out of a corner, that is a differential problem more than a bar problem — leave the bars and adjust the power lock instead. The full reasoning is in the suspension tuning guide and the differential setup guide, but for now, two tools are enough.
One Change, Three Laps, Then Decide
This is the single habit that turns a beginner into someone who actually improves: change one thing, run three to five clean laps, and only then judge it. If you change three settings at once and the car feels better, you have no idea which change did it — and you cannot build on knowledge you do not have. Slow down, isolate, and the menu stops being mysterious.
Keep your setups named so you can roll back. I name mine in steps — baseline, then baseline-pressures, then baseline-pressures-bars — so I can always return to the last version that worked. The garage folder is a notebook, not a junk drawer, and a beginner who can undo a bad change learns twice as fast as one who cannot.
Where Beginners Waste Their Money (and Where They Shouldn’t)
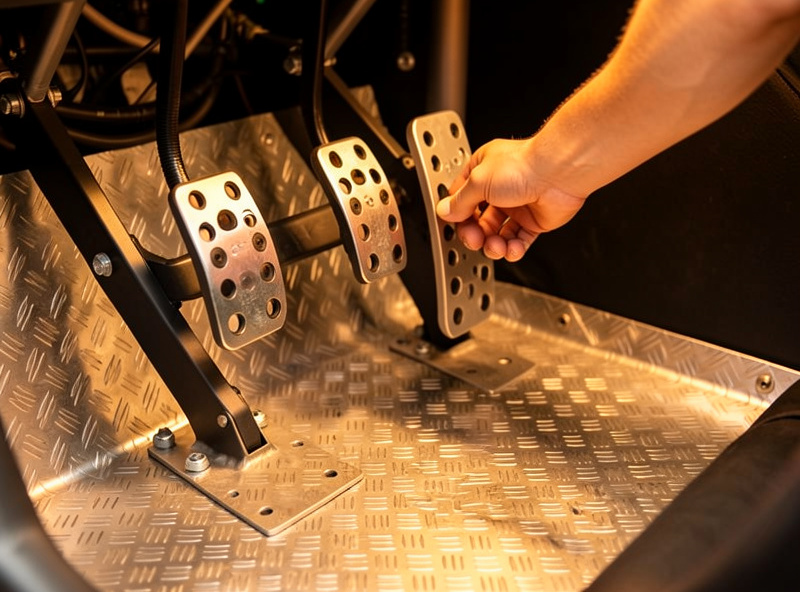
Setup knowledge is free, but it only reads true on hardware that does not lie to you. The upgrade order that actually matters is rig rigidity first, then pedals, then the wheelbase, then the rim — the opposite of what most beginners buy. A flexing rig or a non-load-cell brake makes consistent inputs impossible, and no setup change can fix that.
The pedals are where most beginners feel the biggest jump, because braking is the hardest input to be consistent with and a load-cell brake measures pressure instead of position. If you are upgrading one thing, a load-cell pedal set is the one I point people to first. As an Amazon Associate I earn from qualifying purchases.
The Beginner Quick-Fix Table
When the car misbehaves and you just want the shortest path to better, this is the cheat sheet I give new racers. It covers the handful of problems you will actually meet in your first months.
| What the Car Does | What to Change First | Which Way |
|---|---|---|
| Pushes wide everywhere | Anti-roll bars | Soften front or stiffen rear |
| Loose / spins easily | Anti-roll bars | Soften rear or stiffen front |
| Steps out on throttle | Power differential lock | Add lock |
| Tyres overheating fast | Tyre pressure | Lower a click at a time |
| Vague, numb steering | Caster | Add caster |
Do not chase several rows at once. Pick the one that matches your biggest complaint, make the change, and drive. The rest can wait until that problem is solved.
Build the Habit, Then Build Depth
Once this loop feels natural — baseline, pressures, balance with two tools, one change at a time — you are ready for the deeper material: real damper work, three-stage differential tuning, alignment beyond camber, and aero. None of it is harder than what you have already done; it is just more of the same discipline applied to more sliders. Add depth one topic at a time and the forty-setting menu stops being intimidating.
The most important thing a beginner can internalise is that setup is a method, not a magic number. Master the method on a baseline car and you can walk into any title, on any car, and make it drivable. That portability is worth more than any single fast setup you could download.
How to Tell Understeer From Oversteer
Before you can fix balance, you have to name it, and a lot of beginners genuinely cannot tell which one they have. Understeer is when the front of the car will not turn — you add steering lock and the car keeps running wide toward the outside of the corner, nose-first. Oversteer is when the rear lets go — the back of the car swings out and you have to catch it with opposite lock or risk a spin. A simple tell: if you are crashing into the outside of the corner, that is usually understeer; if you are spinning, that is usually oversteer.
There is also a phase to it, and this is where it gets useful. Note when the problem happens — turning in, at the apex, or on the way out under throttle. Entry understeer points you toward front alignment and the coast side of the differential; mid-corner balance is anti-roll bar territory; exit oversteer is almost always the power differential. Naming both the type and the phase tells you which tool to reach for, instead of guessing. Once you can say “the car oversteers on throttle out of slow corners,” the fix nearly chooses itself.
Spend a session just describing what the car does out loud, without changing anything. It feels slow, but learning to read the car is the skill the whole hobby rests on, and it pays back every setup you ever build after.
Your First Setup Session, Step by Step
Here is exactly how I would run a beginner’s first real setup session, start to finish. First, pick one car and one track and commit to them — changing both while you are learning hides what your setup changes are doing. Load the baseline and drive ten laps until you are lapping consistently and you can describe the car’s main flaw in one sentence.
Second, check tyre temperatures and adjust pressures until they are even, then drive five more laps to confirm. Third, identify your biggest remaining balance problem and make exactly one anti-roll bar or differential change to address it. Drive five clean laps and decide: better, worse, or no change. If better, save the setup with a new name and look for the next problem; if worse, roll back and try the opposite direction.
Repeat that loop for the length of your session and stop while you are ahead — tired driving teaches you nothing and pollutes your read on the car. Three or four good, isolated changes in a session is real progress. You will be tempted to keep fiddling; resist it. The discipline of stopping with a known-good setup is part of the method, and it is the part that compounds over weeks.
Frequently Asked Questions
What setup change should a beginner make first?
Fix tyre pressures so the inner, middle, and outer tread temperatures are roughly even at racing speed. Every other setting is read through the tyre, so correct pressures come before any balance change and often find the most lap time on their own.
Do beginners need to adjust every setup setting?
No. Start from the baseline setup and use just two tools — the anti-roll bars and the differential — to balance the car. Leave springs, dampers, and aero alone until the car is predictable and you understand what each change does.
How do I fix understeer as a beginner?
Soften the front anti-roll bar or stiffen the rear bar to shift grip toward the front. Make one change, run three to five clean laps, and judge the result before touching anything else so you know exactly what the change did.
Should I download fast players’ setups when starting out?
Use the game’s baseline instead. Alien setups are tuned for an experienced driving style you do not yet have and can feel worse for you. Learn the method on a forgiving baseline, then refine your own car around how you drive.
Why does my setup feel inconsistent even after tuning?
Often it is the hardware, not the setup. A flexing rig or a non-load-cell brake pedal makes consistent inputs impossible, so the car feels different lap to lap. Stiffen the rig and upgrade the brake before blaming the garage settings.
Related Guides
- The Complete Sim Racing Car Setup Guide — the full system this fits into.
- Tyre Pressure and Compounds — the first thing you fix.
- Suspension Tuning — anti-roll bars and beyond.
- Differential Setup — the throttle-and-exit tool.
- Understanding Alignment — camber, toe, and caster next.