The DIY brake mods that actually help are the ones your foot can feel: retrofitting a load cell to a travel-based pedal, building a progressive elastomer stack, printing a rigid pedal-face spacer for your leg length, and bracing the deck. Skip the anodized covers and carbon-look plates — they change nothing. Every worthwhile mod targets force sensing, feel, or rigidity, and most cost pocket change.
My whole approach to a sim rig is that it’s a workshop build, not a bundle you bolt together. The pedals are where that pays off hardest, because the useful mods are cheap and the expensive “upgrades” are mostly cosmetic. My favorite win of all was a few grams of printed PETG that fixed an ergonomic problem no software could touch. Let me rank the mods by actual benefit, then walk the ones worth your evening.
Which DIY Brake Mods Are Actually Worth It?
Rank DIY brake mods by whether they change force sensing, feel, or rigidity — those are the only three things your braking consistency depends on. A load-cell retrofit tops the list because it changes how the pedal senses your foot; a spacer or brace changes geometry and stability; cosmetic mods change your photos. Here’s how I’d spend the effort:
| Mod | What it improves | Cost / effort | Worth it? |
|---|---|---|---|
| Load-cell retrofit | Force sensing (huge) | Low cost, medium effort | Yes — biggest single gain |
| DIY elastomer stack | Progressive feel | Very low | Yes — cheapest real upgrade |
| 3D-printed pedal spacer | Geometry / leg fit | Very low | Yes — fixes ergonomics |
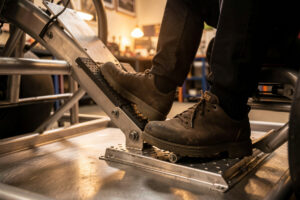
| Deck bracing / heel plate | Rigidity under load | Low | Yes — often free |
| Anodized pedal plates / covers | Looks only | Medium cost | No — skip it |
The pattern is clear: spend where your foot lives. Every “yes” row is cheap and changes what you feel through the pedal. The “no” row is the one the marketing pushes hardest. If you want the reasoning behind why these three levers — sensing, feel, rigidity — are the whole game, it’s laid out in the brake pedal tuning guide.
How Do I Retrofit a Load Cell to an Old Pedal?
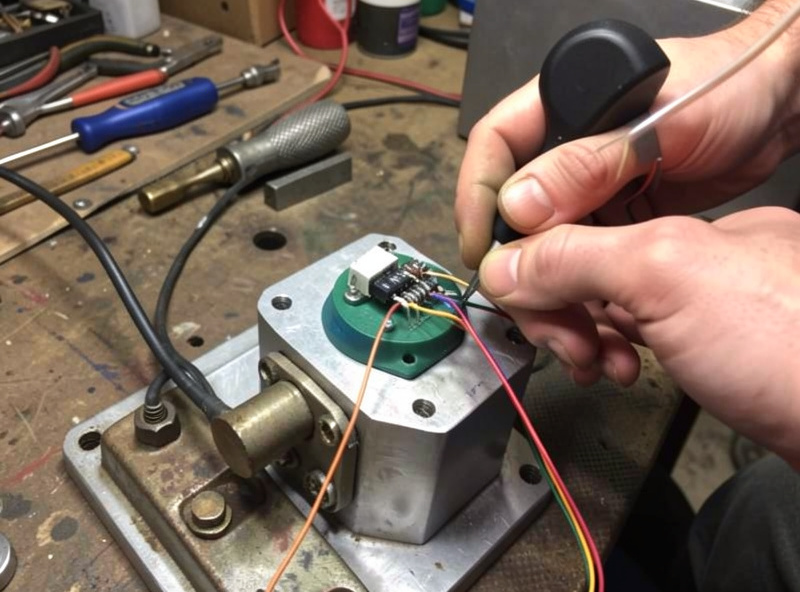
To retrofit a load cell, you replace the pedal’s potentiometer with a load-cell sensor and an amplifier board that outputs a signal your controller reads, mounting the cell so your braking force compresses it. Kits exist that bolt into common pedal sets; the harder DIY route uses a bare load cell, an HX711 or dedicated amplifier, and a microcontroller. Either way, it converts a travel pedal into a force pedal — the single biggest gain in sim braking.
I’ve done the kit version on an old set destined for the spares bin, and it was the clearest before-and-after I’ve felt. On the potentiometer, I could never brake the same twice, because the sensor rewarded a moving ankle angle. With the load cell in, I was suddenly targeting a pressure, and my brake trace tightened up immediately. The soldering was straightforward — a few wires from the cell to the amp, the amp to the board — and calibration took ten minutes.
If you’re buying parts, a bolt-in load-cell brake kit is the low-risk path; the fully DIY sensor-and-amplifier route is cheaper but expects you to be comfortable with wiring and calibration. Once it’s in, set your force ceiling properly — the whole method is in how many kilograms to set.
As an Amazon Associate I earn from qualifying purchases.
Why Did a 3D-Printed Pedal Spacer Fix My Braking?
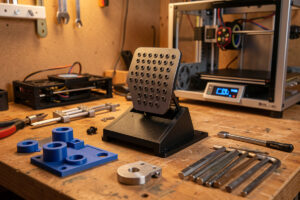
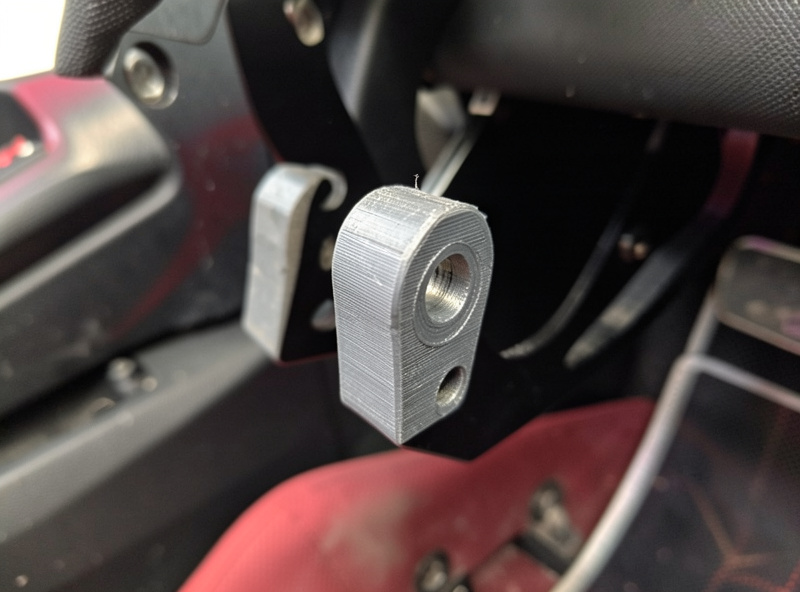
A 3D-printed pedal spacer repositions the brake pedal face to suit your leg length and seating, so you brake with your leg through the seat instead of over-extending or cramping your ankle. Bad pedal geometry quietly wrecks consistency; a few grams of printed PETG can move the face to exactly where your foot wants it, fixing an ergonomic problem no software setting can.
This is the crossover that makes my rig mine: the spacer came off the same printer that makes my button-box plates and wheel-side mounts. I modeled a wedge that brought the brake face closer and angled it slightly, because on the stock geometry I was pointing my toe to reach full pressure — terrible for modulation. Printed in PETG for heat and load tolerance, bolted on, done. My repeatable peak force went up without changing the pedal itself, purely because my leg could finally push straight.
If you print your own rig parts, brackets and spacers like this are some of the highest-value prints you’ll make — I keep a running set of ideas over at PrintForgeHQ. Print in PETG or better, not PLA; a brake pedal sees real force and PLA creeps and softens. Grab a roll of PETG filament if you don’t already have one.
Can I Build a DIY Elastomer Stack for Almost Nothing?
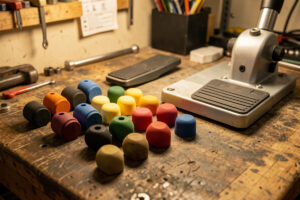
Yes — a DIY elastomer stack from hardware-store polyurethane bumpstops costs a few dollars and performs the same job as a branded tuning kit: a soft-to-firm progressive ramp behind the pedal. Sort generic urethane bumpers by hardness into soft, medium, and firm, then stack them softest-first behind the load cell.
I’ve built stacks from urethane bumpers meant for cabinet doors and machinery feet. Sorted by feel and ordered correctly, the result was indistinguishable from kits costing several times more. The only real gotcha is fitment — you need the pieces to sit square against the pedal’s retainer, which is sometimes where a printed spacer or cup earns its keep again. The full ordering and preload logic is in elastomer stacks explained, and it applies identically to a DIY stack.
The reason this mod punches so far above its cost is that feel is where cheap pedals fail hardest. A bare load cell with no progressive stack is a light switch; a few dollars of rubber turns it into a modulatable brake. Do this before you consider spending on a whole new pedal set.
Which Mods Look Cool but Do Nothing?
Cosmetic mods do nothing your foot can feel: anodized pedal faces, carbon-look plates, colored hardware, and vanity covers all change how the rig photographs, not how it brakes. If a mod doesn’t touch force sensing, feel, or rigidity, it’s decoration — fine if you want it, but don’t expect lap time.
I’m not immune to a good-looking rig, but I’ve learned to be honest about which category a mod falls in. A billet pedal face looks fantastic and does exactly nothing for consistency if the geometry and stack underneath are wrong. Worse, chasing cosmetics distracts from the cheap mods that actually matter. I once spent an evening admiring a new pedal plate while my real problem — a deck that flexed under hard braking — sat unfixed. The plate was a nicer photo; the brace was the lap time.
So the honest rule: do the load cell, the stack, the spacer, and the bracing first. Once your braking is genuinely consistent and you just want the rig to look sharp, then buy the pretty parts. Not before.
How Much Does a DIY Load-Cell Brake Really Cost?
A DIY load-cell brake costs far less than a new pedal set — a bolt-in retrofit kit runs a modest fraction of a mid-tier load-cell set, and the fully DIY sensor-plus-amplifier route is cheaper still, often the price of a couple of coffees for the electronics. The catch is your time and comfort with wiring, not the parts bill.
Break it down. The fully DIY path needs a bare load cell rated to your target force, a small amplifier board, a microcontroller to read it, and a bit of wire — a handful of inexpensive parts. The bolt-in kit route costs more but skips the calibration headaches and fits known pedal sets. Either sits well under the price of buying a whole new load-cell pedal set, which is exactly why the retrofit is my top-ranked mod for anyone still on a potentiometer brake. You’re paying tens, not hundreds, for the single biggest jump in braking consistency there is.
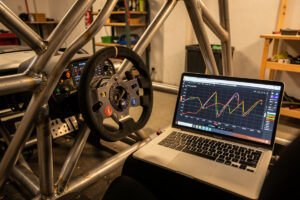
The hidden cost is fitment and calibration time. Budget an evening, not five minutes — you’ll be mounting the cell so force compresses it cleanly, wiring the amplifier, and then setting the force ceiling on a telemetry overlay afterward. That last step matters as much as the wiring; a retrofitted cell with a wrong ceiling feels no better than the potentiometer it replaced.
A DIY Brake Mod That Backfired on Me
Not every mod works out. The one that backfired on me was over-stiffening the pedal: I got excited about a “solid, race-car-firm” brake, packed the stack with hard elastomers, and cranked the preload. It felt purposeful for a day. Then my braking got worse, my ankle fatigued mid-stint, and my lap-to-lap consistency fell apart.
The lesson was that firm is not the same as good. A pedal with almost no travel gives your foot nowhere to modulate — you’re either off the brake or you’ve locked it, with no useful zone between. I’d removed the progressive ramp entirely and mistaken harshness for precision. Backing off to a softer lead element and less preload brought back the travel my foot needed to meter pressure, and my consistency returned.
I share this because the internet pushes “stiffer is better” hard, and it’s only half true. You want a firm wall at full pressure and a progressive ramp getting there, not a brick from the first millimetre. If you’re tempted to max out stiffness, do it in small steps and watch your brake trace — the data caught my mistake faster than my ego would have.
What I’d Do Starting Today
Pick the mod that matches your weakest link. Still on a potentiometer brake? Retrofit a load cell — nothing else comes close. Load cell already, but the pedal feels like a wall? Build an elastomer stack. Bracing your foot against a pedal that’s too far or too close? Print a spacer. Pedals walking under load? Brace the deck. Every one of these is cheap, and every one changes what you feel.
Keep building: once your pedal hardware is sorted, dial the force ceiling, tune the elastomer stack, and refine your brake curve per title. The full sequence lives in the brake pedal tuning hub.