A brake curve maps how the force on your pedal becomes brake input in the sim. Linear is 1:1 and the right default; a progressive curve softens the first part of travel so you can trail-brake finely; an aggressive curve front-loads the bite. For consistent threshold braking, get your force ceiling and bracing right first, then bend the curve only to solve a specific, named problem.
The single biggest mistake I see — and one I made for a full season — is flattening the brake curve to paper over a hardware fault. My braking felt grabby, so I softened the curve, and it felt better for a week before the inconsistency came right back. The curve wasn’t the problem; my force ceiling was set too low and I was clipping. Once I understood what a curve actually does, I stopped using it as a band-aid and started using it as the precision tool it is.
What Does a Brake Curve Actually Change?
A brake curve changes the relationship between how hard you push and how much brake the car gets — not the maximum, but the shape in between. A linear curve gives proportional response across the whole range. A curve that’s soft at the bottom means early pedal force produces less brake, giving you finer control for light, trailing inputs; a curve that’s aggressive early gives sharp initial bite.
Crucially, the curve does not change your peak force setting or your hardware. It’s a remap of what’s already there. That’s why it can’t fix a mechanical problem — if your pedals flex or your ceiling is wrong, remapping the response just moves the vagueness around. On my telemetry overlay, a bad curve shows up as a brake trace that’s hard to hold steady in the zone I care about, no matter how careful my foot is.
Set against the rest of the chain, the curve is the last knob, not the first. Brace the deck, set the force ceiling, tune the feel, and only then shape the curve. That order is the whole argument of the brake pedal tuning guide, and it’s the difference between tuning and flailing.
Should I Start With a Linear Curve?
Yes — start linear and leave it there until you have a specific complaint you can articulate. A linear curve is the honest baseline: what your foot does is what the car does. Most drivers who think they need a curve actually need a better force ceiling or a stiffer stack. Only once the hardware is honest does a curve tweak add anything.
Here’s how the common curve shapes compare and when each earns its place:
| Curve shape | What it does | Good for | Risk |
|---|---|---|---|
| Linear | 1:1 force to brake | Everyone, as the default | None — this is the baseline |
| Soft bottom (progressive) | Less brake for early force | Fine trail-braking, twitchy initial bite | Can feel dead if overdone |
| Aggressive bottom | Sharp early bite | Drivers who under-apply the brake | Easy to lock the fronts |
| Soft top (S-curve) | Eases the last of the range | Holding threshold without over-shooting | Masks a low force ceiling |
Notice that “soft top” carries a warning: it’s the shape people reach for when they’re really clipping. If you find yourself wanting to soften the top of the curve, check your force setting first — you may just be running out of range.
When Is a Curve Hiding a Hardware Problem?
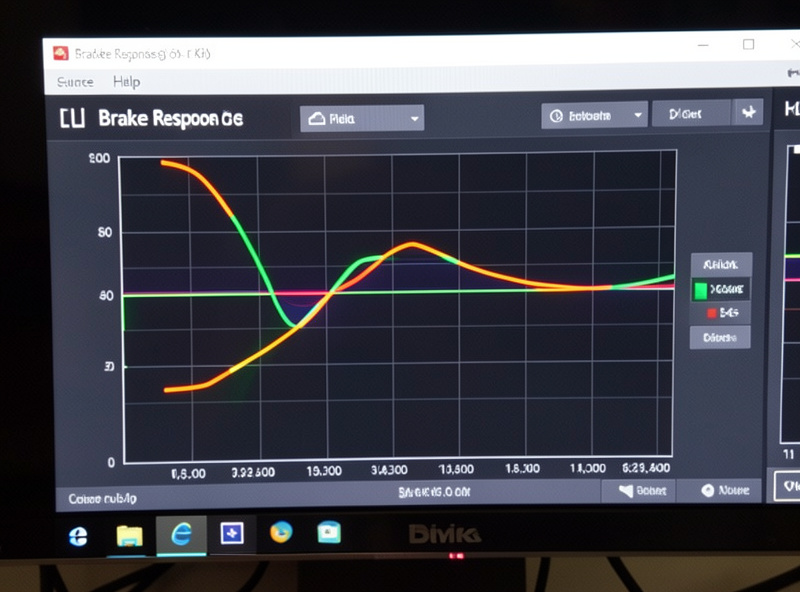
A curve is hiding a hardware problem whenever you’re using it to fix a symptom that has a mechanical cause: grabby initial bite (often a soft stack or wrong ceiling), inconsistent threshold (usually flex or bracing), or running out of range (a low ceiling). If softening the curve “fixes” the feel but the inconsistency returns, the real fault is upstream.
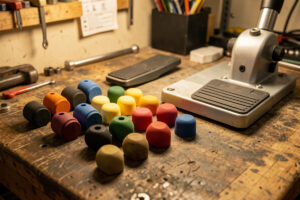
The tell is durability. A genuine curve improvement stays good; a band-aid feels better for a session and then the underlying inconsistency reasserts itself because your foot re-adapts to the moving target. When my braking felt grabby, the honest fix was a firmer elastomer stack that gave my foot a progressive ramp — not a curve that just numbed the input. After the stack change, I actually softened the bottom 15% of my curve, and that tweak held because the hardware underneath it was finally honest.
So before every curve change, ask: is this a remap I want, or am I compensating for something mechanical? If there’s any doubt, go fix the mechanical thing and re-test linear. Nine times out of ten the curve you thought you needed disappears.
How Do I Shape a Curve for Trail Braking?
To help trail braking, soften the bottom 10–20% of the curve so light pedal force produces less brake — that gives your foot more resolution in the delicate zone where you’re bleeding off brake pressure into the corner. Keep the top of the curve linear so full threshold braking still arrives cleanly. Small changes; test each one.
Trail braking lives in the last fraction of pedal effort, and that’s exactly where a linear curve can feel too sensitive on a firm pedal. On my rig, once the stack and ceiling were set, softening just the initial response let me modulate the release far more precisely — the car rotated on the way in instead of snapping. I could feel the difference in how smoothly the front end loaded up. On the overlay, the release portion of the brake trace got noticeably cleaner, less stair-stepped.
The discipline is to change one region at a time and drive several laps before judging. If you flatten too much, the pedal goes dead and you lose the reference point at the edge of lockup — the exact “shelf” you’re trying to preserve. Nudge, test, repeat. This is slow, deliberate work, not a slider you slam to taste.
Why Do I Need Different Curves Per Sim?
You need different curves per sim because titles interpret and scale brake pressure differently — a curve that feels perfect in one can feel grabby or numb in another. iRacing, ACC, AMS2, and rFactor 2 each model the brake and the car’s ABS and pressure differently, so a single global curve is a compromise across all of them.
I keep separate profiles per title, and it matters. A curve I love in rFactor 2 feels sharp in iRacing because the pressure scaling isn’t the same. Rather than fight it, I dial each title in once and save it. Some pedal software stores hardware profiles you can switch; otherwise the in-sim brake settings hold the per-title curve. Either way, treat each sim as its own tuning job.
This is also why I re-verify after a major sim update — physics or brake-model changes can shift how your curve behaves overnight. Five minutes with a brake trace after a big patch beats a confused evening wondering why your braking suddenly feels off.
How Do I Use Telemetry to Tune the Curve?
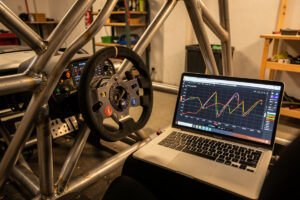
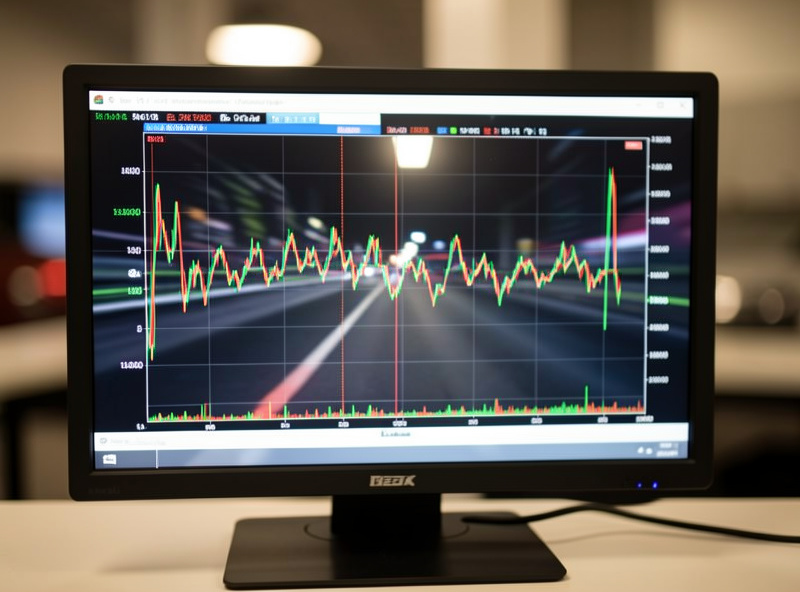
Pull up a brake-pressure trace on a telemetry overlay and do repeated laps into the same corner. A good curve produces a trace you can hold steady at threshold and release smoothly, with your lap-to-lap peaks stacking on top of each other. If the trace is jagged or scatters between laps, the curve (or the hardware under it) needs work.
Feel adapts and lies; the trace doesn’t. I look for two things: how cleanly I can sit at the edge of lockup without the trace bouncing, and how repeatable my braking is across laps. When a curve change makes the release smoother and the peaks more consistent, it’s a real improvement. When it just moves the mess around, the problem is upstream — back to force and bracing. Tools like an overlay app turn “it feels a bit better” into “the trace is measurably cleaner,” which is the only way to know a setting earned its place.
Should my sim brake curve be linear or curved?
Start linear and keep it there until you have a specific complaint. A linear curve is the honest baseline where pedal force maps directly to brake. Most people who think they need a curve actually need a better force ceiling or a stiffer stack. Add a curve only once the hardware is honest and you have a named problem to solve.
How do I make trail braking easier with a brake curve?
Soften the bottom 10 to 20 percent of the curve so light pedal force produces less brake, giving your foot more resolution in the delicate release zone. Keep the top of the curve linear so full threshold braking still arrives cleanly. Change one region at a time and drive several laps before judging.
Why does my brake curve feel different in each sim?
Because titles interpret and scale brake pressure differently. iRacing, ACC, AMS2, and rFactor 2 each model the brake and pressure differently, so a curve that feels perfect in one can feel grabby or numb in another. Keep a separate profile per title and re-check after major sim updates.
Can a brake curve fix a grabby or inconsistent pedal?
Not really. If softening the curve fixes the feel for a session but the inconsistency returns, the real fault is mechanical, usually a wrong force ceiling, a soft elastomer stack, or a flexing rig. Fix the hardware and re-test linear before reaching for a curve.
What I’d Do Starting Today
Reset your brake curve to linear right now. Drive a few sessions. If everything’s consistent, you’re done — no curve needed, and you’ve saved yourself a rabbit hole. If a specific problem shows up, fix the hardware cause first, then make one small, targeted curve change and prove it on the trace before you keep it.
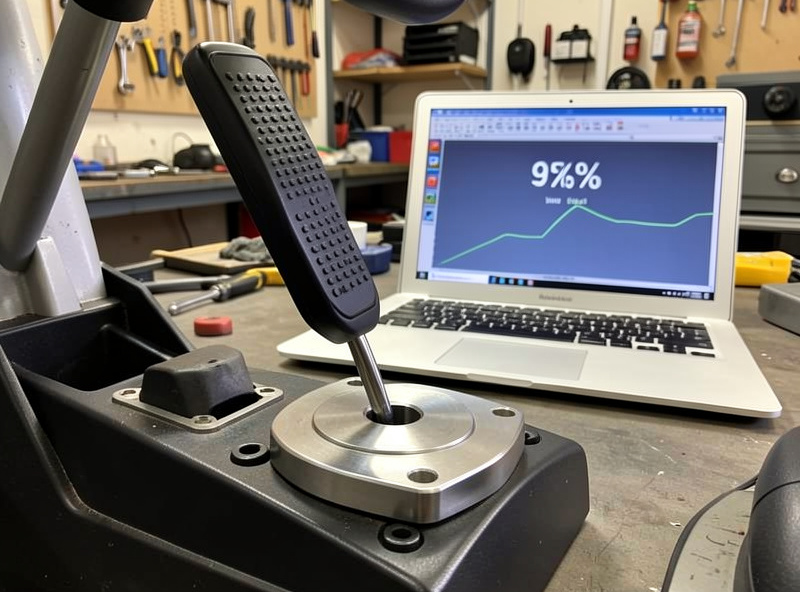
The curve is the finishing touch on a system, not the foundation. Set your force ceiling and tune your elastomer stack first — the full sequence is in the brake pedal tuning hub.
Related:
- Sim racing brake pedal tuning: the complete guide
- Load cell brake force: how many kilograms should you set?
- Elastomer stacks explained: tuning brake pedal feel
- How to brace pedals so hard braking doesn’t move them
- Hydraulic vs load cell brake: the diminishing-returns verdict