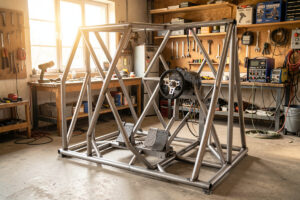
MIG welding a sim rig frame is one of the easiest structural welding jobs there is: 2 mm mild-steel tube, a hobby MIG at around 18–19 volts on 0.8 mm wire, short stitch welds at each joint. The whole skill fits in three rules — clamp it square, tack before you weld, and balance your welds so the frame doesn’t pull as it cools. Get those right and your first frame will be dead straight even if the beads look ugly.
I welded the rig I race on in my own garage, and I was not a good welder when I did it. My beads were lumpy, I had spatter everywhere, and a couple of joints needed a second pass. It didn’t matter, because a sim rig sees a tiny fraction of the load these welds are actually capable of — a stitch weld that looks rough still holds a wheelbase without complaint. That’s the freeing truth about this project: it’s the perfect place to learn to weld, because the stakes are low and the geometry is forgiving. Here’s exactly how I do it.
What Welder and Settings Do You Need?
A hobby MIG welder in the 140–180 amp range is plenty — this is thin structural tube, not a truck chassis. Run 0.8 mm wire on 75/25 argon-CO2 shielding gas at roughly 18–19 volts, matching wire speed to voltage. If your gas bottle runs dry, gasless flux-core wire welds the same tube fine; it’s dirtier and spatters more, but it holds.
Machine settings are less mysterious than the forums make them sound. Voltage sets how hot the arc runs; wire speed feeds metal into it; you want them balanced so the arc makes a steady frying-bacon sizzle rather than a stuttering pop or a spitting hiss. Most hobby machines have a chart on the inside of the wire-door for exactly this material. I start there and fine-tune on a scrap offcut before I touch the real frame — every machine and every gas mix is a little different, and two minutes on scrap saves you a burned-through joint. Both Lincoln Electric’s welding resource center and the general fundamentals published by the American Welding Society cover the settings theory if you want to go deeper, but for 2 mm tube you’re in easy territory.
| Material | Wire | Gas | Voltage (approx) | Notes |
|---|---|---|---|---|
| 2 mm mild steel tube | 0.8 mm solid | 75/25 Ar-CO2 | 18–19 V | The sim-rig default |
| 3 mm mild steel | 0.8–0.9 mm solid | 75/25 Ar-CO2 | 20–21 V | Pedal deck, hotter + slower |
| 2 mm, no gas | 0.8 mm flux-core | None | 18–19 V | Reverse polarity; more spatter |
Don’t overthink the numbers. Get in the ballpark, test on scrap, and adjust by ear and by how the bead sits. A weld that piles up tall and ropey is too cold or too fast; one that burns through or undercuts is too hot or too slow.
How Do You Prep the Joints Before Welding?
Clean bare steel welds; dirty steel doesn’t. Grind the mill scale, rust, and any cutting oil off both faces of every joint back to bright metal about 15 mm each side of the weld, and make sure your cuts actually meet with minimal gap. A tight, clean joint is 80% of a good weld before the arc ever strikes.
Mill scale — that dark blue-grey skin on new tube — is the thing beginners miss. It looks like clean steel but it’s an oxide layer that fouls the weld and traps porosity. A flap disc on the angle grinder takes it off in seconds, and the difference in how the puddle wets out is night and day. Your cuts matter just as much: a square, tight miter or butt joint gives the weld something to bridge; a sloppy gap means you’re filling a canyon and the frame ends up out of square. I plan my cuts in CAD and cut them on a metal chop saw for exactly this reason — repeatable square cuts that meet cleanly. If your saw wanders, clean up the cut face on a bench grinder or with a file until the two tubes sit flush with no daylight between them. The smell of hot grinding and the bright bare steel under the scale is the sign you’ve prepped enough.
Why Tack Everything Before You Weld?
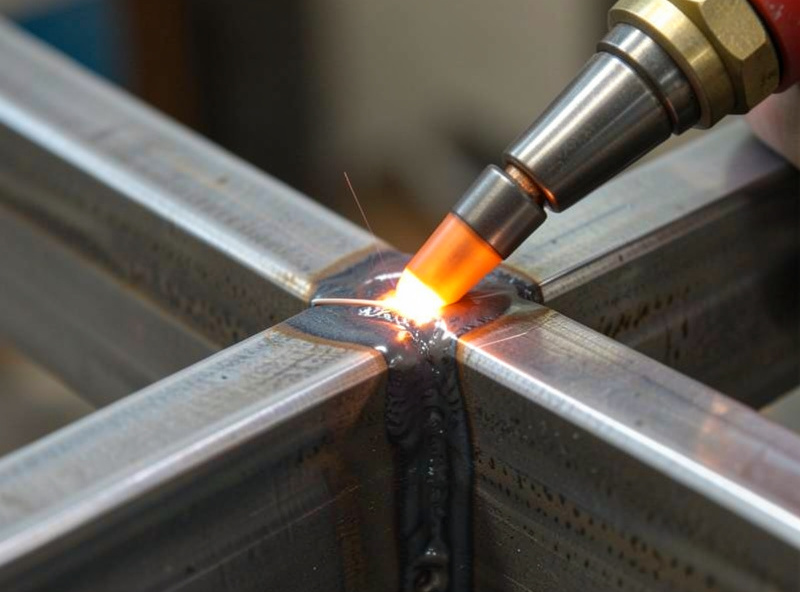
Because steel moves when it cools, and a full bead on one side of a joint pulls the whole frame out of square as it contracts. Tacking — a small spot weld at each joint — locks the geometry so you can check square before committing, and lets you weld in a balanced order so the pulls cancel out. This is the single most important rule in the whole build.
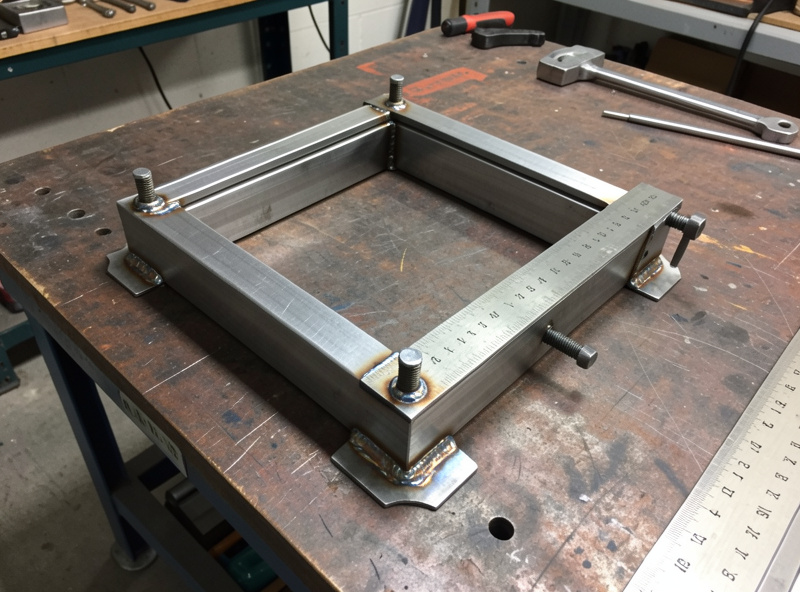
My process: clamp the frame square on the welding table, tack all four corners of the main rectangle, then measure corner-to-corner both diagonals with a tape. Equal diagonals means it’s square. If they’re off, a tack pops easily with a grinder and I re-clamp before I’ve committed anything. Only once the whole frame is tacked and confirmed square do I go back and lay the filling welds — and even then I skip around, welding a bit here and a bit there on opposite sides, never dumping all the heat into one corner. The mistake I made on my first frame was welding one full corner completely before tacking the rest; by the time I got to the fourth corner the frame had walked 4 mm out of square, enough that my monitor stand leaned visibly and I could never quite un-see it. Tack, check, then balance-weld. The reason a welded joint earns this care is the same joint-slip behavior I measured in the steel tube vs aluminum rigidity test — a welded corner can’t slip, so it’s worth getting square.
What Weld Pattern Holds a Sim Rig?
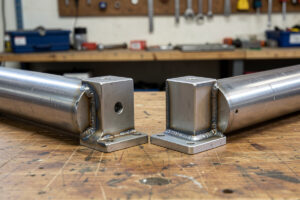
Short stitch welds — 15–20 mm beads on two or more sides of each joint — are more than enough for a sim rig, and they put less heat into the thin tube than one continuous bead. You don’t need to weld all the way around every joint; you need enough weld, placed on the faces that see load, to make the joint effectively one piece.
For a corner where two tubes meet, I stitch the two most-loaded faces fully and add a shorter stitch on a third face for insurance. Fully boxing in every joint with continuous weld all the way around wastes wire, dumps heat, and warps thin tube for no structural gain at sim-rig loads. Think about where the force actually goes: the wheelbase reaction torque and the pedal thrust load specific faces of specific joints, and those are the ones that earn a full stitch. The rest get a tack or a short bead just to close the geometry. This is where welded joints crush bolted ones — a stitch-welded corner can’t slip, where a bolted lap always eventually does, which is the whole rigidity argument I make in the welded steel sim racing rig build guide.
How Do You Stay Safe Welding Indoors?
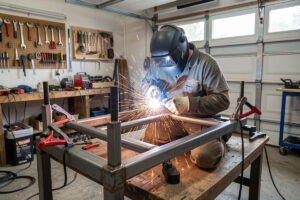
Ventilation, eye protection, and fire awareness — in that order. Even mild steel puts out fumes you don’t want in your lungs, so weld with the garage door open or a fan pulling air across you, never in a sealed room. An auto-darkening helmet, welding gloves, and clearing everything flammable from the spark path are non-negotiable.
The metallic taste at the back of your throat means your ventilation is bad and you should stop and open up the space — I treat that taste as a hard alarm. Sparks travel farther than you think: a grinding spark found a cardboard box three meters from my bench once, and the small scorch mark it left made me permanently paranoid in a useful way. I keep a fire extinguisher within arm’s reach, sweep the floor clear before every session, and never weld near the sim PC or anything with foam in it. Same welder, same discipline I bring to heavier fabrication — the MIG-welding fundamentals I use on the boat and trailer projects are exactly the ones that built this frame, because rigidity under load and a safe arc don’t change with the project. Welding is genuinely safe when you respect the fumes, the arc, and the sparks; it bites people who get casual about all three.
Frequently Asked Questions
Do I need welding experience to weld a sim rig frame?
No. A sim rig is thin 2 mm mild-steel tube, which is about the most forgiving structural welding there is. Your first beads will look rough and still hold fine, because a sim rig sees a tiny fraction of the load these joints can carry. It is one of the best low-stakes projects to learn MIG welding on.
What MIG settings weld 2 mm steel tube?
A hobby MIG at roughly 18 to 19 volts on 0.8 mm solid wire with 75/25 argon-CO2 gas, wire speed matched to voltage. Test on a scrap offcut first, since every machine and gas mix differs slightly. Aim for a steady frying-bacon sizzle rather than a stuttering pop or a spitting hiss.
Why does my frame pull out of square when I weld?
Because steel contracts as it cools, and a full bead on one side of a joint pulls the frame toward that weld. The fix is to tack every joint first, confirm the frame is square by measuring equal diagonals, then lay the filling welds in a balanced order that skips around opposite sides so the pulls cancel out.
Do I have to weld all the way around every joint?
No. Short stitch welds of 15 to 20 mm on the two or three most-loaded faces of each joint are more than enough for a sim rig, and they put less heat into thin tube than a continuous bead. Fully boxing in every joint wastes wire, dumps heat, and warps the tube for no structural gain at sim-rig loads.
Can I weld a sim rig indoors safely?
Yes, with ventilation, eye protection, and fire awareness. Weld with the door open or a fan moving air, wear an auto-darkening helmet and gloves, and clear everything flammable from the spark path. A metallic taste at the back of your throat means poor ventilation, so stop and open up the space.