A welded joint is dramatically stiffer than a bolted one, full stop — a weld fuses two tubes into one continuous piece, while a bolted joint clamps them together with friction that can micro-slip under load. On my own rig, a bolted lap joint showed measurable wheel-center movement under a hard direct-drive load that a welded joint of the same tubes simply didn’t. But “weld everything” is still bad advice, and here’s the nuance most build guides skip.
The right answer isn’t weld-versus-bolt as a philosophy — it’s knowing which joints carry load and which carry adjustment. Weld the structural frame so it can’t slip; bolt the seat rails, pedal plate, and monitor arm so you can move and replace them. Get that division wrong in either direction and you either build a rig you can never adjust, or one that flexes where it shouldn’t. Let me show you exactly why welds win on stiffness, where bolts still belong, and how to bolt a joint so it slips as little as a bolted joint can.
Why Is a Welded Joint Stiffer Than a Bolted One?
Because a weld eliminates the slip plane. When you weld two steel tubes, the joint becomes metallurgically continuous — there’s no interface for one tube to move relative to the other. A bolted joint, no matter how tight, relies on clamping friction between two faces, and friction under a reversing load eventually gives a little. That little bit of give is the compliance you feel as wheel wander.
The physics is worth understanding because it explains where to spend your effort. A bolted joint transmits load through friction generated by the bolt’s preload — tighten the bolt, it stretches slightly, and that tension clamps the faces together. As long as the working load stays below the friction capacity, the joint doesn’t slip. But a direct-drive base delivers a reversing torque — left, right, left, right — and reversing loads are exactly what work a friction joint loose over time and let it micro-slip within its clearances. The bolt holes are always slightly larger than the bolts, so there’s clearance for the joint to shift into. A weld has no clearance and no friction dependency. The engineering of bolted-joint preload and slip is covered well by references like Bolt Science, and the fundamentals of sound structural welds by the American Welding Society; for a sim rig you don’t need the math, just the takeaway: welds don’t slip, bolts can.
Bolt-On vs Welded Joints, Compared
Here’s the honest side-by-side from building rigs both ways. Neither is universally right — they’re tools for different jobs on the same frame.
| Factor | Welded joint | Bolted joint |
|---|---|---|
| Stiffness | Highest, no slip | Good, can micro-slip |
| Adjustable later | No | Yes |
| Serviceable / replaceable | No (grind to remove) | Yes |
| Tools needed | MIG welder | Hex keys, torque wrench |
| Behavior under reversing load | Stable | Can work loose over time |
| Best for | Structural frame, load path | Seat rails, pedal plate, monitor arm |
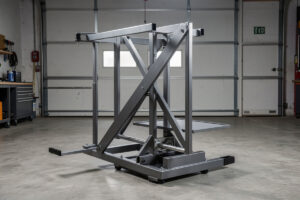
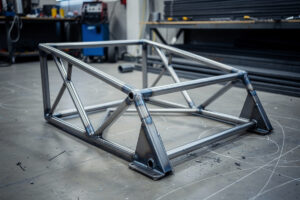
The pattern that falls out of this table is simple: put the welds where the load lives and the bolts where the adjustment lives. The main frame, the wheel-deck uprights, and any joint that resists the wheelbase reaction torque get welded. Anything you’ll want to move for ergonomics or swap when it wears gets bolted. That’s the same philosophy behind the whole welded steel sim racing rig build.
Where Should You Actually Bolt Instead of Weld?
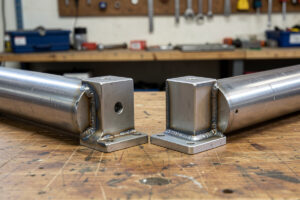
Bolt every interface you’ll adjust or replace: the seat rails, the pedal mounting plate, the wheel-deck-to-base adapter, and any monitor or accessory arm. These parts move for ergonomics or wear out, and welding them means an angle grinder every time you want to change your seating position. A welded frame with bolt-on wear items is the best of both worlds.
On my rig, the seat sits on bolted rails so I can slide it fore and aft, the pedal plate bolts to the pedal deck through captive nuts so I can change the deck angle, and the base bolts to a welded adapter so I can swap wheelbases without touching the frame. Everything structural underneath is welded and permanent. I learned this division the hard way: on my first frame I welded the pedal plate directly to the deck, then wanted to change the pedal angle a month later and had to grind the whole thing off and re-fabricate. Now the plate bolts on, and adjusting the angle is four bolts and two minutes. For the small bolt-on brackets — button-box plates, wheel-side mounts, accessory arms — I often print them rather than fabricate, on the same 3D-printing bench I use for other rig hardware, and bolt them to the welded frame.
How Do You Make a Bolted Joint as Stiff as Possible?
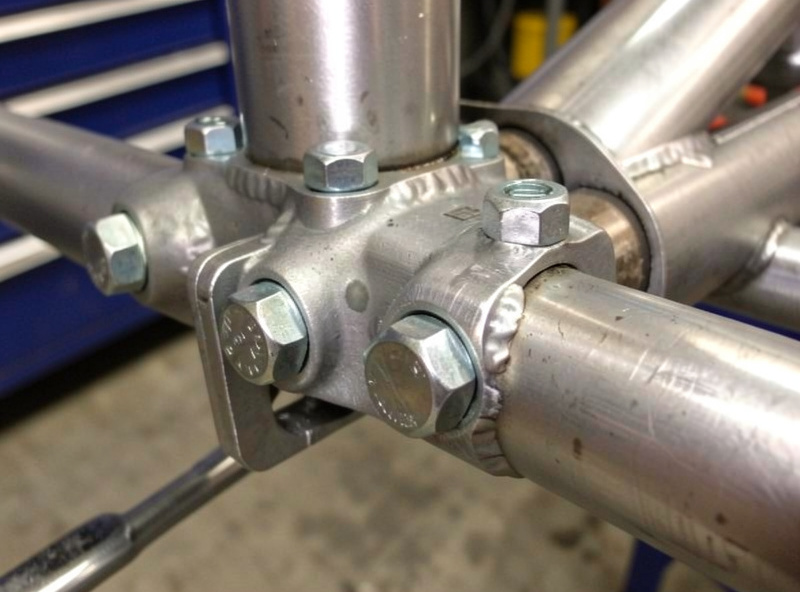
If you must bolt a structural joint — say you can’t weld — you minimize slip with more bolts, larger contact area, and proper preload. Two bolts through a joint resist rotation far better than one; a gusset plate spreads the load across more area; and torquing the bolts to spec generates the friction that keeps the joint from shifting. You’ll never match a weld, but you can get close.
The details matter. Use the largest bolts the tube will take, and use grade 8.8 or better fasteners so they hold preload without stretching. Add a gusset — a triangular plate welded or bolted across the corner — because it turns a single-point joint into a distributed one and dramatically cuts rotation. Torque the bolts properly with a torque wrench rather than gorilla-tightening by feel, because both under- and over-tightening reduce the clamping force that stops slip. And re-check the torque after a few weeks of use, because a new bolted joint under reversing load will settle and lose a little preload. This is exactly how a well-built 80/20 aluminum rig gets as stiff as it does — it’s all bolted, so the builders compensate with brackets, multiple fasteners, and preload, which I covered in the steel tube vs aluminum profile comparison. The tube size you’re bolting through matters too; thin-wall tube deforms around a bolt more than thick, which is one more argument for the sizing I lay out in choosing steel tube size and wall thickness.
Can You Combine Welded and Bolted Joints in One Rig?
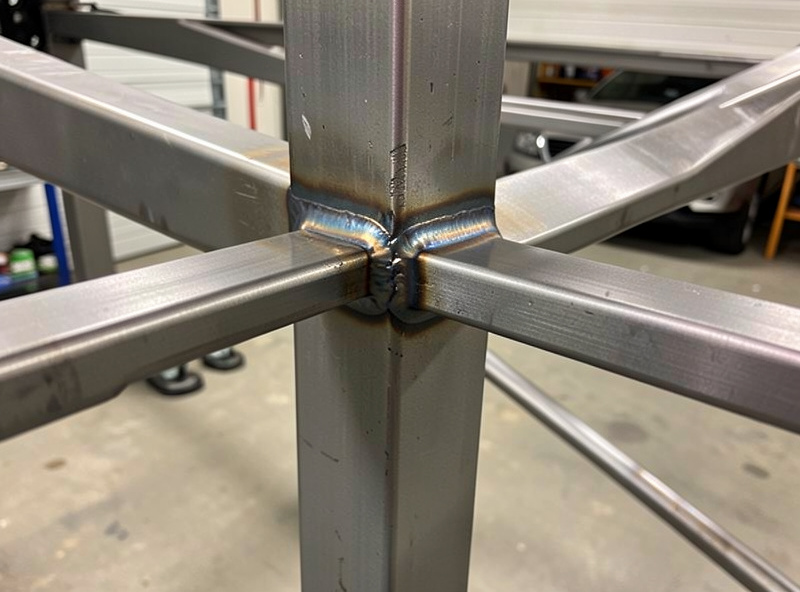
Yes — that’s exactly what a good rig does. The correct design is a fully welded structural frame with bolt-on interfaces at every adjustment and wear point. You get the no-slip stiffness of welds where load flows and the serviceability of bolts where you need to move or replace parts. Almost every well-built custom rig is a hybrid, whether the builder says so or not.
Think of the welded frame as the chassis and the bolted parts as the trim. The chassis never changes; the trim adapts to you and to new gear. When I upgraded from my mid-torque daily base to test a higher-torque one, I didn’t touch a single weld — I unbolted the old base from its welded adapter and bolted the new one on. When I changed pedal sets, same thing. The welded frame is the constant that makes every bolted upgrade painless. That’s the real lesson: don’t argue weld-versus-bolt, design the joint for its job. If you’re at the welding stage of that frame, my MIG welding walkthrough covers laying the structural welds; the bolt-on interfaces come after.
Frequently Asked Questions
Are welded joints stiffer than bolted joints on a sim rig?
Yes, clearly. A weld fuses two tubes into one continuous piece with no slip plane, while a bolted joint relies on clamping friction that can micro-slip under a reversing direct-drive load. On the same tubes, a welded joint showed no measurable wheel-center movement where a bolted lap joint did.
Should I weld or bolt every joint on my rig?
Neither extreme. Weld the structural frame and the load-path joints so they cannot slip, and bolt the interfaces you adjust or replace, such as seat rails, the pedal plate, the base adapter, and monitor arms. A welded frame with bolt-on wear items gives you both stiffness and serviceability.
Why do bolted joints loosen under a direct-drive base?
Because a direct-drive base delivers a reversing torque, and reversing loads work friction joints loose over time and let them micro-slip within the small clearance between bolt and hole. A weld has no clearance and no friction dependency, so it does not loosen. Bolted joints should be re-torqued after a few weeks of use.
How do I make a bolted joint as stiff as possible?
Use more bolts per joint, the largest bolts the tube will take, grade 8.8 or better fasteners, and a gusset plate to spread the load. Torque them to spec with a torque wrench rather than by feel, and re-check the torque after the joint has settled under load. You will not match a weld but you can get close.
Can I build a rig with no welding at all?
Yes, using bolted joints throughout with brackets, gussets, and proper preload, which is how 80/20 aluminum profile rigs work. It will be very good if built carefully, but its compliance lives at the bolted joints, so at high torque a welded steel frame will still feel a step stiffer for less money.