Your pedals move under hard braking because the force you apply — often 40 kg or more — exceeds what the mount and frame can resist without flexing or sliding. Fix it by removing the movement at its source: wedge the deck against something solid, add a foot plate, cross-brace to the seat frame, or weld a proper brace. Most of these fixes cost nothing, and they matter more than any software tuning.
This is the silent killer of new rigs. People buy a great load-cell set, bolt it to a flimsy frame, and wonder why their braking is inconsistent. The pedal is fine; the rig is moving, and every braking zone starts from a slightly different geometry. When I A/B tested a foldable frame against the welded steel deck, my brake trace told the whole story — peak pressure wandered on the flexy frame because I was chasing a target that physically shifted under my foot. Kill the movement and consistency follows.
Why Do Sim Pedals Move Under Hard Braking?
Sim pedals move because braking force has to go somewhere, and if the frame can’t resist it, the whole assembly flexes or slides forward. A load-cell brake is meant to be pushed hard against a fixed point; when that “fixed” point isn’t fixed, your force partly goes into moving the rig instead of registering as brake input. The result is a pedal that feels vague and inconsistent no matter how you tune it.
The physics is simple. Stand 40–50 kg of leg force through a pedal and Newton says that force pushes back on whatever holds the pedal. On a rigid welded frame, it goes nowhere — the deck doesn’t care. On a lightweight foldable or a pedal tray clamped to a desk, it flexes the frame or scoots the tray, and your reference geometry changes mid-stop. Since your foot is targeting a pressure, a moving mount means the same push produces different braking every time.
This is why rig rigidity sits at the top of the whole brake pedal tuning order — ahead of the force setting, the stack, and the curve. Every one of those settings assumes the pedal stays put. If it doesn’t, you’re tuning on quicksand.
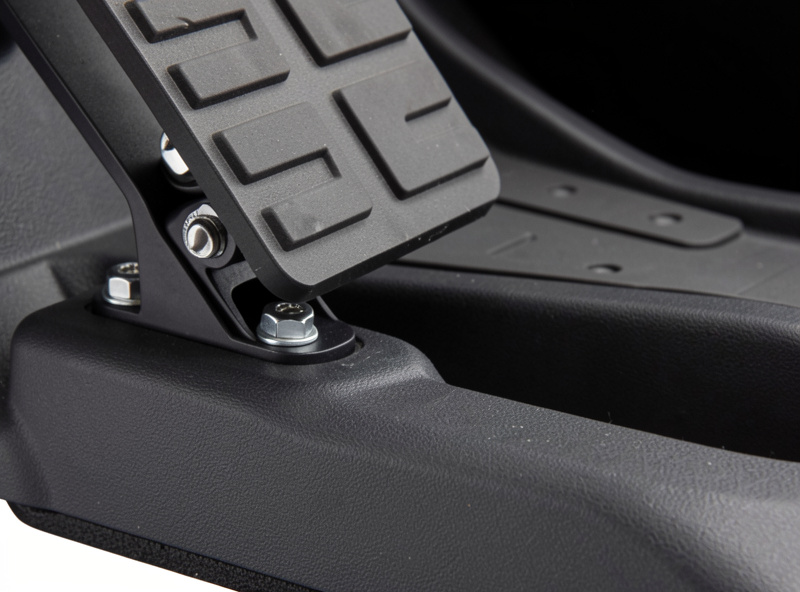
How Do I Know If My Pedals Are Actually Moving?
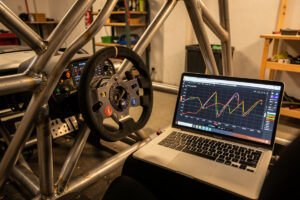
You can confirm pedal movement two ways: feel for it by braking hard and watching the pedal deck or your body position shift, and check your telemetry for wandering peak pressure into the same corner. If your brake trace peaks scatter lap to lap despite careful, consistent inputs, flex is a prime suspect — and a hand on the deck during a hard stop usually confirms it.
The low-tech test is my favorite: brake as hard as you can and watch. Does the deck visibly flex? Does the whole rig creak or lurch forward? Do you feel yourself sliding back into the seat instead of loading the pedal? Any of those means force is going into movement. On the telemetry overlay, the tell is scatter — your peak braking pressures into a corner won’t stack neatly on top of each other, because the geometry you’re bracing against keeps changing.
I caught this on my own foldable test rig exactly this way: consistent inputs, scattered trace. A hand on the deck during a hard stop showed obvious flex. No force setting fixes that — the fix is mechanical, and it’s usually cheap.
What Are My Options for Bracing Pedals?
Bracing options run from free to fabricated: wedge the deck against a wall or solid object, bolt it to a foot plate that ties into the seat base, add reinforcing brackets, or weld a triangulated brace. The right choice depends on your rig and tools, but even the no-cost options remove most of the movement. Here’s how they compare:
| Method | Tools needed | Rigidity gain | Best for |
|---|---|---|---|
| Wedge against a wall | None | Good | Quick free fix, renters |
| Foot plate / floor bar | Basic hand tools | Very good | Most bolt-together rigs |
| Bolted L-brackets / gussets | Drill, spanner | Very good | Aluminium extrusion rigs |
| Welded triangulated brace | MIG welder | Best — effectively eliminates flex | Steel-frame builders |
Notice you don’t need a welder to get most of the way. A wall wedge and a foot plate together fix the majority of rigs. Welding is the gold standard, but it’s the last few percent, not the whole battle.
What’s the No-Tools Way to Brace Pedals?
The no-tools fix is to wedge the pedal deck against something immovable — a wall, a heavy piece of furniture, or a floor stop — so it physically cannot slide forward under braking. Position the rig so the deck butts against the solid object, and the braking force is transmitted into the building instead of flexing your frame. It’s free and surprisingly effective.
I’ve used this in temporary setups and it works better than it has any right to. The key is that the object genuinely doesn’t move — a wall stud, not a bookshelf that’ll walk across the floor. Even a length of timber cut to fit between the deck and a wall turns a sliding pedal tray into a solid one. It won’t cure frame flex in the deck itself, but it stops the gross forward movement that ruins consistency, and it costs nothing.
If you rent, or you can’t drill and weld, start here. Combine a wall wedge with the smallest amount of bolted reinforcement and you’ll eliminate most of the movement that’s wrecking your braking.
How Do I Bolt or Weld a Proper Brace?
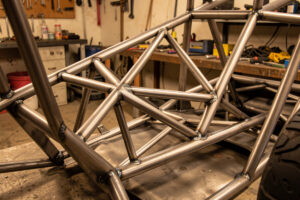
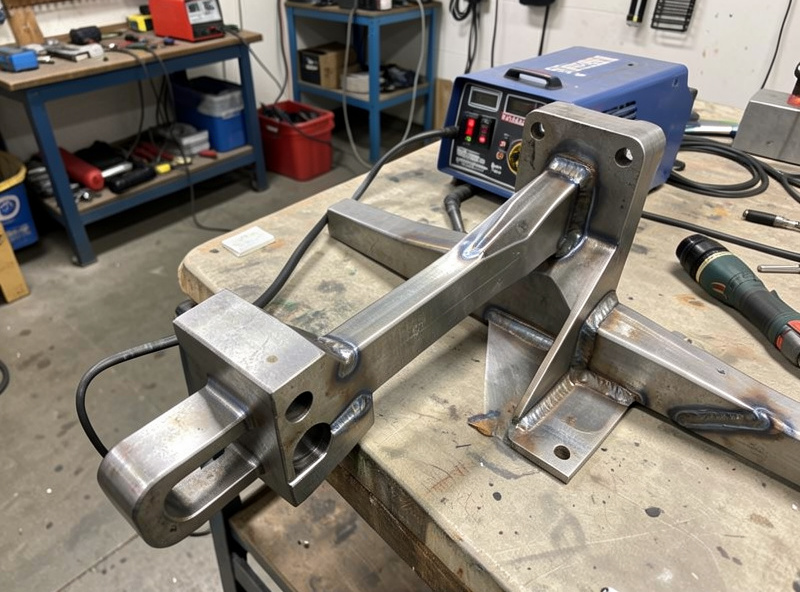
To bolt a brace, tie the pedal deck to the seat base or floor with rigid brackets, gussets, or a foot bar so the deck and seat move as one unit — that turns your body weight in the seat into the anchor for braking force. To weld one, add a triangulated steel brace between the pedal deck and the frame; triangulation is what actually kills flex.
My rig is welded steel, and the pedal deck is cross-braced straight into the main frame with triangulated tube — the same welder and the same approach I use on every rigidity-under-load project. If you weld your own frame, the sim-rig pedal brace is one of the most satisfying welds you’ll do, and the technique is identical to bracing any load-bearing structure; I keep welding notes over at HomeWelder. Triangulation matters more than weld count — a single well-placed diagonal beats a dozen welds that don’t triangulate.
No welder? Bolted gussets and a foot bar get you nearly there, especially on aluminium extrusion rigs where brackets are the native language. The principle is the same: tie the pedal deck to the mass of the seat and frame so braking force has nowhere to go but into the sensor. If you print rig parts, printed gusset templates and drilling guides help — more on printed rig hardware in the DIY brake pedal mods guide.
How Rigid Is Rigid Enough?
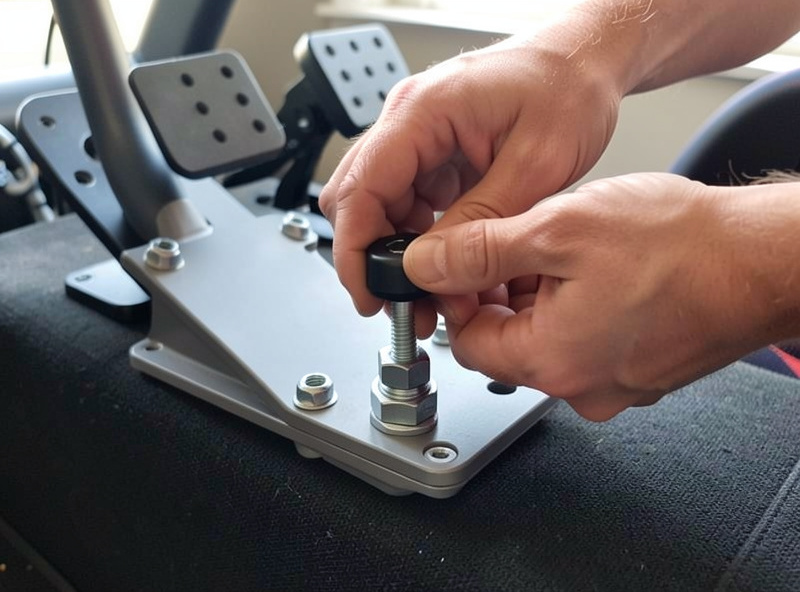
Your pedals are rigid enough when you can stand your full braking force through them and see no movement in the deck, the frame, or your seating position — and when your peak brake pressure into a given corner stacks cleanly lap after lap on telemetry. If both of those hold, more bracing is wasted effort; chase tuning instead.
There’s a point of diminishing returns here, same as everywhere else on the rig. You don’t need an aircraft-grade structure — you need a deck that doesn’t flex under your maximum force. Once I welded and triangulated my deck, adding more steel changed nothing I could feel or measure, so I stopped. The test is simple: brake flat out, watch for movement, then check the trace. No visible flex plus repeatable peaks means you’re done. That’s the whole goal — a fixed point for your foot to push against, every single lap.
Why do my sim pedals slide forward when I brake hard?
Because your braking force, often 40 kg or more, exceeds what the pedal mount and frame can resist without flexing or sliding. The pedal itself is usually fine; the rig is moving, so every braking zone starts from a slightly different geometry. Bracing the deck removes the movement and restores consistency.
Do I need a welder to brace sim pedals?
No. A welded triangulated brace is the gold standard, but wedging the deck against a wall and bolting it to a foot plate or the seat base fixes most rigs for free or with basic hand tools. Welding is the last few percent, not the whole battle. Bolted gussets work especially well on aluminium extrusion rigs.
How do I test whether my pedals are flexing?
Brake as hard as you can and watch the deck and your body: visible flex, the rig lurching forward, or you sliding into the seat all mean force is going into movement. On telemetry, scattered peak brake pressure into the same corner despite consistent inputs points to flex. A hand on the deck during a hard stop usually confirms it.
Does bracing pedals really improve lap times?
Yes, indirectly, by making your braking consistent. If the mount moves, the same pedal force produces different braking each lap, so you cannot repeat a threshold-braking reference. Removing that movement lets your force setting, elastomer stack, and curve actually work, which is where the lap time comes from.
What I’d Do Starting Today
Go brake as hard as you can and watch your rig. If anything moves, fix that before you touch a single setting. Wedge the deck against a wall today for free, add a foot plate or bolted brace this week, and if you weld, triangulate a proper brace when you get the chance. It’s the least glamorous upgrade on the rig and one of the most important.
With the deck solid, your other tuning finally has a stable foundation. Set your force ceiling and tune your elastomer stack next — the full order is in the brake pedal tuning hub.
Related: