Getting iRacing running well in VR takes about fifteen minutes once you know the order: connect the headset and pick its runtime, enable VR in iRacing, set pixel density to match your GPU, then trim the frame-thieving effects until your frametime holds your headset’s refresh. iRacing’s VR pipeline is one of the most mature in sim racing, so once it is dialed it stays stable — the trick is doing the steps in the right sequence rather than fighting settings at random.
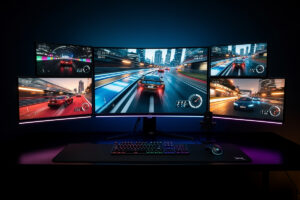
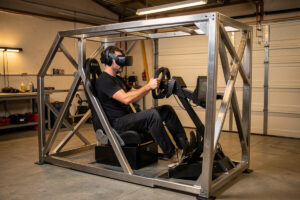
I run iRacing in VR on the same welded rig I use for triples, swapping the headset in for endurance stints. What follows is the exact path I take from a fresh headset to a stable cockpit, the same telemetry-led approach I use for force feedback: change one thing, watch the frametime, keep what holds. This is a spoke of the broader VR sim racing guide; if you have not picked a headset yet, start with the best VR headset guide.
Step 1: Connect the Headset and Choose a Runtime
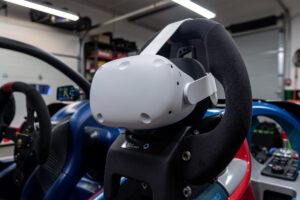
Before iRacing ever sees your headset, the headset’s own runtime has to be live. For a Quest-class unit that means launching the Link software (wired) or your wireless streamer first; for a native PCVR headset it means its own runtime plus SteamVR or OpenXR. iRacing supports OpenXR, which is the lower-overhead path on most modern headsets and the one I default to — it generally gives a few extra frames over the older OpenVR route for the same visual result.
Get this layer rock-solid first. A flaky Link cable or a congested wireless link will sabotage everything downstream, and you will waste an hour blaming iRacing settings for a connection problem. Confirm the headset shows a clean desktop view in its runtime before you launch the sim. On my rig the headset runs over a wired link straight to a PC that itself sits on wired ethernet — latency is part of the feel, the same argument from the sim racing internet setup guide.
Step 2: Enable VR in iRacing and Pick the Right API
In iRacing’s launcher, set the rendering mode to VR and select OpenXR if your headset supports it. On first launch iRacing builds the VR view and drops you into the cockpit through the headset. Do not touch quality settings yet — the goal of this step is simply confirming the image is centered, the scale feels right (the cockpit should feel life-sized), and head tracking is 1:1 with no lag or drift.
If the world feels too big or too small, that is an IPD or world-scale issue, not a graphics one — fix it here before tuning anything else, because a wrong scale quietly worsens both immersion and motion sickness. Center your view with the in-headset recenter binding while seated in your normal driving position, and set that binding to a wheel button so you can re-center on the grid without reaching for the keyboard.
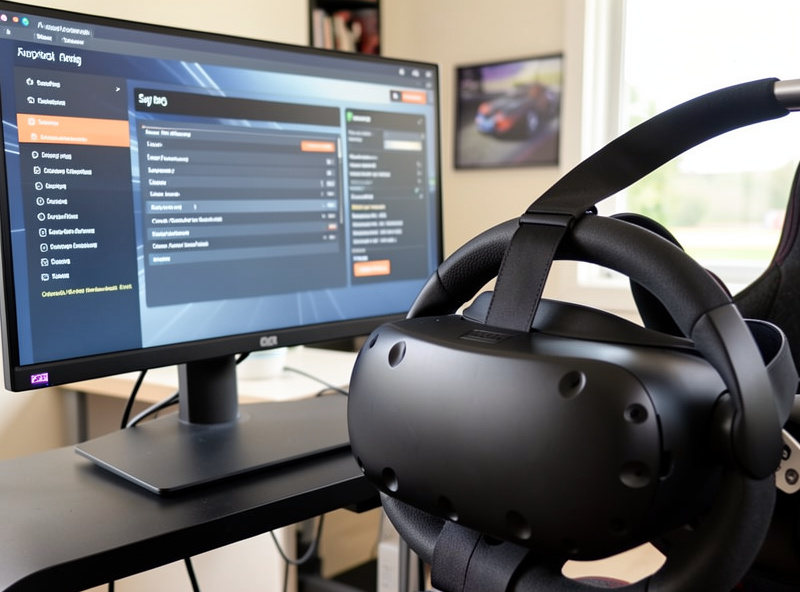
Step 3: Set Pixel Density — The Single Biggest Lever
Pixel density (supersampling) is the master clarity control and the one setting that makes or breaks iRacing in VR. Too low and distant cars and apex markers smear; too high and you blow your frame budget and trigger reprojection. The right value depends entirely on your GPU, so start conservative — render at or near the headset’s native target — and only raise it if your frametime has headroom to spare.
The mistake everyone makes is cranking pixel density first because the static cockpit looks gorgeous, then wondering why a full grid stutters into the first corner. Tune for the worst case: a packed rolling start, not an empty practice lap. I set pixel density so the frametime holds the headset’s refresh with twenty cars on track, then leave it. The full philosophy of clarity-versus-frames is in adjusting VR settings for sim racing.
Step 4: Cut the Frame Thieves
With pixel density set, claw back frames from the effects that cost the most for the least visual gain in a cockpit. In iRacing the usual culprits are high shadow quality, dynamic mirrors at full resolution, crowd and trackside detail, and heavy particle effects. Drop shadows a notch, set mirrors to a sensible resolution rather than maximum, and trim crowd density — none of these change how you read the track, but together they buy real frametime headroom.
Leave the settings that actually help you drive: track detail that defines the racing surface, car LOD so rivals do not pop in, and anything that sharpens the braking markers. The goal is a stable frametime at native refresh with a full field, not a pretty screenshot. If your headset supports dynamic foveated rendering, enable it — it spends pixels where your eye looks and saves them in the periphery, often the cheapest frametime win available.
Step 5: Lock It In and Verify Under Load
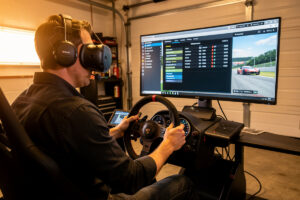
The final step is proving the setup holds where it matters. Join a practice session with AI or a populated server and run a rolling start — that first-corner crush of cars is the real test. Watch for reprojection kicking in (the world will feel like it is swimming or doubling) and for frametime spikes. If it holds clean through the busiest moment on track, you are done; if it stutters, drop pixel density one step rather than gutting every effect.
Once stable, iRacing in VR is genuinely set-and-forget — its pipeline does not drift the way some sims do. Save your settings, bind your recenter to the wheel, and you have a cockpit you can drop into for an endurance stint without fiddling. For the broader cross-title basics, the general VR setup guide covering Quest 3 and Reverb G2 covers what carries over to ACC, AMS2, and the rest.
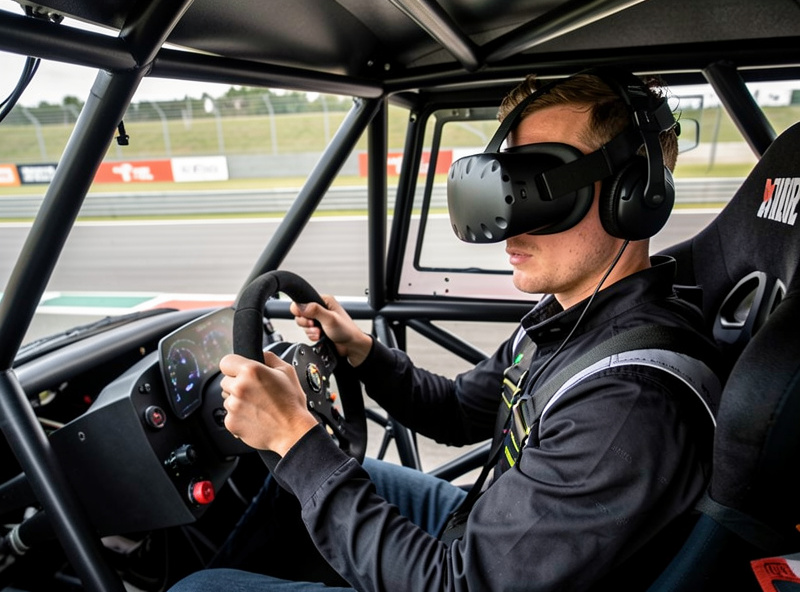
What I Actually Run — and Where I Got Burned
For reference, my iRacing VR setup is a Quest 3 on a wired Link cable, driven by an RTX 4070, with OpenXR as the render path. Pixel density sits around 1.3x — enough that braking boards stay crisp at the end of a long straight, but low enough that a 20-car GT3 rolling start holds 90Hz without a single reprojection frame. Shadows are medium, mirrors are at half resolution, and crowd density is near the floor. It is not a screenshot rig; it is a frametime rig, and that is the whole point.
Where I got burned: my first serious iRacing VR weekend I left in-sim supersampling high and also pushed pixel density in OpenXR, not realizing the two multiply. The static garage looked spectacular and I was thrilled — until the green flag, when the field formed up and my frametime fell off a cliff into a smeary, swimming mess. I spent an entire evening dropping shadows and mirrors trying to fix it before I found the real culprit: I was rendering at roughly double the resolution I thought I had set. Pick one place to control supersampling and leave the other at neutral.
That single lesson is why my routine now sets resolution in exactly one layer and verifies it against a packed grid before touching anything cosmetic. A few minutes confirming what your stack is genuinely rendering saves an evening of chasing phantom stutters through menus that were never the problem. In VR the resolution you think you set and the resolution you are actually rendering are often two very different numbers, and only the second one shows up in your frametime.
Frequently Asked Questions
How do I set up iRacing in VR?
Launch your headset’s runtime first, set iRacing’s render mode to VR and choose OpenXR, confirm the cockpit feels life-sized with 1:1 head tracking, then set pixel density to match your GPU and trim frame-heavy effects. Verify it holds frames during a full rolling start before calling it done.
Should I use OpenXR or OpenVR for iRacing in VR?
Use OpenXR if your headset supports it. It is the lower-overhead path on most modern headsets and generally gives a few extra frames over the older OpenVR route for the same visual quality. Select it in the iRacing launcher when you enable VR rendering mode.
What pixel density should I use for iRacing VR?
There is no universal number because it depends on your GPU. Start at or near your headset’s native target and raise it only if your frametime has headroom during a full grid, not an empty lap. Distant cars smearing means too low; reprojection during busy corners means too high.
Why does iRacing stutter in VR even though it looks fine alone?
Most often pixel density is set too high for a packed grid. A static cockpit looks great but a rolling start with twenty cars blows the frame budget and triggers reprojection. Tune for the worst case, a full first corner, then trim shadows, mirrors, and crowd detail.
Does iRacing VR need a strong PC?
Yes. VR roughly doubles the rendering load of a single monitor and demands stable frametimes. A 4070-class GPU is a sensible floor and higher-resolution headsets want a 4080-class or more. The VR performance requirements guide breaks down where the bottleneck actually sits.