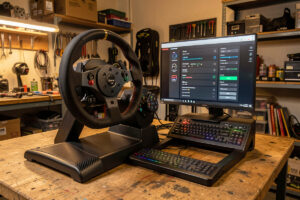
Sim racing force feedback tuning is the process of dialing your wheelbase so the forces it sends match what the tyres are actually doing — no clipping, no dead center, no synthetic rattle. Get it right and a mid-torque direct-drive base at 6 Nm out-informs an over-cranked one at 12 Nm, because you can feel the front axle instead of fighting it.
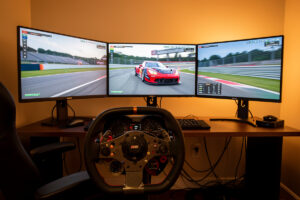
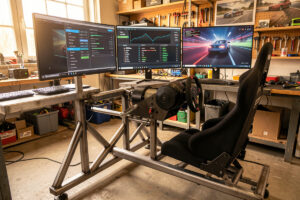
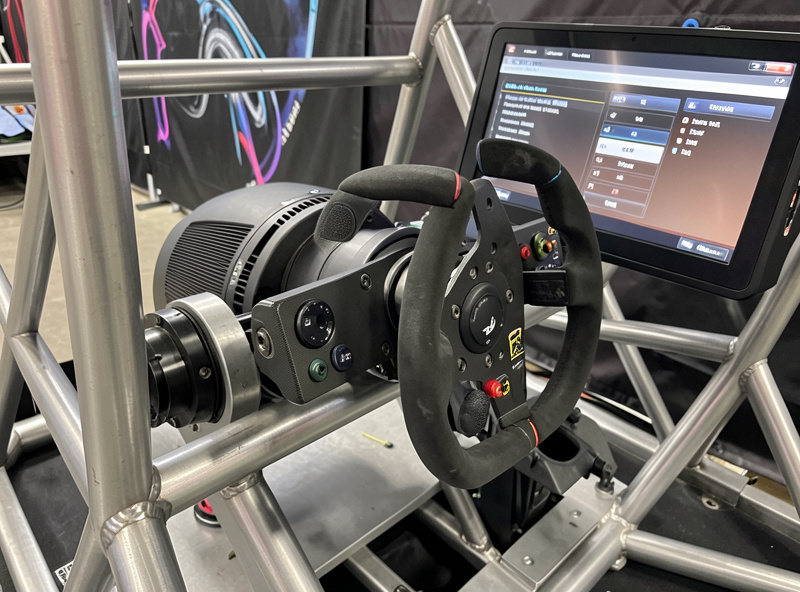
I run this off a rig I welded myself, with a direct-drive base as the daily and a telemetry overlay open while I tune, so what follows isn’t preset-parroting — it’s the order I actually work through, base by base, title by title. Most people set torque to maximum on day one, feel the wheel try to break their wrists, and never touch the menu again. That is exactly backwards. This guide walks the whole system: what each FFB slider does, how to find clipping, how the wheelbase technology changes the feel, and how to build a per-title profile you trust.
What Force Feedback Tuning Actually Controls
Force feedback is the motor in your wheelbase pushing back against your hands to simulate steering load — tyre grip, weight transfer, kerbs, and the slip angle of the front axle. Tuning is deciding how much of that signal reaches you and how it’s shaped. On my telemetry overlay the raw force the sim calculates is a clean trace; every slider you touch either scales it, filters it, or adds something on top.
There are really only a handful of controls that matter, and they are the same across nearly every base regardless of brand. Gain (sometimes “strength” or “FFB”) sets overall force. Clipping isn’t a slider — it’s what happens when gain is too high and peak forces flatten out. Then come the effect filters: damper, friction, inertia, and smoothing, which change the character rather than the volume. Learn those six words and you can tune any wheel ever made. My force feedback tuning guide for beginners walks the absolute-zero starting point if this is your first base.
The Right Order: Why Max Torque on Day One Is Wrong
The single most common mistake is treating the gain slider like a volume knob you crank to eleven. Maximum torque doesn’t give you more information — past a certain point it gives you less, because the strongest forces clip and everything quieter than them gets buried. The goal is the highest gain where your hardest cornering load still has headroom left over the peak.
The correct tuning order mirrors the correct upgrade order. First make the rig rigid — a stiff frame is what lets you feel small forces at all; flex eats detail before it reaches your hands. Then calibrate the pedals, because brake feel is half of car control. Only then do you tune the wheelbase gain, and last of all you adjust per-title effect filters. I cover the hardware side of that chain in the direct drive vs belt drive force feedback breakdown, because the technology under the wheel sets the ceiling for everything you tune above it.
Gain and Clipping: The Two That Decide Everything
Clipping is when the force the sim wants to send exceeds what your base can output, so the peak gets chopped flat — you lose all detail at the exact moment you need it most, mid-corner under maximum load. It is the number-one feel-killer on every base I’ve bolted on, and it’s invisible unless you measure it. The fix is simple in principle: lower gain until the loudest force in your hardest corner stops flat-topping.
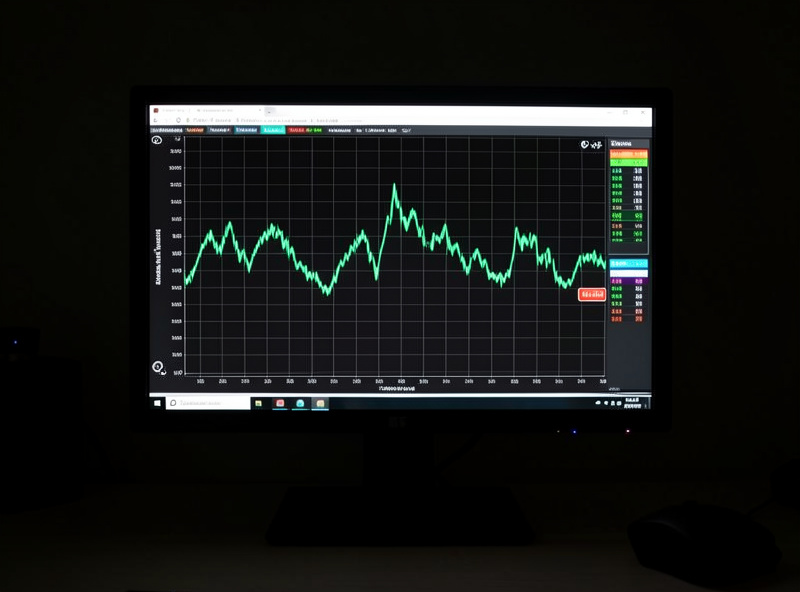
You diagnose clipping two ways. In-sim, many titles have a force meter — iRacing’s wheel-force display and the AC/ACC FFB indicators turn solid red when you clip. Better, run a telemetry overlay that draws the actual force trace; flat ceilings on the graph are clipping you can see frame by frame. I keep one open whenever I touch a new car. The full method — auto-gain, manual gain, and reading the trace — lives in the FFB wheel gain and clipping guide. Get this one thing right and a modest base feels worlds better than a powerful base set wrong.
Effect Filters: Damper, Friction, Inertia, Smoothing
Once gain is right, the effect filters shape the feel. These are the sliders people misuse most, usually by adding too much of all of them to “calm down” a wheel that is really just clipping. Treat them surgically:
- Damper resists wheel speed — it adds weight and slows quick movements. A touch helps a strong base feel planted; too much turns the wheel to syrup and hides road texture.
- Friction adds a constant resistance to motion, like a stiffer steering column. It can stop a twitchy center but it also dulls the moment grip breaks away.
- Inertia simulates rotational mass, smoothing direction changes. Useful on light formula rims, rarely needed on heavy GT setups.
- Smoothing / interpolation filters the signal itself. A little removes notchiness on lower-Hz bases; a lot erases the kerb and slip detail you paid for.
My rule across the bases I’ve run: start every filter at zero, get gain and clipping sorted, then add the minimum filter needed to fix a specific problem. The deep dive on the two that matter most is in sim racing wheel damper and friction settings.
The Wheelbase Technology Sets the Ceiling
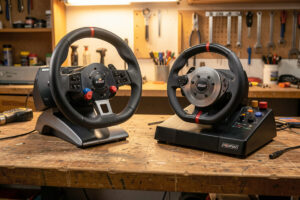
You can only tune the forces your hardware can produce. A gear-driven wheel has a notchy, cogging feel and limited detail no slider will remove. A belt-driven base is smoother and stronger but loses fine texture to the belt’s slight give and the inertia of the pulleys. A direct-drive base bolts the rim straight to the motor — no gears, no belt, the fastest slew rate and the cleanest detail, which is why even a 5–6 Nm direct-drive unit reads grip better than a 8 Nm belt base.
This matters for tuning because each technology wants a different approach. Gear and belt bases often need a little smoothing and benefit from effect filters to mask their mechanical character. Direct drive wants the opposite — strip the filters out and let the raw signal through. I go through the feel differences, the slew-rate argument, and where the hobbyist sweet spot sits in the direct drive vs belt drive force feedback comparison. For the broader buying decision — price tiers, brands, what to actually purchase — see the older direct drive vs belt drive sim racing wheels rundown.
| FFB Control | What It Does | Direct Drive | Belt / Gear | Start Value |
|---|---|---|---|---|
| Gain / Strength | Overall force level | Lower — base is strong | Higher — more headroom | Set just below clipping |
| Damper | Resists wheel speed | 0–5% | 5–15% | 0%, add if twitchy |
| Friction | Constant resistance | 0% | 0–10% | 0% |
| Inertia | Simulated mass | 0% | 0–10% on light rims | 0% |
| Smoothing | Filters the signal | 0–3% | 5–20% | 0%, add for notchiness |
| Reconstruction | Interpolates low-Hz cars | Helps old content | Helps old content | Title-dependent |
Per-Title Profiles: Every Sim Calculates FFB Differently
There is no universal “best FFB setting,” and anyone selling you one number hasn’t run more than one title. iRacing, Assetto Corsa Competizione, AMS2, and rFactor 2 each model tyre and suspension forces with different physics, so the same base needs a different profile in each. iRacing sends a relatively raw, detailed signal that rewards low filtering. ACC’s force is pre-shaped and benefits from a slightly different gain and a touch of dynamic damping. AMS2 and rFactor 2 land somewhere between, with their own quirks.
The practical upshot: build and save a separate profile per game, and never copy someone’s iRacing numbers into ACC. My iRacing starting point — strength, damping, the min-force question, and the wheel-force auto setting — is in the iRacing FFB settings guide. The cross-title approach, with Assetto Corsa as the worked example, is in force feedback tuning for racing games.
Minimum Force and the Dead Center Problem
On some bases — especially belt and gear units — small forces below a certain threshold can’t overcome the motor’s static friction, so straight-line driving feels numb and the car wanders before the wheel pushes back. Minimum force (min-force, or “force feedback minimum”) raises every signal by a small floor so those tiny inputs reach you. Set it just high enough that the wheel comes alive off-center, no higher, or you’ll feel a constant artificial tension.
Direct-drive bases rarely need much min-force because the motor has so little static friction to overcome. This is one of those settings where the wheelbase technology dictates the answer — another reason the same number can’t carry across hardware. iRacing exposes this directly as a min-force percentage; I cover finding it in the iRacing FFB settings guide.
The Latency Stack: Tuning Can’t Fix a Laggy Link
Force feedback is only as good as how fast the signal arrives. The chain runs sim → USB → wheelbase, and on a wired rig that’s milliseconds. But frame-rate drops, a busy USB hub, or background processes add latency that no FFB slider can tune out — the wheel reacts late and the car feels disconnected. I keep the sim PC on a wired ethernet link straight to the router for the same reason; Wi-Fi is for laptops, not racing. If your feel is “mushy” no matter what you do with gain, look at frame pacing and USB before you blame the base.
Rigidity First: The Setting You Build, Not Select
No FFB menu compensates for a wobbly desk. When the base can twist the mount, the strongest forces flex the frame instead of reaching your hands, and detail smears. This is why I welded a steel-tube cockpit — torsional rigidity under load is what lets you feel the difference between a 2% and a 4% damper change. If your wheel deck visibly moves under hard cornering, brace it before you spend another minute in the FFB menu. A rigid mid-torque base beats a flexy strong one every single time.
I’ve run the same base on a foldable rig, an 80/20 aluminum-extrusion profile, and the welded steel frame, and the FFB feel was noticeably different on each despite identical settings — because the frame is part of the signal path. The flexier the mount, the more the base spends its torque deforming the structure instead of moving your hands. If a budget build is your reality, put your money into bracing the wheel deck before you chase a stronger motor; the motor you have is probably already stronger than your frame can faithfully transmit.
The Gear I Tune On, and the Order I Bought It
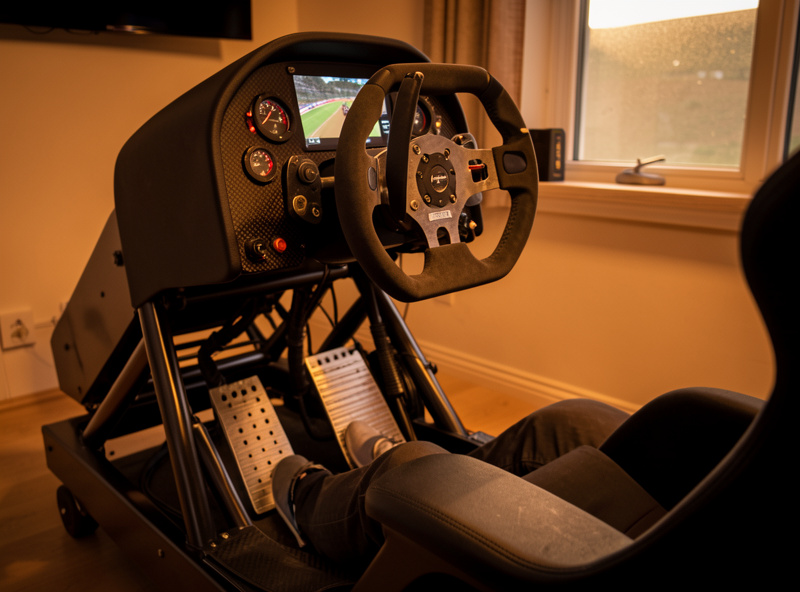
Because every setting above depends on the hardware under it, it is worth being concrete about what I actually run and the order it came together — the same order I would tell anyone to follow. The foundation is the rig: a steel-tube cockpit I welded myself, chosen over a bought aluminium-profile frame purely for torsional rigidity, with 3D-printed brackets holding the button box and the wheel-side mounts. Frame first, always, because it sets the ceiling for everything else you tune.
Pedals came next, and they matter more than the wheelbase for actual lap time. I run a load-cell brake set as my daily — braking against a pressure sensor instead of a position sensor is the single biggest consistency upgrade most people are still missing, and I tested a hydraulic set long enough to be confident the jump from load-cell to hydraulic is firmly in diminishing-returns territory for a home rig. Calibrate the brake curve to your own leg, not the default, and your trail-braking gets repeatable overnight.
Only after the rig and pedals did the wheelbase budget make sense. My daily is a Fanatec CSL DD in the mid-torque class; I have run a Moza R9 and R12 and a Simagic Alpha head to head, and the honest verdict is that past about 8 Nm on a rigid frame the extra torque is a workout feature, not an information feature. The rim is last on the list for a reason — a plain round rim on the CSL DD tells me more than a sculpted GT rim on a gear base ever did. I swap a formula-style rim and a GT rim with quick-release across bases specifically to separate rim feel from base torque, and the base wins that argument every time.
If you take one thing from the order, take this: spend down the list, never up it. Money on the rim before the pedals, or the wheelbase before the frame, buys you a number on a spec sheet you will not actually feel on track.
How to Read a Force Trace on a Telemetry Overlay
The reason I tune off telemetry instead of feel is that feel lies — you adapt to a bad setting within a few laps and stop noticing it. A force trace doesn’t adapt. Run an overlay that plots wheel force over time and drive a couple of representative laps: a slow hairpin, a fast sweeper, a heavy braking zone, a kerb strike. What you want to see is a lively trace that fills the available range without a flat ceiling at the top. Flat tops are clipping. A trace that never gets near the ceiling means you’re leaving force — and detail resolution — on the table, so raise gain.
Watch the kerb strikes especially. A well-tuned base shows sharp, distinct spikes when you clip a kerb; an over-filtered one shows rounded mush. That difference is exactly what you feel as “this wheel tells me what the car is doing” versus “this wheel feels vague.” Once you’ve calibrated your eyes to the trace, you can set up a new car in three or four laps instead of an evening of guessing. The mechanics of reading and acting on the trace are the whole subject of the FFB wheel gain and clipping guide.
Building Profiles You Actually Trust
A profile you trust is one you stop second-guessing mid-race. Build each one the same way: rig solid, pedals calibrated, every effect filter at zero, gain raised until the hardest corner just kisses clipping then backed off a hair, and only then the minimum filtering needed to fix a named problem. Write the numbers down — base settings, in-sim gain, min-force, and any per-car gain multiplier — so you can rebuild after a firmware update wipes them, which it eventually will.
Resist the urge to keep tinkering. Once a profile reads grip cleanly and doesn’t clip, the next gain comes from your driving, not the menu. I’ve watched plenty of drivers — and done it myself early on — spend more time in the FFB settings than on track, chasing a magic number that doesn’t exist. Get it to “honest and clip-free,” save it, and go race. If you’re starting from nothing, the beginner tuning guide gives you a known-good baseline to build from, and the older configure force feedback walkthrough covers the first-time wheel setup steps. New to iRacing’s licensing on top of all this? The iRacing beginner’s guide covers the non-FFB side.
Wheel Rotation, Soft Lock, and Why They Affect FFB
Rotation isn’t an FFB slider, but get it wrong and every force feels off. Each car has a real steering lock — a formula car might use 360–540 degrees, a GT3 around 540, a rally car far more. If your base rotation doesn’t match what the car expects, the forces arrive at the wrong wheel angle and the self-aligning torque feels artificially light or heavy. Set the base to its maximum rotation and let the sim apply per-car soft lock, or match rotation to each car manually; most modern titles handle this automatically when the base is set wide.
Soft lock is the firm stop the FFB motor creates at the end of the car’s real steering range. A good direct-drive base produces a convincing wall there; a weak or gear base gives a mushy limit. It’s a small thing that massively affects immersion and your ability to catch a slide, because you learn exactly where full lock is by feel. None of this needs constant fiddling — set rotation wide once, confirm soft lock feels firm, and forget it.
Frequently Asked Questions
What is the most important force feedback setting to get right?
Gain, because setting it too high causes clipping that flattens the strongest forces and buries detail. Find the highest gain where your hardest corner still has headroom over the peak, then leave it. Every other slider matters less than getting gain and clipping correct.
Should I set my wheelbase torque to maximum?
No. Maximum torque almost always clips, which removes information rather than adding it. A mid-torque direct-drive base around 5 to 8 Nm, tuned just below clipping, reads grip better than a powerful base cranked to its limit. Strength is not the same as detail.
What causes FFB clipping and how do I fix it?
Clipping happens when the force the sim wants exceeds what your base can output, so peaks flatten and detail disappears mid-corner. Fix it by lowering gain until the loudest force in your hardest corner stops flat-topping on a telemetry overlay or the in-sim force meter.
Do I need a different FFB profile for each game?
Yes. iRacing, ACC, AMS2 and rFactor 2 each calculate tyre and suspension forces with different physics, so a setting that feels right in one will feel wrong in another. Save a separate profile per title and never copy numbers across games.
Will tuning force feedback fix a wobbly or mushy wheel feel?
Only if the cause is in the FFB. A flexing rig or a laggy link cannot be tuned out with sliders. Brace the frame for rigidity and put the sim PC on a wired connection first, then tune gain, clipping and filters once the hardware chain is solid.
What do the damper and friction sliders actually do?
Damper resists how fast the wheel moves, adding weight and slowing quick motions. Friction adds a constant resistance like a stiffer steering column. Both shape feel rather than volume. Start them at zero, fix gain first, then add the minimum needed to solve a specific problem.
Related Guides
- Force Feedback Tuning Guide for Beginners — the zero-to-driving starting point.
- FFB Wheel Gain and Clipping Guide — find and kill clipping for good.
- iRacing FFB Settings Guide — strength, min-force and the wheel-force setting.
- Direct Drive vs Belt Drive Force Feedback — how the hardware shapes the feel.
- Force Feedback Tuning for Racing Games — per-title profiles, Assetto Corsa worked example.
- Sim Racing Wheel Damper and Friction Settings — the effect filters, used surgically.
The same wired, low-latency network thinking that keeps my sim PC responsive is covered on my home networking site — latency is part of the FFB chain whether you tune it or not.