On the direct drive base I run and across every wheelbase I’ve bolted onto the rig I welded, force feedback settings are what separate a wheel that talks to you from one that just resists your arms. I’ve burned more evenings in FFB tuning menus than I care to count, and the calibration workflow I landed on — checking gain against my telemetry overlay for clipping, dialing damping back to near-zero, and setting dynamic range per wheelbase class — is what I’ll walk through here. Beginners typically crank gain too high and pile on damping, both of which destroy the subtle slip-angle and weight-transfer detail that separates a tenth from a half-second on the lap chart.
Understanding Force Feedback Parameters
Force feedback transforms data from the simulator into physical forces at your hands. Each parameter stacks on the others — the right combination on my mid-torque direct drive base is wrong on a gear-driven Logitech, and I’ve tested enough bases to know that universal presets are a myth.
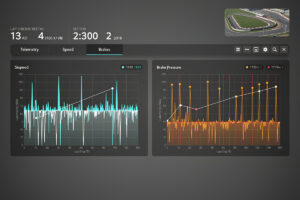
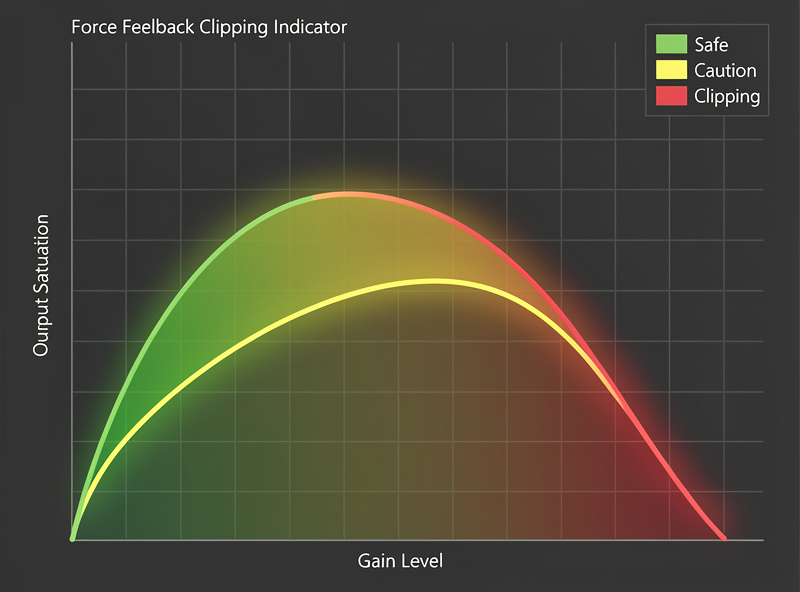
Overall Gain or Strength: This master control determines how strongly your wheel base reproduces requested forces. I start at 75 percent on my CSL DD and reduce from there only if my telemetry overlay shows the FFB bar saturating — that is clipping, where the wheel cannot produce the requested torque and flatlines at maximum. Higher gain without clipping gives more information, but once you’re clipping through a corner you’re driving blind to the last 20 percent of front-end grip.
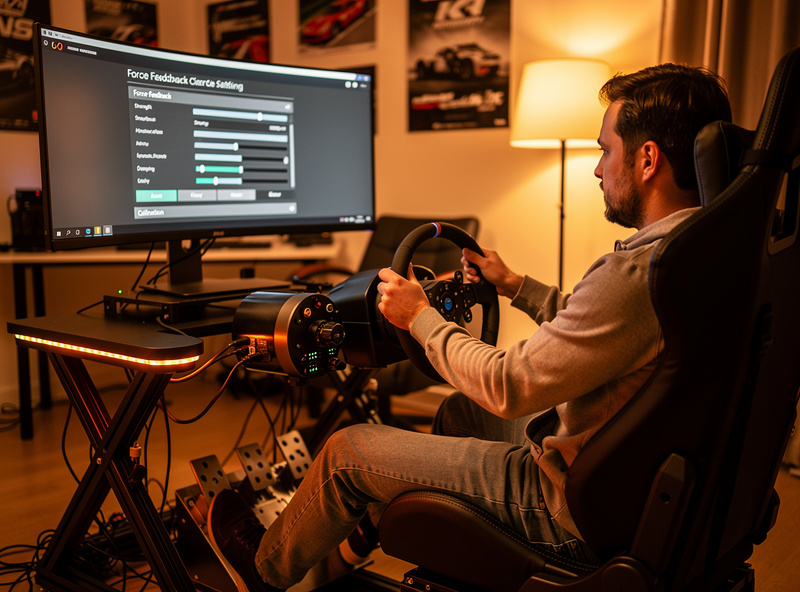
Dynamic Range: Real cars transmit subtle forces through the steering column — tire scrub at low speeds, weight transfer during cornering, camber-thrust variations. Dynamic range controls how much of that fine detail reaches your hands. I keep it high on direct drive wheelbases because the motor has the slew rate to resolve it. On gear or belt systems, some of that high-frequency signal turns to mechanical noise, and I back the range down to keep the signal clean.
Damping: This adds resistance to wheel movement, simulating steering-system friction and tire rolling drag. On my rig I start at zero — a direct drive base at zero damping still has enough mechanical inertia to feel planted. I add damping only when I’m dialing in a historic car with unassisted steering, and even then I keep it under 5 percent. Excessive damping is the fastest way to make a high-torque wheelbase feel sluggish.
Friction: Similar to damping but constant regardless of wheel speed. Most modern race cars have minimal steering friction, so I keep this at zero across every simulator. It has a niche home with vintage cars running unassisted steering, but for GT3 and formula driving it’s dead weight in the signal chain.
Road Effects: These add supplemental forces unrelated to tire physics — curb hits, grass texture, engine vibration. I run mine low or off because I want the tire doing the talking, not the kerb. Some drivers love the immersion of track-surface texture, and that preference is legitimate, but every effect you layer on top of the physics output risks masking slip-angle information.
Wheel Type Differences
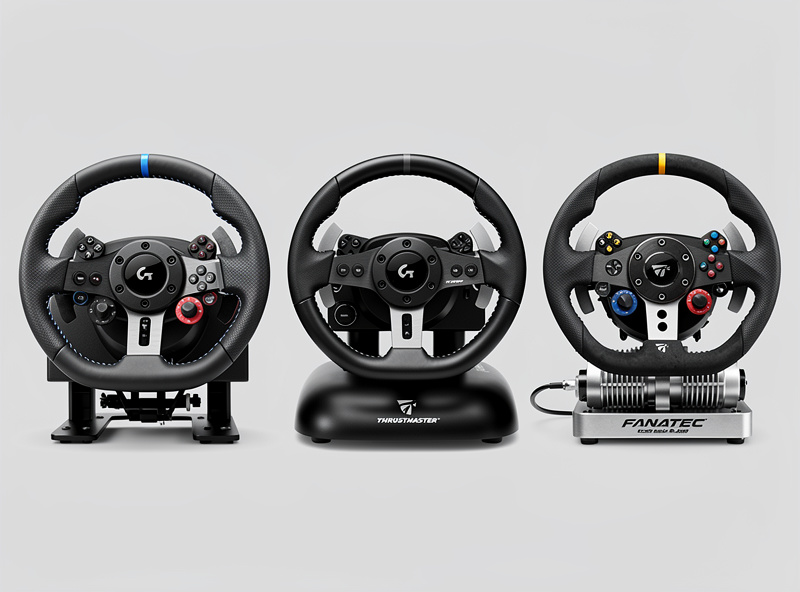
I’ve bolted all three motor classes onto the rig — gear, belt, and direct drive — and the FFB settings that work on one will not translate to another. The motor’s mechanical behavior is part of the signal path, and you tune around it.
Gear-Driven Wheels (Logitech G923): The gear mechanism introduces mechanical noise that masks subtle forces. I’d keep dynamic range medium and road effects minimal because the gear texture already adds noise that the simulator doesn’t need to amplify. Gain around 60-70 percent on a G923 class wheel usually gives the best balance before the mechanism itself starts clipping audibly.
Belt-Driven Wheels (Thrustmaster T300): Belt systems smooth out mechanical noise while preserving more detail than gears. I ran a belt base before moving to direct drive, and the sweet spot is moderate dynamic range with slightly higher gain than a gear wheel. A small amount of damping — 5-10 percent — can help on belt systems because the belt itself adds resistance the sim should account for.
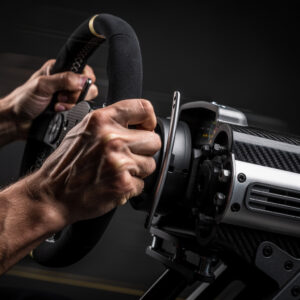
Direct Drive (Fanatec CSL DD / Moza R9 class and above): This is where I live now. A direct drive motor delivers the raw physics output with no mechanical filtering, which means you run high dynamic range, zero or near-zero damping, and tune gain carefully against a telemetry clipping bar. Every nuance the simulator calculates reaches your hands. Direct drive users should invest the most calibration time because the hardware will expose every flaw in a bad profile — and reward every hour you put into getting it right.
Calibration Per Simulator
Each simulator outputs force feedback data differently. I run iRacing and ACC as my dailies, and my profiles for each look nothing alike — here’s what works on my rig for the main titles.
iRacing: I use linear mode and set wheel force to match my base’s maximum torque in Nm, then adjust overall strength in the wheel base software, not inside iRacing. Linear mode preserves the raw physics output without the auto-tune that iRacing’s non-linear mode applies. I also run per-car strength adjustments — a GT3 car at 8 Nm feels accurate while an IndyCar at the same 8 Nm overwhelms, and iRacing’s per-car slider handles that cleanly.
Assetto Corsa Competizione: I start from the built-in preset for my specific wheel model, then pull gain down until the FFB bar on my telemetry overlay stops hitting red during heavy cornering. ACC’s dynamic damping responds to vehicle speed and adds realism at low speed without interfering at race pace, so I leave it at default. Road effects default quite high in ACC — I cut those to preserve steering clarity.
rFactor 2: This sim sends exceptionally detailed physics data. On my direct drive base I run smoothing at zero to preserve every detail the engine generates, but on a belt or gear wheel I’d add light smoothing to prevent the notchy sensation that raw rF2 data can produce on lower-end hardware. The per-vehicle FFB menus in rF2 are worth using — a Formula car and a touring car put fundamentally different signals through the column.
Gran Turismo 7: GT7’s FFB options are limited compared to PC simulators. The force feedback sensitivity setting functions like dynamic range — controlling how much low-level detail reaches the wheel. I’d also reduce controller vibration settings to prevent them from interfering with wheel feedback clarity.
For hardware context on choosing the right wheelbase, read our guide to planning your first sim racing setup. If you are building a cockpit that properly supports direct drive torque, our aluminum profile rig guide covers mounting solutions.
Common Configuration Mistakes
I’ve made every one of these mistakes myself on the path to a clean FFB profile, and I see the same errors in sim-racing forums constantly.
Excessive Gain: Cranking gain to maximum feels initially impressive, but when your wheel saturates at peak torque you lose the ability to feel slip angle progression. On my telemetry overlay, a flat red bar through a corner tells me I’m not feeling tire limit information — I’m just fighting a stuck motor. You also fatigue faster and develop a death-grip technique compensating for constant heavy force. Stronger is not better.
Over-Damping: Adding damping seems logical for creating steering weight, but excessive damping masks the subtle forces that communicate vehicle behavior. Modern race cars run power steering with minimal resistance, so heavy damping actually reduces realism. On my rig I start at zero and add only if a specific car-software combination feels unnaturally loose — and I measure additions in single percent increments.
Ignoring Clipping: Every serious PC simulator has a clipping indicator — iRacing’s F-bar, ACC’s FFB meter, rF2’s output graph. I watch mine like a tachometer. If the bar is hitting red through a mid-speed corner under normal load, you’ve lost information. Reduce gain until clipping occurs only during extreme impacts or high-load compression, and you’ll suddenly feel detail you didn’t know the wheel could produce.
Using One Profile for Every Car and Sim: I keep separate FFB profiles in my wheel base software for iRacing, ACC, rF2, and AMS2 because each sim feeds the wheel differently. Even within a single sim, a GT3 car with electric power steering and a historic Formula car with zero assistance demand different gain and damping. One universal setting guarantees at least one of your cars is masking information.
Getting Realistic Feel
The goal of FFB calibration on my rig isn’t intensity — it’s information density. I want the steering column telling me what the tires are doing before my eyes confirm it.
Tire Slip Feedback: Properly configured force feedback communicates front-end slip angle through steering weight. As the tires approach their grip limit, steering lightens and feedback becomes less direct — the wheel goes soft in your hands. On my CSL DD, that transition is the single most valuable piece of information the simulator gives me, and it lets me catch oversteer before I see the rear step out. If your steering weight stays constant regardless of slip angle, increase dynamic range or reduce smoothing until the progression reappears.
Weight Transfer: Under hard braking, weight pitches forward and steering lightens. Under corner-exit acceleration with rear weight bias, steering effort increases. On my rig these transitions feel progressive and proportional to pedal input. If weight transfer feels exaggerated or absent, adjusting the gain curve and simulator-specific FFB strength per car is the fix.
Road Texture: A good FFB setup communicates track surface changes — smooth asphalt, rumble strips, the painted lines at Spa. This detail improves immersion and helps you find the track edge by feel. But I keep road effects low because every texture signal stacked on top of tire physics is competing for the same motor bandwidth. Balance texture against clarity.
Centering Force: The wheel naturally centers due to caster angle and tire self-aligning torque — this force should increase progressively with vehicle speed and steering angle. On my base, zero damping and zero friction produce clean, speed-dependent centering that matches what I’d expect from a real column. If centering feels artificial or non-linear, damping is usually the culprit.
Quick-Start Settings by Wheel Type
Use these baseline configurations as starting points on your own rig, then refine through the testing process below. These are the starting numbers I’d use if I were dialing in each class of wheelbase from scratch.
| Parameter | Logitech G923 | Thrustmaster T300 | Fanatec CSL DD / Moza R9 |
|---|---|---|---|
| Gain | 65% | 70% | 75% |
| Dynamic Range | Low-Medium | Medium | High |
| Damping | 10-15% | 5-10% | 0-5% |
| Friction | 5% | 5% | 0% |
| Road Effects | Minimal | Low | Personal preference |
| Smoothing | Medium | Low-Medium | None |
Testing and Refinement
The way I dial mine in is systematic, not trial-and-error. Here’s the process I use every time I switch to a new sim or set up a new base.
I drive a familiar car on a familiar track with baseline settings and a telemetry overlay visible — Motec or a sim-specific HUD showing the FFB output trace. I note specific behaviors that feel wrong: excessive weight through a known corner, missing slip-angle feedback, or unrealistic jolts on kerbs. Then I adjust exactly one parameter, run three laps, and check the telemetry trace along with my hands. Changing two settings at once makes it impossible to attribute the difference.
I test across conditions: a high-speed sweeper where lateral forces peak, a heavy braking zone where weight transfer matters, a low-speed hairpin where tire scrub should feel distinct, and a kerb-hopping chicane where impact detail vs. signal clarity is the tradeoff. A profile that works in all four scenarios is dialed — one that excels in only one and fades in another needs refinement.
I save my final settings as a named profile in the wheel base software for each simulator I run regularly. When a firmware update or a fresh sim install resets everything, having those profiles documented means I’m back to a known-good baseline in seconds rather than starting over.
For improving your actual driving technique once force feedback is calibrated, read our guide to sim racing driving techniques. Physical cockpit setup also affects how much force feedback detail you can perceive — our sim racing space setup guide covers positioning for optimal information transfer. If you want to add tactile layers beyond steering feedback, explore DIY sim racing upgrades including bass shakers and transducers.
Force feedback is a communication channel between the sim and your hands. When it’s dialed, it’s your primary source of vehicle information — more immediate than visual cues for detecting limit behavior. The hours I’ve put into tuning my profiles across iRacing and ACC have paid back more lap time than any hardware upgrade I’ve made. Get the signal clean, and the driving follows.
Frequently Asked Questions
What should force feedback gain be set to?
Start at 75% gain and reduce if you experience clipping, where the wheel saturates at maximum output during normal cornering. Gear-driven wheels like the Logitech G923 work best at 60-65%. Direct drive wheels can handle 75-85%. The correct setting is the highest value that rarely clips during aggressive driving.
Should I use damping on my sim racing wheel?
Start with zero damping and add small amounts only if the wheel feels unnaturally loose. Modern race cars have power steering with minimal resistance, so heavy damping actually reduces realism. Most direct drive users keep damping at 0-5%. Belt-driven wheels benefit from 5-10% damping.
Why does my sim racing wheel feel heavy and sluggish?
Excessive gain and damping are the most common causes. Reduce gain by 10% increments and set damping to zero. If the problem persists, check if your simulator has per-car gain settings overriding your baseline. Also verify that your wheel base firmware and software are updated to the latest version.
Do I need different force feedback settings for each game?
Yes. Each simulator outputs force feedback data differently. iRacing works best with linear mode and strength adjusted in wheel software. ACC benefits from its built-in presets. rFactor 2 may need smoothing for entry-level wheels. Save separate profiles in your wheel software for each simulator you use.
What is force feedback clipping?
Clipping occurs when the simulator requests forces beyond your wheel’s capability, causing the output to saturate at maximum. You lose all subtlety and cannot distinguish between different force levels. Watch for clipping indicators in your simulator and reduce gain until clipping only occurs during extreme impacts.
How do I know if my force feedback is set up correctly?
Properly configured force feedback lets you feel tire slip angle progression before losing control, weight transfer during braking and acceleration, and road surface changes. You should be able to sense when the car is about to lose grip through steering feel alone, without relying entirely on visual cues.
Does force feedback improve lap times?
Yes, significantly. Force feedback communicates vehicle limits that visual cues alone cannot convey. Drivers with properly calibrated wheels consistently set faster lap times than those with default settings, because they can sense traction limits and modulate inputs more precisely. Proper calibration matters more than wheel price.
Related Articles
- What Is Sim Racing? — Introduction to the hardware ecosystem and force feedback technology
- Sim Racing Software Explained — Platform-specific calibration requirements and companion tools
- Sim Racing Driving Techniques — Using force feedback to sense tire limits and weight transfer
- Building a DIY Sim Racing Rig — Rigid mounting for direct drive force feedback systems
- DIY Sim Racing Upgrades — Adding bass shakers and transducers beyond steering feedback