This sim racing tyre management guide starts where most lap-time advice ends: tyre management is a race skill, not a single-lap skill, and it is invisible on a hot lap. Over a stint the tyre loses grip as it heats, wears, and the surface degrades, and the driver who manages that curve finishes ahead of the one who used everything in the first five laps. On a long run, smooth tyre management is often worth more than raw pace.
I keep a tyre-temperature and wear channel up on my telemetry overlay during long runs precisely because this is a data problem, not a feel problem — by the time the car feels greasy, you have already cooked the tyre. This guide covers what actually degrades a tyre, how driving style controls it, the temperature window you are aiming for, and how to read all of it on a trace so you are managing numbers instead of vibes. It expands the tyre section of the complete racecraft guide.
Why Tyre Management Wins Races
A fast qualifier and a race winner are often different drivers, and the difference is usually tyre management. Anyone can lean on fresh tyres for one lap; the skill is having grip left in the last ten laps when everyone else is sliding. Races are won in that final third, when the driver who managed their tyres is still hitting their marks and the driver who abused theirs is a second off the pace and praying the tyres hold.
The lever you control is energy. Every input — braking, steering, throttle — puts heat and wear into the tyre, and the more aggressively you drive, the faster you spend the tyre’s life. That does not mean driving slowly; it means driving efficiently, extracting pace without throwing away tyre. The best tyre managers look unspectacular early and devastating late, because they kept something in reserve while everyone else was burning it.
What Actually Degrades a Tyre
Three things wear a tyre out over a stint, and understanding them tells you what to manage. The first is heat: a tyre has an ideal temperature window, and pushing it too hot — through sliding, aggressive inputs, or wrong pressures — degrades the rubber and drops grip. The second is wear: the physical loss of tread and surface rubber, which is largely a function of how much you slide and how much load you put through the tyre. The third is the surface itself graining or blistering when you overwork a cold or overheated tyre.
All three are accelerated by the same thing: asking the tyre to do too much, too suddenly. A locked brake flat-spots a tyre; a big slide scrubs heat and rubber off the surface; spinning the rears on exit grains them. The unifying lesson is that violence is expensive. The smoother your inputs, the slower all three degradation mechanisms run, which is why smoothness and tyre life are the same conversation.
Driving Style: Smoothness Is Free Tyre Life
The single biggest lever on tyre wear is your own smoothness, and it costs nothing to use. Sharp brake spikes, big steering corrections, and snatchy throttle all scrub extra heat and rubber into the tyre for no lap-time benefit — they often lose time as well as tyre. Driving a notch below the absolute limit, with inputs that flow instead of stab, keeps the tyre alive far longer while barely costing pace. Here is how common input habits map to tyre cost.
| Driving habit | Effect on the tyre | The fix |
|---|---|---|
| Stabbing or locking the brake | Flat-spots and overheats the front tyres | Smooth threshold braking, trail the release |
| Big steering corrections | Scrubs heat and rubber off the surface | Smaller, earlier inputs; fix entry speed |
| Snapping to full throttle on exit | Spins and grains the rear tyres | Progressive throttle as you unwind steering |
| Sliding the car to feel fast | Overheats the surface, kills long-run grip | Keep slip angles modest, drive efficiently |
| Running over kerbs hard | Spikes load and temperature unevenly | Use kerbs sparingly on long runs |
Notice that every fix in that table is also a fix for lap time. That is the key insight: good tyre management is not a separate, slower way of driving — it is just clean driving with the long run in mind. The same smooth braking technique and clean corner exits that make you fast also make your tyres last. Tyre management is mostly the discipline to drive that way when the temptation is to lean harder.
The Temperature Window Is the Target
Every tyre has an operating temperature window where it gives peak grip, and keeping it there is the heart of management. Too cold and the rubber is hard and slippery with no mechanical grip; too hot and it goes greasy, grains, and degrades fast. The window varies by compound and car, but the principle is universal — you are trying to hold the tyre in its happy band for as long as possible across the stint.
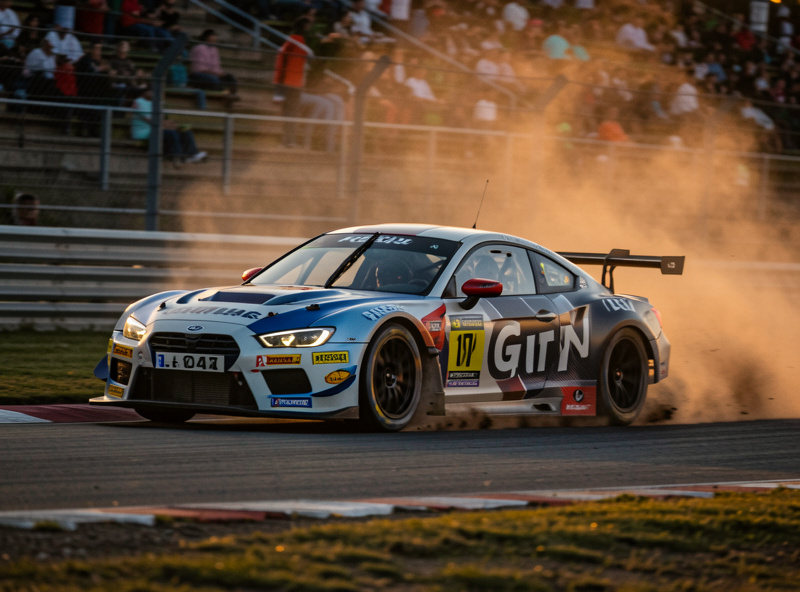
Managing the window is partly driving and partly setup. On the driving side, if a tyre is overheating you back off the inputs that load it; if it is cold you may need to work it harder early or accept reduced grip until it comes in. On the setup side, tyre pressures are the biggest lever — pressure changes how the tyre builds and holds heat — and compound choice sets the trade between outright grip and durability. The full setup side is covered in tyre pressure and compounds, and how it fits the rest of the car in the car setup guide.
Read Tyre Temps and Wear on Telemetry
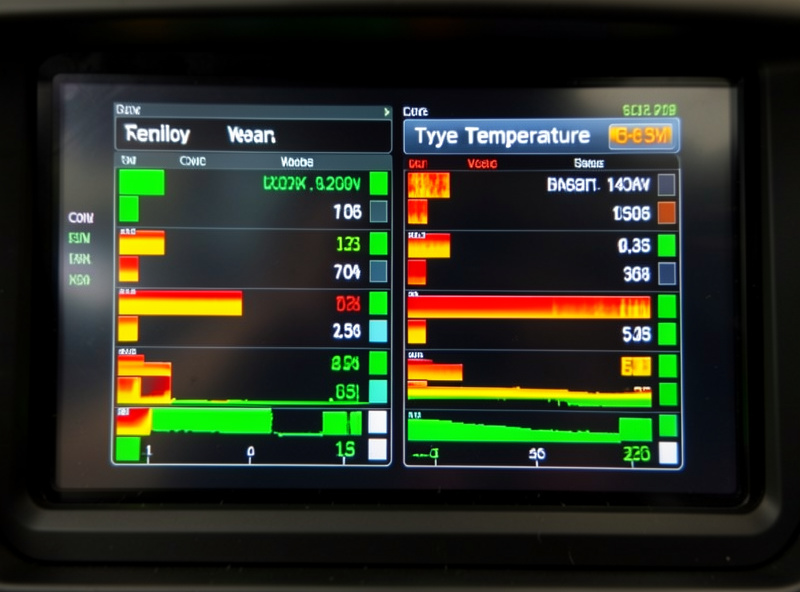
You cannot manage what you cannot see, and tyre state is something the telemetry shows you long before the seat does. Most sims expose tyre temperature — often per corner of the car and even across the tyre surface — plus a wear percentage. Watching these channels turns tyre management from guesswork into a controlled process: you see a tyre trending hot and ease off before it grains, rather than reacting after grip is already gone.
The per-tyre data also diagnoses setup and style problems. A front-left running far hotter than the others points to a balance or pressure issue; rears spiking on exit means you are spinning them up; a tyre wearing across one edge points to alignment. This is the same telemetry discipline that improves your driving generally — pull up the channel, find the problem, fix one thing, confirm it on the data. The reading telemetry data guide covers how to interpret these traces, and the broader telemetry guide sets up the workflow.
Managing a Stint: Save Early, Use Late
The strategic shape of tyre management is simple: drive a notch below the limit early, keep the tyre in its window, and have grip left when it matters. The first few laps of a stint are where overeager drivers spend tyre they will desperately want at the end. A disciplined driver runs maybe a couple of tenths off their absolute pace early, banks tyre life, and then has the grip to attack in the closing laps when rivals are sliding.
How much to save depends on the race. A short sprint may let you push almost flat out; a long endurance stint demands real discipline and constant attention to the wear channel. The judgement of when to start using the reserve is a racecraft skill in itself, and it is closely tied to consistency — a driver who can hold a steady, repeatable pace manages tyres almost automatically, because consistency and smoothness are the same habit. That connection is why the consistency training guide pairs so naturally with this one.
The Common Tyre Management Mistakes
Most blown stints come from the same handful of errors, and naming them is most of the cure. The biggest is pushing flat out from lap one, treating the start of a stint like a qualifying lap and discovering on lap fifteen that the grip is gone. The tyre does not recover — once you have cooked the surface or worn it down, that grip is spent for the rest of the run. Pace yourself into a stint the way you would pace yourself into a long effort at anything physical. I learned this the slow way in ACC: I qualified well, then drove the opening five laps of a long stint flat out as if it were a hot lap, watched my front-left tyre temp on the overlay sail clean past its window, and spent the back half of the race nursing a greasy car home a couple of seconds off the pace instead of fighting for the win. Now I run the first stint a touch down, building brake pressure progressively on my load-cell pedal set rather than stabbing it, and the wear channel stays where I want it.
The second common mistake is fighting a sliding car with more aggression. When the tyre starts to let go, the instinct is to add steering and lean harder, which scrubs even more heat and rubber off the surface and accelerates the slide into a death spiral. The correct response is the opposite: ease the inputs, give the tyre a chance to drop back into its window, and accept a slightly slower lap to save the rest of the stint. A third mistake is ignoring the wear channel entirely and driving on feel — by the time a degrading tyre feels bad, you are already several laps past where you should have backed off.
The last one is treating tyre management as a separate, defensive mode rather than just clean driving. Drivers flip into an artificially slow, tippy-toe pace that loses far more time than it saves tyre, when the real answer is to keep driving the proper line with smooth inputs and simply not overdrive the limit. Efficient is not the same as slow. The drivers who manage tyres best are not driving scared — they are driving precisely, and the tyre lasting is a by-product of doing everything else right.
Where to Go Next
Tyre management is the discipline that turns pace into results, but it only works on top of solid fundamentals, so build those alongside it. Start with the overarching racecraft guide for how the skills fit together, then tighten the inputs that protect your tyres through braking technique and corner entry and apex work. Dial in the setup side with tyre pressure and compounds, and make the whole thing repeatable with consistency training. Manage the tyre, and you will still be racing when everyone else is just surviving.