Racecraft is the set of driving skills that turn a fast lap into a finished race: braking, cornering, overtaking, tyre management, and the consistency to repeat all of it lap after lap. On my telemetry overlay, the gap between a quick driver and a slow one is almost never the wheel — it is brake release, apex line, and throttle discipline.
I have spent more hours in the force-feedback menus and the telemetry app than I care to admit, and the thing that took me longest to accept is that the rig stops being the limit very early. Once you have a rigid frame, a load-cell brake, and FFB that is not clipping, your lap time is a skill problem. This guide is the map of those skills — what each one is, the order I would learn them in, and how to prove you are improving instead of guessing. I will hedge where the pro side has settled on technique I cannot personally verify, and I will be blunt where the data on my own screen is clear.
What Racecraft Actually Is
Racecraft is everything you do with the car that is not buying hardware or building a setup. It is the input skill: how you load the brake, where you put the car on entry, when you get back to throttle, how you race wheel-to-wheel without throwing the result away. A clean lap in practice and a clean pass in traffic are two halves of the same craft.
The reason this matters more than the gear is simple: every driver in a public lobby has access to the same physics. The car is identical, the track is identical, the grip is identical. What separates a 1:58 from a 2:01 on the same machinery is the human, and the human improves by training specific skills in a specific order — not by buying a stronger wheelbase. I run mid-torque direct drive as my daily, and I have watched slower drivers on higher-torque bases get comprehensively beaten by the inputs. The torque was never the problem.
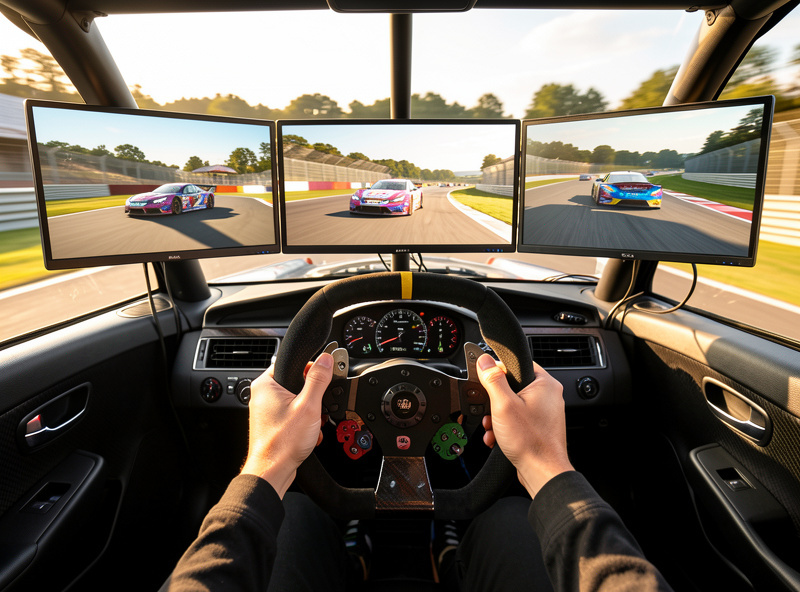
There is a useful mental split here. Pace is what you can do alone against the clock — braking, line, throttle. Racecraft in the narrow sense is what you can do with twenty other cars on track — positioning, overtaking, defending, leaving margin. You need both, and they are trained differently. If you are brand new, start with pace and clean laps; the wheel-to-wheel craft is far easier once the car stops surprising you. My racecraft guide for beginners walks the first-week version of this.
The Racecraft Skill Stack (And the Order to Learn It)
Skills compound, so the order matters. Trying to learn overtaking before you can brake consistently is how you end up in the gravel blaming the other driver. The fastest way up is to build the foundation first: get the car stopping and turning predictably, then layer race-relevant skills on top. Here is the stack I would teach, with where the time tends to hide and how to measure each one on a telemetry trace.
| Skill | Typical lap-time impact | Difficulty to learn | How to measure it on telemetry |
|---|---|---|---|
| Braking & trail braking | Largest single source of lost time | High | Brake-pressure trace shape, brake release point, peak deceleration |
| Corner entry & apex line | Several tenths per lap | High | Steering trace, minimum speed, distance to apex |
| Throttle & exit traction | Compounds down every straight | Medium | Throttle trace smoothness, wheelspin in slip channel |
| Tyre management | Wins long races, not single laps | Medium | Lap-time degradation curve, tyre temp/wear channels |
| Overtaking & defending | Race result, not lap time | Medium | Delta into and out of the corner, minimum-speed loss in traffic |
| Consistency | The skill that actually banks results | High over time | Lap-time standard deviation across a stint |
Notice that the two highest-impact, hardest skills — braking and corner entry — are at the top. That is not an accident. The corners are where time is created and destroyed, and the brake zone is the single richest place to find it. If you only train one thing this month, train the brake. Everything downstream gets easier when entry is under control.
Braking: The Biggest Time-Finder on the Lap
Braking is where most drivers leave the most time, and it is the first skill I would put real reps into. The headline number people chase is the brake point — how late you can stand on it — but on my overlay the brake point matters far less than the release. The shape of the pressure trace, how you bleed off the brake while turning in, is where the tenths actually live.
The technique that unlocks this is trail braking: carrying a trailing amount of brake pressure past the turn-in point and releasing it progressively as you add steering. Done right, it keeps weight over the front axle, sharpens the car’s rotation, and lets you hit a later, tighter apex. Done wrong, it locks a front or pitches the car into a snap. This is exactly why a load-cell brake matters more than another 5 Nm of wheelbase torque — you brake with pressure, not pedal travel, and you cannot modulate pressure you cannot feel. I cover the full progression in the dedicated braking technique guide, and the pedal hardware side in pedal position and bracing.
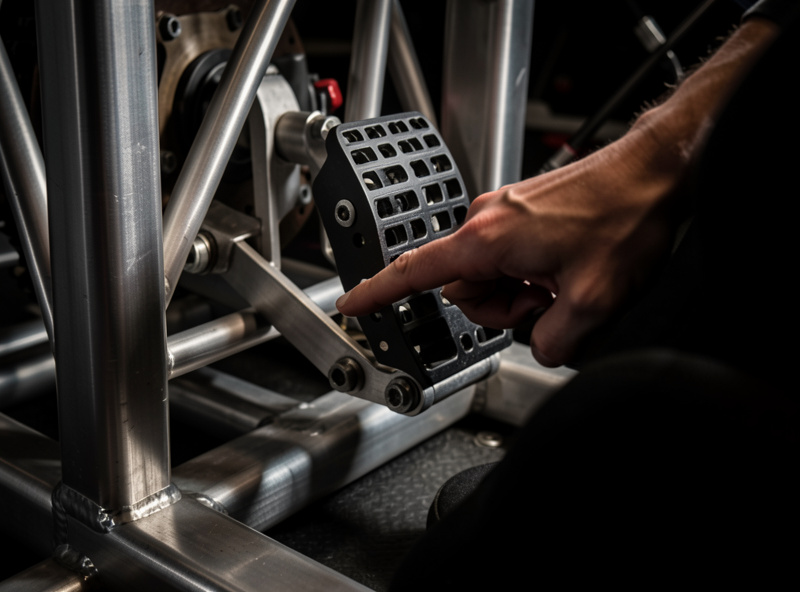
A practical starting point: brake earlier than you think, but brake harder, then practise releasing smoothly all the way to the apex. Most beginners do the opposite — they brake late, stab the pedal, and then sit at a fixed pressure that pushes the car straight on. The fix is not bravery, it is modulation. I wasted most of my own first season on exactly that mistake — braking ever later and stabbing the pedal, convinced bravery was the missing ingredient, while my brake trace sat as a flat plateau the whole time. The day I started bleeding the pressure off smoothly instead of chasing the brake point, I found more lap time than any hardware upgrade has ever handed me. Pull up a brake-pressure channel in your telemetry app and look at the trace: you want a fast rise to peak, then a smooth decay to zero at the apex, not a flat plateau. That shape is the skill.
Corner Entry, Apex, and the Line That Pays
The line is a sequence of compromises, and the one that pays is almost always the one that prioritises corner exit. The classic geometric racing line — out, in, out, clipping a late apex — exists because exit speed carries down the following straight, and a straight is the longest place a mistake gets multiplied. A tenth gained at the apex is a tenth; a tenth gained on exit becomes three by the braking zone.
Corner entry is where you set this up. Your job on entry is to get the car decelerated and rotated so that at the apex it is already pointed where you want to go, letting you unwind the wheel and feed throttle early. Get greedy on entry speed and you arrive at the apex still turning, still braking, and you have to wait — which murders exit. The discipline is counterintuitive: slow in, fast out genuinely is faster on most corners. I break down minimum-speed targeting and apex placement in the corner entry and apex guide.
Reference points are what make this repeatable. Pick a braking marker, a turn-in marker, and an apex kerb, and use the same three every single lap. Without fixed references you are improvising the corner each time, which is why your laps scatter. The FFB tells you what the front tyre is doing through all of this — understeer goes light and vague, the loaded front talks back through the wheel — which is why honest, non-clipping force feedback is part of racecraft and not just comfort. If you have never set yours up properly, start with FFB tuning for beginners and the full force-feedback tuning guide.
Throttle and Traction on Corner Exit
Exit is a throttle-control problem, and the trace you are chasing is a smooth, progressive squeeze rather than a switch. The grip available for acceleration shrinks the more the car is still turning, so getting to full throttle is a process of unwinding steering and adding throttle in proportion. Snap to 100% with the wheel still cranked and you either spin the rears or trigger traction control that scrubs your drive.
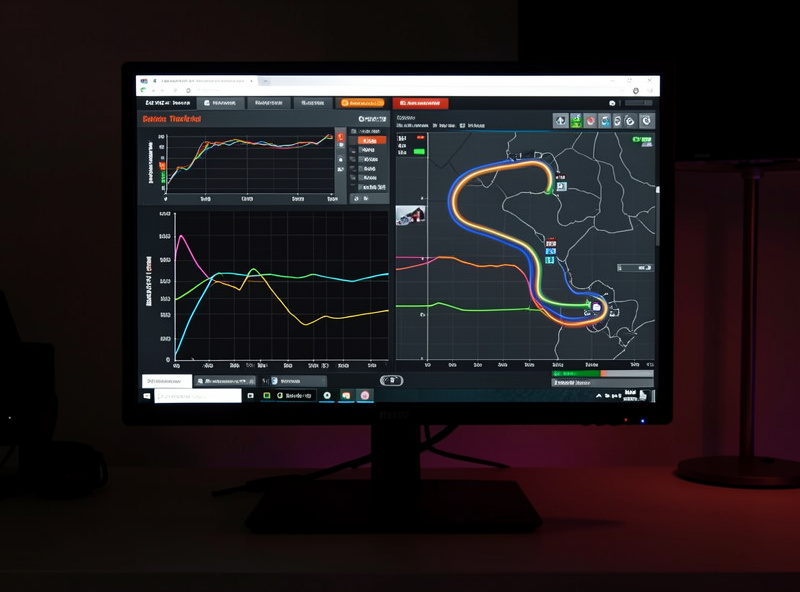
On my telemetry overlay the giveaway is the slip channel: a clean exit shows the rear tyres just kissing the edge of their slip range, while a sloppy one shows spikes of wheelspin that look fast in the cockpit and are slow on the clock. The fast version is undramatic. This is also where car setup and racecraft meet — a good differential and sane suspension tune make a forgiving exit, and a bad one makes you fight the car. If your exits feel like a knife-edge no matter how smooth you are, the differential setup is worth a look before you blame your right foot.
Overtaking and Defending Without Throwing It Away
Overtaking is mostly about exits and patience, not lunges. The reliable pass is set up a corner early: get a better drive off the preceding corner, close the gap on the straight, and complete the move into the next braking zone with the car already alongside. The cinematic late dive up the inside works occasionally and ends races regularly. The pro side has settled on the boring version because it works — win the exit, use the draft, brake from a position of strength.
Defending is the mirror image and it has rules of decency. You are entitled to one move to defend a line, and then you take a defensive but fair line into the corner. Weaving, brake-checking, and slamming the door at the apex are how you collect a penalty and a reputation. Clean wheel-to-wheel racing is what keeps your safety rating healthy and gets you into better lobbies, and the unwritten etiquette is worth internalising early — I cover it in the clean racing etiquette guide and go deeper on the mechanics in the overtaking guide.
Tyre Management Over a Stint
Tyre management is the skill that turns a fast qualifier into a race winner, and it is invisible on a single lap. Over a stint the tyre loses grip as it heats, wears, and the surface degrades, and the driver who manages that curve finishes ahead of the one who used everything in the first five laps. The lever you control is energy: how hard you brake, how aggressively you turn, and how much you ask of the rears on exit all put heat and wear into the tyre.
The practical move is to drive a notch below the limit early, keep the inputs smooth, and have tyre left when everyone else is sliding. Smoothness is not just stylish — sharp brake spikes and big steering corrections scrub heat into the surface and shorten the tyre’s life. I keep a tyre-temperature and wear channel up on the overlay during long runs so I am managing data, not vibes. The full stint strategy is in the tyre management guide, and the setup side — pressures and compounds — is in tyre pressure and compounds.
Consistency: The Skill That Actually Banks Results
Consistency is the most underrated skill in sim racing and the one that quietly wins races. One heroic lap is worthless if the next five are a second slower and one of them ends in the wall. The measurable target is your lap-time spread — the standard deviation across a stint — and tightening that distribution is worth more championship points than chasing a single quicker lap. A driver who can run within two tenths of their pace, every lap, beats a faster but scattered driver almost every time.
Consistency comes from repeatable references and repeatable inputs, which is why it sits at the top of the skill stack even though it is “just” doing the basics reliably. It is trained, not gifted: structured practice, the same reference points every lap, and honest review of where the laps that went wrong went wrong. This is the deliberate-practice side of the craft, and it is where telemetry stops being optional. I lay out a training structure in the consistency training guide, and the broader skill-development picture in the coaching and improvement guide.
Use Telemetry to Learn, Not Just to Admire
Telemetry is how you turn “that felt slow” into “I released the brake eight metres too early into turn four,” and it is the single biggest accelerator of racecraft I have used. Feel lies — the inputs that feel heroic are often slow, and the fast ones feel boring — so you need an external readout that does not flatter you. An overlay or telemetry app showing throttle, brake, steering, and speed against a reference lap turns vague frustration into a specific, fixable problem.
The workflow that works for me is simple: drive a stint, overlay your lap against a faster reference, and look for the single biggest delta loss — usually one corner, usually the brake release. Fix that one thing, prove it on the trace, then move to the next. Trying to fix everything at once fixes nothing. This is also the most transferable skill on this whole list, because it is how you keep improving long after the obvious gains are gone. Start with the telemetry guide, learn to read the channels in reading telemetry data, and use the comparison-lap workflow to find the time.
The Total System: Why You Can Even Tell If You’re Fast
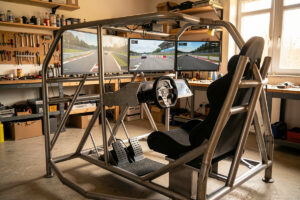
None of this works if the rig is fighting you, which is the part influencer “best wheel” lists skip entirely. A flexing frame, a numb pedal, clipping FFB, or a wrong field of view all add noise between your inputs and the result, and you cannot train a skill you cannot perceive. I weld my own frames specifically for rigidity under load, because a stiff rig is what lets the brake and the FFB tell the truth. If your field of view is wrong — and most home setups are wildly wrong — your speed and distance judgement is calibrated to a lie, and reference points stop working.
So racecraft sits on top of a stack: a rigid cockpit, honest FFB, a load-cell brake, correct FOV, and then the skills in this guide. Get the foundation right and the skills become learnable; skip it and you will plateau and never know why. The good news is that the foundation is mostly a one-time fix, while the skills keep paying back for as long as you race. If you are still building the base, the car setup guide and the setup-for-beginners guide pair naturally with everything here.
The Common Racecraft Mistakes That Cost Races
Most lost time is not exotic — it is the same handful of mistakes repeated thousands of times, and naming them is half the fix. The biggest one I see is braking too late and too softly: drivers chase the brake point like it is the whole skill, stab the pedal, then sit at a fixed pressure that pushes the car straight past the apex. The faster version is earlier, harder, and released smoothly. It feels slower in the seat and is quicker on the clock every time.
The second is over-driving entry to “make up time,” which does the opposite. Arriving at the apex still braking and still turning forces you to wait for the car, wrecking the exit and the entire following straight. The third is snapping to full throttle with the wheel still cranked, lighting up the rears or burying the car in traction control. The fourth is racing every gap like it is the last lap — diving up the inside, missing the brake zone, and collecting a penalty or a wall. And the fifth, the quiet killer, is never reviewing telemetry, so the same mistake survives for months because feel keeps telling you it was fine.
There is a mental layer underneath all of these. Racecraft under pressure is a different skill from racecraft in an empty practice session, and it is trained by exposure — more clean races, more close finishes, more situations where you have to keep your inputs smooth while a car is filling your mirrors. The drivers who stay calm and keep banking laps within two tenths of their pace are the ones who climb, not the ones with the single fastest lap. Slow is smooth and smooth is fast is a cliché because the telemetry keeps proving it. If you treat every one of these mistakes as a measurable thing to fix on the overlay rather than a character flaw, you will improve faster than chasing any hardware upgrade.
Frequently Asked Questions
What is racecraft in sim racing?
Racecraft is the set of driving skills that turn raw pace into finished races: braking, cornering, throttle control, overtaking, tyre management, and consistency. It is everything you do with the car that is not buying hardware or building a setup, and it is what separates drivers on identical machinery.
What racecraft skill should I learn first?
Braking. It is the single largest source of lost lap time, and the brake release shape on a telemetry trace is where most tenths hide. Get the car stopping and rotating predictably first, then layer cornering, throttle, and wheel-to-wheel skills on top.
Does better hardware make me faster, or is it skill?
Past a rigid frame, a load-cell brake, and non-clipping force feedback, lap time is a skill problem. A stronger wheelbase does not fix brake release or apex line. The hardware just needs to be honest enough that you can feel and train the inputs.
How do I actually measure my racecraft improvement?
Use telemetry. Overlay your lap against a faster reference and look at the brake, throttle, steering, and speed traces. Lap-time standard deviation across a stint measures consistency, and delta loss per corner shows exactly where you are losing time.
Why am I fast on one lap but slow over a race?
That is a consistency and tyre-management gap, not a pace gap. One heroic lap is worthless if the next five scatter or you overheat the tyres early. Driving a notch below the limit with repeatable references banks more results than chasing a single quick lap.
What is the safest way to overtake in sim racing?
Set the pass up a corner early: get a better drive off the previous corner, close on the straight, and complete the move into the next braking zone already alongside. Late dive-bomb lunges work occasionally and end races regularly.