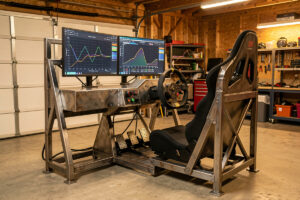
Sim racing telemetry is the recorded data trace of every input and output of your car during a lap — throttle, brake, steering, speed, gear, and dozens of channels more — plotted so you can see exactly where you are fast and where you are bleeding time. On my rig, telemetry is the difference between feeling slow and knowing why: a single overlaid lap usually finds two or three tenths I could not feel.
I have spent more evenings than I will admit staring at brake traces and steering-angle channels instead of actually driving, and that is the honest truth about getting quick in a simulator. The wheel rim and the base torque get all the marketing, but the lap time lives in the data. This guide is the map of the whole subject — what telemetry is, which tools read it, how to interpret the traces, and where each sub-topic goes deeper. Treat it as the hub; follow the links into each spoke when you want the detail.
What Sim Racing Telemetry Actually Is
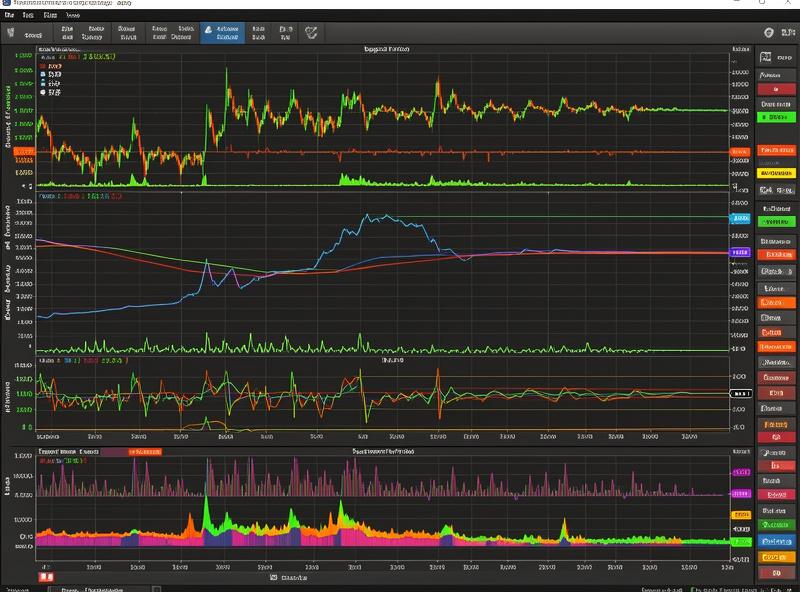
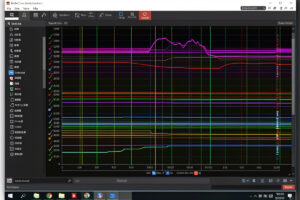
Telemetry is a time-series log. Every few milliseconds the sim writes the state of the car to a data stream, and a telemetry application reads that stream and turns it into graphs you can scrub through. A typical lap holds throttle position as a percentage, brake pressure or position, steering angle in degrees, speed, RPM, gear, lateral and longitudinal G, and — on the deeper tools — tyre temperatures, slip ratios, suspension travel, and ride height.
The reason this matters is simple: the human seat-of-the-pants sense is a low-resolution instrument. I can feel that a corner went badly, but I cannot feel that I released the brake 12 metres too early or that I was carrying four degrees of extra steering lock mid-corner. The data can. The whole craft of using telemetry is learning to translate a wobbly line on a graph into a specific change you make next lap.
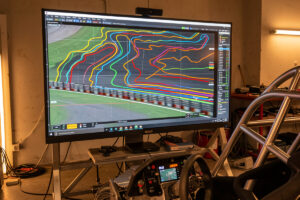
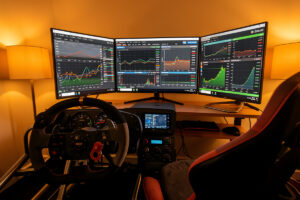
Sim telemetry comes in two broad flavours. In-sim overlays show you live channels and a delta bar while you drive — useful for instant feedback. Post-session analysis tools record the whole stint and let you compare laps side by side after the fact, which is where the real learning happens. Most serious setups use both, and I run an overlay on track plus a dedicated analysis app for the debrief.
The Channels That Actually Change Your Lap Time
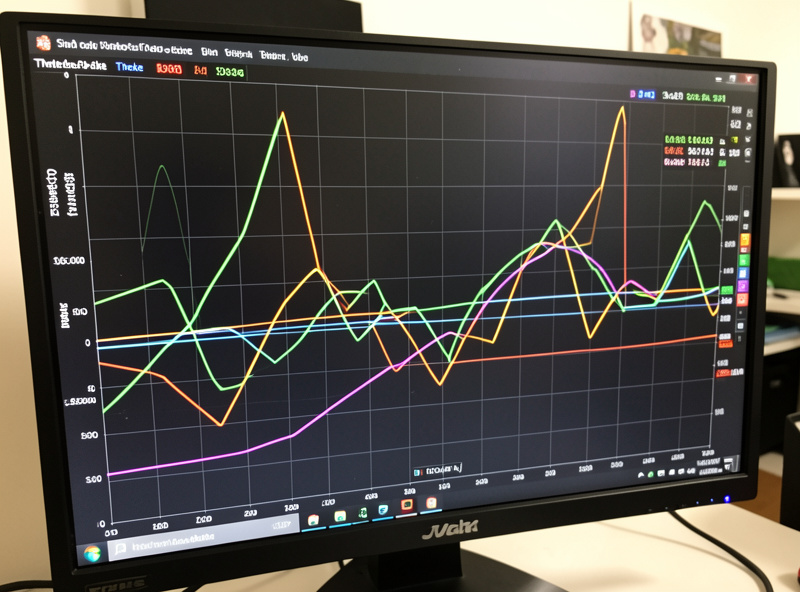
You do not need every channel to get faster. Out of the dozens a sim exports, four do most of the heavy lifting: throttle, brake, steering angle, and speed. Lay those four over a reference lap and you will spot the majority of your lost time before you ever open a tyre-temperature graph. The advanced channels matter, but they refine a lap that is already roughly right.
Throttle trace tells you about corner exit — how early and how smoothly you got back to power. Brake trace tells you about corner entry — peak pressure, how you trailed off, and whether you were stabbing or squeezing. Steering angle reveals understeer (lots of lock, little rotation) and over-correction (sawing at the wheel). Speed is the scoreboard: where the two lines diverge is where the time goes. I have a whole spoke on reading telemetry data for lap improvement that walks each of these channels trace by trace.
Once those four make sense, the deeper channels open up. Tyre temperature and slip tell you whether your setup is even letting the car do what your inputs ask — covered in the suspension and tyre telemetry guide. Sector and mini-sector splits tell you where on the track to look first, which is the job of the track map and sectors guide.
The Telemetry Tools, Compared
There is no single best telemetry tool — there is the right tool for your sim, your budget, and how deep you want to go. Some are free and built into the title, some are paid analysis suites, and some are overlays that sit on top of everything. The table below is how I think about the main options I have actually run on my rig.
| Tool | Type | Best For | Cost | Sims Supported |
|---|---|---|---|---|
| MoTeC i2 Pro | Pro analysis suite | Deep multi-channel analysis, the pro-standard workflow | Free (i2 Standard/Pro) | iRacing, ACC, AMS2, rF2 (via export) |
| iRacing built-in | In-sim + export | Native data, easy export to MoTeC | Included | iRacing only |
| SimHub | Overlay + dashboards | Live overlays, delta bars, custom dashes | Free / pay what you want | Most major sims |
| Racelab / Z1 Analyzer | Overlay + analysis | Turnkey overlays and guided analysis | Subscription / paid | iRacing, ACC, others |
| ACC MoTeC export | Native export | Built-in ACC logging straight to MoTeC | Included | ACC only |
My own workflow leans on MoTeC i2 for the serious debrief because it is the same software the pro side has settled on, so the skills transfer and the documentation is everywhere. For live track feedback I run a SimHub overlay. If you are starting from zero, the deep dive on MoTeC and telemetry for sim racing is where I would send you first, and the iRacing AI and data analysis tools spoke covers the newer assisted-analysis options that try to read the data for you.
How to Read a Telemetry Trace Without Drowning in Data
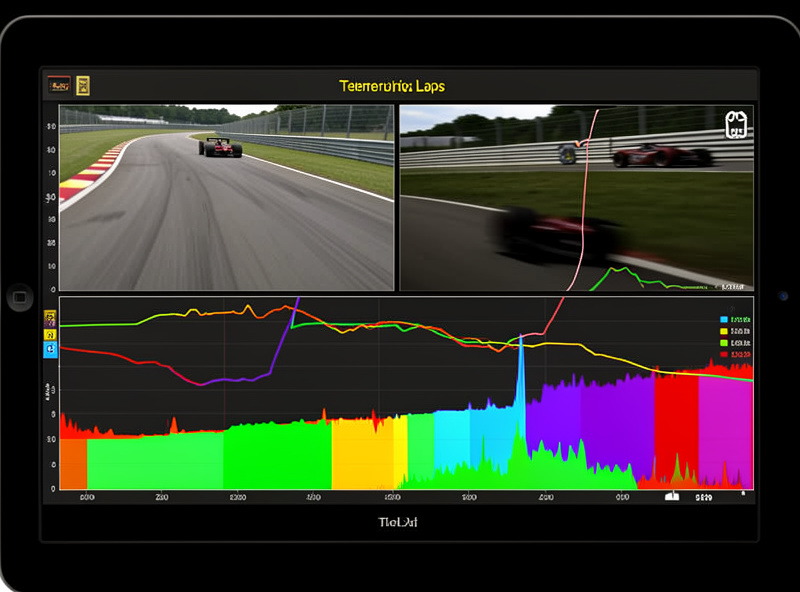
The single most useful skill is the overlay comparison: putting your lap on top of a faster reference lap and reading the divergence. Where your speed trace drops below the reference, you lost time; the throttle, brake, and steering traces at that same point tell you why. This is the core loop, and almost every gain I have found came from it rather than from staring at one lap in isolation.
Start with the delta. The cumulative time-delta channel shows the running gap between your lap and the reference; when the line rises, you are losing; when it falls, you are gaining. Find the steepest rising sections first — that is where the biggest tenths hide. Then drop into that corner and read the inputs. Was the brake later but lighter? Did the reference get to throttle a car-length earlier? Was your steering trace sawing while theirs was one clean arc?
The discipline is to change one thing at a time and re-run. Telemetry rewards the patient. If you fix three things at once you will never know which one worked. I keep the comparison spoke close to hand for this — comparison laps with telemetry goes through the whole overlay-and-delta method in detail, including how to pick a good reference lap in the first place.
Why Your Hardware Decides Whether Telemetry Even Helps
Here is the part the data-analysis crowd skips: telemetry can only show you inputs you are actually capable of repeating. If your brake pedal is a potentiometer that reads travel instead of a load cell that reads pressure, your brake trace will be noisy and inconsistent no matter how good your eyes are. The data is honest, but it can only measure what your hardware lets you do.
This is why I push people toward the right upgrade order — rig rigidity, then pedals, then wheelbase, then rim — before they obsess over data. A load-cell brake set produces a clean, repeatable brake trace because you are modulating force, not guessing at travel; I cover why in the sim racing pedals guide. A torsionally stiff rig means your steering inputs land where you put them instead of being absorbed by frame flex. And a direct-drive base gives you the force-feedback resolution to feel the grip the telemetry is graphing — the direct drive vs belt drive comparison explains the difference.
Latency matters too. If your internet and network setup is adding jitter, or your display is adding frames of input lag, the car you feel is not quite the car the telemetry recorded. I run the sim PC on a wired low-latency link straight to the router for exactly this reason — the whole point of telemetry is to trust the trace, and you cannot trust it if the system between your hands and the data is sloppy. The same logic applies to your field of view: get the geometry wrong and your sense of speed and braking points will fight the data.
Telemetry and Force Feedback: Two Views of the Same Grip
Force feedback and telemetry are the same information delivered to two different senses. The FFB tells your hands what the front tyres are doing in real time; the telemetry tells your eyes the same story after the lap. Learning to cross-reference them is a genuine shortcut: when the FFB goes light mid-corner and the telemetry shows a speed drop and a flat throttle, you have a confirmed understeer problem rather than a vague feeling.
This is also how you diagnose FFB clipping properly. An overlay that shows force-feedback output against the clipping ceiling tells you when the wheel is saturating and losing detail — the moment the trace flat-tops, you have lost information through your hands. I tune my per-title FFB profiles partly off this, dropping max force until the peaks stop clipping. The wheel damper and friction settings guide gets into the feel side, and the broader sim racing skills guide ties telemetry, FFB, and driving technique together.
Per-Sim Differences You Need to Know
Telemetry is not identical across titles. iRacing exports clean native data and has a strong export path into MoTeC, which is why it is the default for serious data work; the iRacing beginner guide and the iRacing series progression guide are good companions. ACC has built-in MoTeC logging that you enable in the config, and its tyre and damper channels are excellent — see the ACC setup guide and the complete ACC guide.
AMS2 and rFactor 2 expose their own data and are superb for feeling FFB-physics differences, though their analysis pipelines are less polished than iRacing’s. Whichever title you race, the principle holds: the channels mean the same thing, only the export route changes. If you are still choosing a sim, the best sim racing games guide covers which titles take data seriously, and the broader complete rig build guide covers the hardware around it.
A Realistic Telemetry Workflow
Here is the loop I actually run, stripped of ceremony. Drive a clean reference stint of five or six laps. Pick your best lap and a faster reference — a teammate, a shared fast lap, or your own session best. Overlay them, read the delta, and find the two biggest losses. Make one change — a later brake point, an earlier throttle, a tidier line through one corner — and run another stint. Re-overlay. Keep what worked, discard what did not.
Once the driving is roughly right, move to setup. Now the tyre and suspension channels earn their keep: temperatures across the tread tell you about camber and pressure, suspension travel tells you about ride height and bump, and slip channels tell you whether the car is on the edge or past it. This is the territory where setup work and telemetry merge, and where the car setup guide and the coaching and improvement guide become essential reading.
The mistake almost everyone makes — me included, for years — is jumping to setup before the driving is consistent. Telemetry will happily show you a setup change that masks a driving flaw. Get the inputs repeatable first; the data is most honest when you are. For haptic feedback while you learn, a bass shaker setup pairs well with the same SimHub instance that runs your overlays.
Turning Logging On: The Practical First Step
Before you can read anything, the sim has to be writing data. In iRacing the telemetry is always recorded to disk for your own laps, and you export the .ibt file into MoTeC or open it in a compatible analyzer; you can also bind a key to capture a memory buffer mid-session. In ACC you enable MoTeC logging in the configuration so each session writes a .ld file you load straight into i2. AMS2 and rFactor 2 use a shared-memory or motion plugin that overlay tools tap, with their own export options for deeper work.
The single setting people forget is sample rate. A higher logging frequency captures fast transients — the spike of an ABS event, the flicker of a snap of oversteer — that a coarse rate smooths away. For driving analysis the default rates are fine; only when you are chasing damper or ABS behaviour does the higher rate earn its overhead. Whatever you pick, keep it consistent so laps compared across sessions line up channel for channel.
One more habit worth building early: name and save your reference laps deliberately. A folder of well-labelled fast laps per car and track is worth more than any single clever analysis trick, because the whole method depends on having a trustworthy lap to measure yourself against. I keep mine organised by car class first, then track, so the right reference is one click away when I sit down to debrief.
The Telemetry Mistakes That Waste Your Evening
The most common error is comparing against the wrong reference. If you overlay your lap against an alien running a radically different setup or driving style, the telemetry will tell you to do things your car cannot do. Pick a reference that is fast but achievable — ideally one a sensible step ahead of you, not three seconds clear — so the deltas point at changes you can actually make. A reference half a second quicker teaches more than one two seconds quicker.
The second mistake is reading absolute numbers instead of shapes. Telemetry is most powerful as a comparison of trace shapes — the curve of a brake release, the smoothness of a throttle application — not as a hunt for a magic peak-pressure figure. Two drivers can hit the same peak brake pressure and post wildly different corner-entry speeds because of how they got there and how they came off. Read the shape of the line, then the numbers.
Third: chasing the lap instead of the stint. A single perfect lap that you cannot repeat is worth far less than a consistent stint two tenths slower, because races are run on consistency. When I analyse, I look at how tightly my laps cluster as much as how fast the best one was — a tight cluster means the inputs are repeatable, which is the foundation everything else builds on. Telemetry shows consistency beautifully: lay five of your own laps over each other and the corners where the traces fan apart are the corners you have not yet learned.
Finally, do not ignore the parts of the system between you and the data. A flexing rig, a noisy pedal, a display adding input lag, or a jittery network connection all corrupt the relationship between what you intend and what the sim records. The data is only as honest as the hardware feeding it — which is exactly why I treat the rig, pedals, and network as part of the telemetry stack, not separate from it.
Frequently Asked Questions
Do I need telemetry to get faster in sim racing?
Not at the start, but it becomes the fastest learning tool once your driving is consistent. A single overlaid comparison lap usually reveals two or three tenths you cannot feel from the seat, which is hard to match with practice alone.
Is MoTeC free for sim racing?
Yes. MoTeC i2 Standard and i2 Pro are free downloads, and both iRacing and ACC export data into them. You only pay for MoTeC if you move into their professional logging hardware, which sim racing does not need.
What is the most important channel to read first?
Speed against a reference lap, because it shows where you lose time, then the brake and throttle traces at that point to show why. Those three channels find most lost time before you ever look at tyre temperatures or slip.
Can telemetry fix a bad setup or do I need to drive better first?
Drive consistently first. Telemetry will show setup changes that mask driving flaws, so a repeatable input pattern across several laps is the prerequisite. Once your laps are consistent, the tyre and suspension channels make setup work productive.
Does my hardware affect how useful telemetry is?
Significantly. A load-cell brake produces a clean, repeatable brake trace because you modulate force rather than travel, and a rigid rig keeps steering inputs accurate. Telemetry can only show inputs your hardware lets you reproduce.
What is FFB clipping and how does telemetry show it?
Clipping is when force-feedback output saturates at the wheel ceiling and loses detail. An overlay plotting FFB output against the clipping line shows it as a flat-topped trace; lower your max force until the peaks stop flattening.