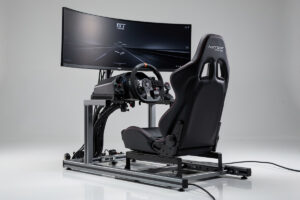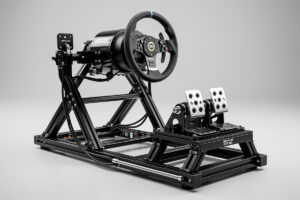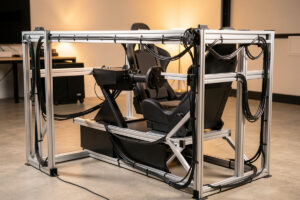
Cable management for a sim rig is the 30-minute finishing job that separates a cockpit that feels built from one that feels like a pile of gear. A finished rig has a dozen cables — base power, pedal USB, wheel data, shifter, handbrake, button box, monitor power and signal, shaker amp, and the PC link — and routing them along the frame keeps them off your pedals, off the floor, and from yanking on connectors mid-session. Left loose, one snagged cable can drop an input in the middle of a corner.
I route everything on my rig along the profile channels and the frame tubes, and the payoff is not just looks: a tidy loom means nothing catches my heels, nothing pulls on a USB port, and a cable never wanders into the pedal travel. It also makes the rig portable — when I reconfigure, I am not untangling a knot. Here is the practical approach, cable by cable, plus the network side that matters more than people think.
Separate Power From Data
The first rule is to keep power cables and data cables on separate runs where you can. Wheelbase power, monitor power, and the shaker amp all carry mains or high-current DC, while the USB and signal cables are low-voltage data. Running them bundled tightly together can, in the worst cases, introduce interference, and more practically it just makes a thick, stiff loom that is hard to route. Send power down one side of the frame and data down the other, and the whole job gets easier.
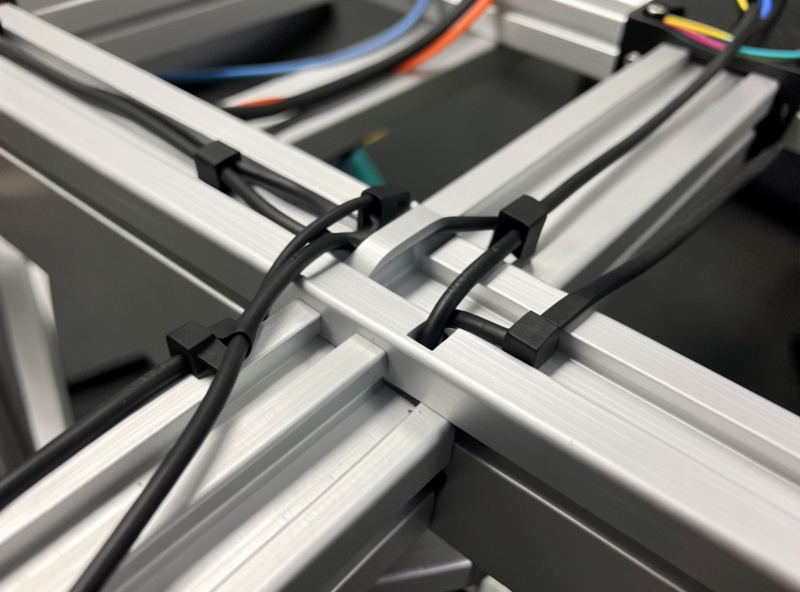
On a profile rig, the T-slot channels are made for this — they swallow zip ties and adhesive clips, and you can tuck thin cables right into the slot. On a welded rig, adhesive-backed clips or P-clips screwed to the tube do the same job. Either way, the principle is to give every cable a defined path along the structure instead of letting it take the shortest sagging line through the air. Map the runs before you tie anything down.
Route, Clip, and Sleeve
The three tools that do almost all the work are reusable cable ties, adhesive clips, and braided sleeve. Reusable hook-and-loop ties are better than one-use zip ties on a rig because you will reconfigure, and re-tying takes seconds. Adhesive or screw-down clips anchor a run at intervals so it follows the frame. Braided sleeve gathers several cables into one clean bundle for the long runs, like the loom from the rig back to the PC. A basic cable management sleeve and tie kit covers the whole rig for a few dollars.
As an Amazon Associate I earn from qualifying purchases.
Work from the components inward to the PC. Start at the wheelbase, pedals, and shifter, route each cable to the nearest frame member, clip it, then run it along the structure toward where everything gathers. Leave a small service loop at each device so you can pull the unit for maintenance without unthreading the whole loom. Tie the bundle off at intervals so no section sags into your legs or the pedal area. Tidy does not mean drum-tight — leave enough slack that connectors are not under tension.
Strain Relief at Every Connector
The single most important habit is strain relief: never let a cable’s weight or a snag pull directly on the connector. USB ports on wheelbases and pedals are not built to take repeated yanking, and a port worked loose over time causes intermittent dropouts that are maddening to diagnose. Anchor each cable to the frame within a few centimeters of where it plugs in, so any pull lands on the clip and the frame, not on the socket.
This matters most for the pedal cable, which lives right in the danger zone under your feet. Route it up and out of the pedal travel immediately, clip it to the frame, and give it a service loop — a pedal USB that gets caught and tugged mid-braking can drop your brake input at the worst possible moment. The same goes for the wheel-side data cable, which moves as you steer; leave it enough slack for full lock and anchor it so it never pulls at the base. I keep my pedal and wheel cables clipped within a hand’s width of their ports for exactly this reason.
Tame the USB Sprawl With a Hub
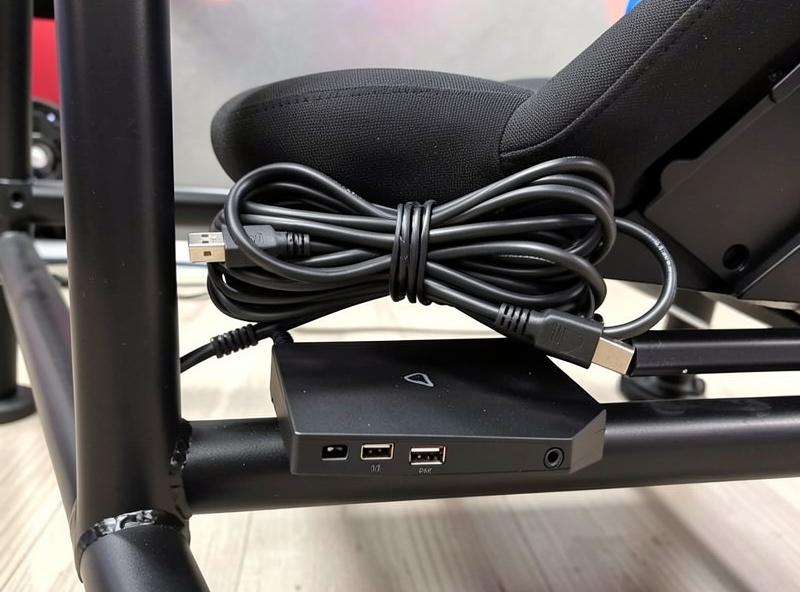
A full rig has a lot of USB devices — wheelbase, pedals, shifter, handbrake, button box, and often a shaker controller — and running a long cable from each one all the way to the PC creates a tangle and eats every port on the machine. The fix is a powered USB hub mounted on the rig itself — I run a 7-port powered Anker hub bolted under the seat, because an unpowered hub browns out the wheelbase and pedals the moment three high-draw devices wake at once. Every device plugs into the hub with a short cable, and a single cable runs from the hub to the PC. It cleans up the loom dramatically and, with a powered hub, keeps high-draw devices stable.
Mount the hub somewhere central on the frame, under the seat or behind the wheel deck, where all the short device cables can reach it. This also makes the rig genuinely portable — one USB cable and one power cable to the PC, and the whole cockpit disconnects cleanly. The details of choosing and wiring a hub are in the USB hub setup guide, and the loom approach here ties straight back into the broader sim racing rig build guide.
Do Not Forget the Network
One cable matters more than all the others for online racing, and it is the one most people leave on Wi-Fi: the network link. I run wired ethernet straight from the sim PC to the router — the same box that segments my home network puts the sim PC on a low-latency wired link, because Wi-Fi is for laptops, not racing. A few milliseconds of jitter or a dropped packet is the difference between holding a clean draft and a disconnect that ruins a race and your safety rating.
Treat the ethernet run as part of the rig’s cabling: route it along the same path as the rest of the loom, clip it, and give it strain relief at the PC end. A wired connection removes a whole category of online problems that no amount of FFB tuning or hardware will fix, and it costs the price of a cable. The full case for wired racing and choosing your connection is in the sim racing internet setup guide.
Get the Cable Lengths Right
Half of a messy loom is just wrong-length cables. The stock cables that ship with peripherals are sized for the worst-case desk setup, which means most of them are far too long for a compact rig, and the excess has to coil up somewhere ugly. Where a device lets you swap the cable, fit one cut to the run plus a small service loop — long enough to pull the unit for maintenance, short enough that there is no coil to hide. For the wheelbase and monitor power you usually live with the supplied length, so route the slack into a neat figure-eight tied off against the frame rather than a tangled bundle.
The opposite mistake is buying everything too short and putting connectors under tension, which defeats the strain relief. The right answer is a small set of cables in a couple of lengths so each run is close to ideal. It is a cheap fix that makes the difference between a loom that looks intentional and one that looks like it happened by accident. Measure the actual run along the frame, not the straight-line distance, because routing along the structure always adds length.
Keep the Loom Serviceable
A rig is never truly finished — you will add a shifter, swap a base, or move a monitor — so build the loom to come apart. That means reusable ties instead of zip ties on anything you might touch again, a service loop at every device, and bundles that open without cutting. When I add a piece of gear, I want to drop one new cable into the existing run and re-tie a couple of clips, not rebuild the whole loom.
It also helps to label the cables at the PC end if you run a lot of USB devices, because a powered hub with six identical black cables is impossible to trace blind. A wrap of tape with a name, or simple cable markers, turns a ten-minute guessing game into a glance. The goal through all of this is the same: a cockpit you can reconfigure as your gear evolves without dreading the wiring.
Finishing the Rig
With power and data separated, every run clipped to the frame, strain relief at each connector, the USB sprawl gathered into a hub, and a wired network in place, the rig is genuinely finished. It looks built, nothing fouls your feet, and a yanked cable can no longer corrupt a session. It is the least glamorous part of a build and one of the most satisfying, because a clean cockpit is one you actually want to sit in. From here, the rest of the cluster covers the parts the cables connect — the monitor mounting guide, the pedal plate and heel rest guide, and the aluminum profile frame it all bolts to. For the wider workspace around the rig, the sim racing space setup guide covers lighting and ergonomics.