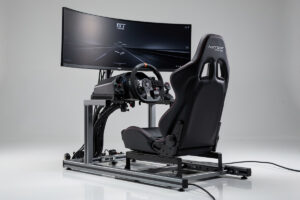
A sim rig monitor mounting guide really answers two questions: how to hold the screen dead steady, and how far it should sit from your eyes. Mount the display so it does not shake when the force feedback loads up, set the eye-to-screen distance to match your field of view, and a single 32-inch screen will feel more immersive than triples mounted wrong. Screen shake is the immersion killer almost nobody diagnoses.
I have run triple monitors and a single ultrawide on my rig, plus VR for special cases, and the mounting principles are the same across all of them: rigid, repeatable, and at the right distance. The screen is part of the rig structure, not an accessory you bolt on at the end — a heavy panel cantilevered off a flimsy arm will judder every time the wheel kicks, and a juddering image breaks the exact sense of speed you built the rig to feel. Here is how to mount each display type so it stays still and sits where the geometry wants it.
Mount to the Rig or a Freestanding Stand
There are two honest ways to hold sim racing monitors: bolt them to the rig itself, or stand them on a separate heavy-duty floor stand. Rig-mounted screens move with the cockpit, save floor space, and keep your eye-to-screen distance locked no matter how you bump the rig. A freestanding stand isolates any residual screen shake from the frame and lets you slide the whole monitor wall back and forth independently, which is handy in a tight room.
I run mine rig-mounted because I want the geometry fixed — if the screens are bolted to the same frame as the seat, the distance from my eyes to the panel never changes, and that distance is what sets the FOV. Whichever route you choose, the non-negotiable is mass and bracing. A wobbly stand is worse than no stand. If you go freestanding, buy a genuinely heavy triple monitor sim racing stand rated for your panel weight, not a light desk arm pressed into service.
As an Amazon Associate I earn from qualifying purchases.
VESA Mounts and the Bracket Standard
Almost every sim monitor mount attaches via VESA — the standard hole pattern on the back of the panel, usually 100 by 100 mm or 75 by 75 mm on smaller screens, and 200 by 100 mm or larger on big panels. Before you buy any mount, check your monitor’s VESA pattern and weight, then match the bracket to both. A mount rated for a 7 kg panel will sag under a 12 kg 34-inch ultrawide, and sag is just slow-motion screen shake.
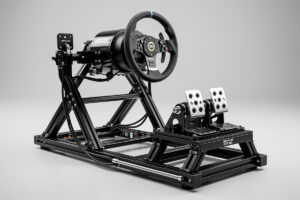
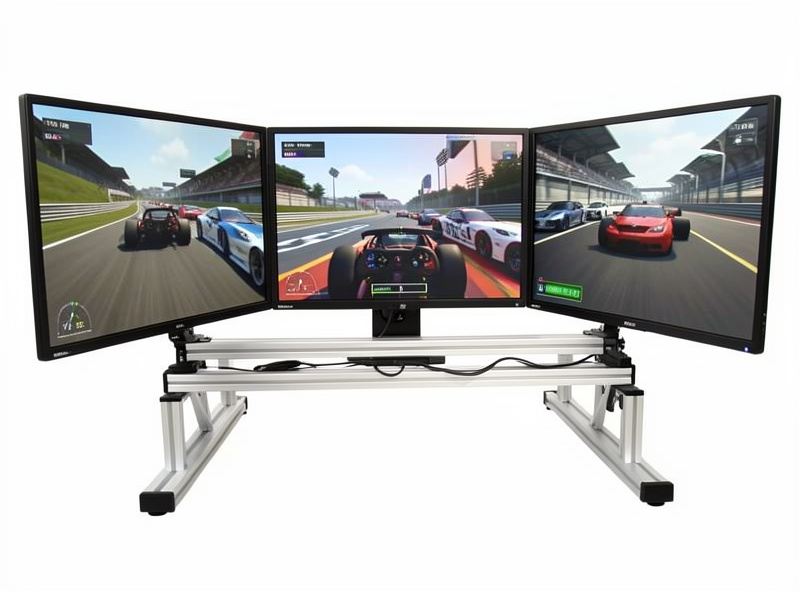
For a rig build, the cleanest approach is a monitor crossbar in aluminum profile with VESA brackets that bolt to it, because it ties the screens into the same rigid frame as everything else. For triples, you want three independently angled brackets so you can toe the side screens in. The arm or bracket should clamp hard enough that the panel does not nod when you tap it — if it bounces, it will bounce under FFB load too.
Angling Triples and Placing an Ultrawide
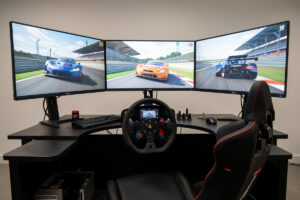
Triple monitors only work if you angle the side screens inward to wrap the image around your peripheral vision. Mounted flat in a straight line, triples give you three separate windows with a broken horizon; angled correctly, they become one continuous field. The exact angle depends on your screen size and viewing distance, but the side panels typically toe in somewhere around 45 to 60 degrees for a close cockpit. Set the bezels as close to touching as the mounts allow so the gap between screens is minimal.
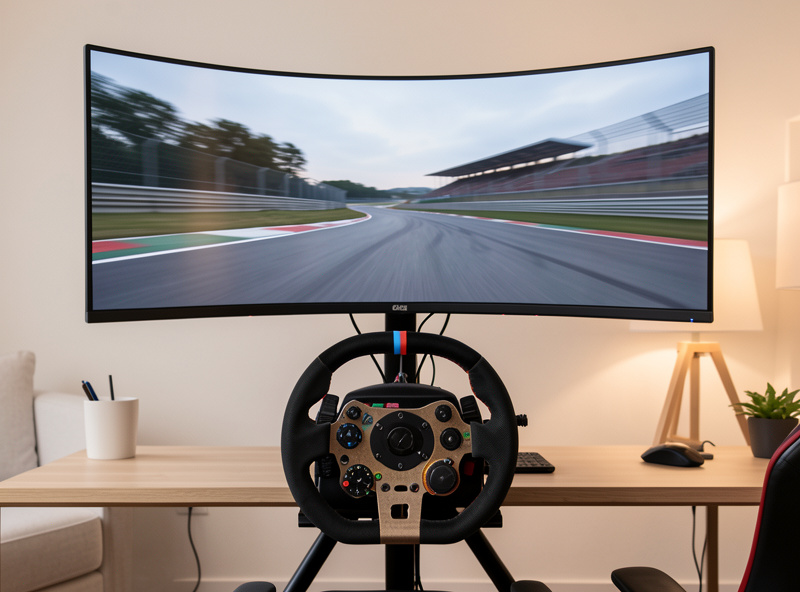
An ultrawide is simpler to mount — one panel, one bracket — but height and distance matter just as much. The center of the screen should sit roughly at your eye line when seated in driving position, and a curved ultrawide should be close enough that the curve wraps slightly into your peripheral vision. The deeper trade-off between the two layouts is in the triple vs ultrawide comparison, and the panel picks themselves are in the best sim racing monitors guide.
Distance Is FOV, and Most Setups Get It Wrong
The most important mounting number is not the angle — it is the distance from your eyes to the screen, because that distance plus the screen size sets your field of view. Run the FOV too wide, which most people do because the correct value looks uncomfortably zoomed-in at first, and the car appears too small, the sense of speed deflates, and your braking and apex references quietly lie to you. Solve the geometry and the car snaps to the right size and your references become trustworthy.
Mounting and FOV are linked: where you fix the screen determines the distance, and the distance determines the correct FOV. That is exactly why I bolt my screens to the rig — once the distance is locked, I set the FOV once and never touch it. Run the numbers with the FOV calculator guide before you finalize the mount position, and you will know exactly how far the panels need to sit. This single step does more for immersion than any monitor upgrade.
Bracing, Cables, and Finishing the Mount
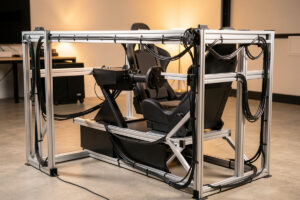
A heavy monitor on a long arm puts a lever load on whatever it bolts to. If you mount triples high on a profile crossbar, add a brace from the crossbar back down to the main frame so the screens cannot nod forward over time. The taller and heavier the screens, the more this matters — and a triple-screen wall is heavy enough that its power and bracing deserve their own thought, which is covered in the triple-monitor power and backup guide.
Finally, route the monitor power and signal cables along the profile channels rather than letting them dangle — a snagged display cable is just as annoying as a snagged pedal lead. The full routing approach is in the cable management guide. With the screens steady, braced, and at the right distance, the mount is done, and it slots back into the broader sim racing rig build guide. If you are still weighing a screen against a projector, the monitor vs projector comparison covers that fork.
What About VR Instead of a Mount?
Virtual reality sidesteps the whole mounting problem — there is no panel to brace, no FOV to calculate, because the headset gives you a correct one-to-one field of view and full head movement by default. For pure immersion and spatial awareness in traffic, nothing a flat panel can do touches a good headset, and I keep VR on the rig for exactly those sessions. The trade-offs are clarity at distance, the weight on your face over a long stint, and the GPU load, which is why I run both rather than picking one.
If you do run VR, you still want a small monitor mounted somewhere on the rig for menus, setup screens, and spectating between sessions — fishing for the keyboard blind under a headset gets old fast. So even a VR rig usually has one modest panel bolted to it, mounted the same way: rigid, braced, and out of the way of your hands on the wheel. The full headset and setup side is in the VR setup guide.
Frequently Asked Questions
Should I mount sim racing monitors to the rig or a separate stand?
Either works if it is rigid. Rig-mounted screens move with the cockpit, lock your eye-to-screen distance, and save floor space. A separate heavy floor stand isolates screen shake from the frame and lets you slide the monitor wall independently. The rule is mass and bracing — a wobbly mount is worse than none.
What VESA mount do I need for a sim racing monitor?
Match the bracket to your panel’s VESA hole pattern and weight. Most monitors use 100 by 100 mm; large panels use 200 by 100 mm or bigger. Check both the pattern and the rated weight, because a bracket that is under-rated will sag, which behaves like slow screen shake under force feedback.
What angle should triple monitors be set at?
Toe the side screens inward so they wrap your peripheral vision into one continuous image. For a close cockpit, the side panels typically angle in around 45 to 60 degrees, with the bezels set as close to touching as the mounts allow. The exact angle depends on screen size and viewing distance.
How far should a sim racing monitor be from my eyes?
Far enough to set the correct field of view for your screen size. Distance plus screen width determines FOV, and most setups run too wide because the correct value looks zoomed-in at first. Use an FOV calculator, then mount the screen at the distance it specifies and lock it there.
Do monitors need to be mounted at a specific height?
Yes. The center of the screen should sit roughly at your eye line when seated in driving position. Too high or too low forces your neck and throws off your sense of the horizon. On a rig, set the height once with the seat in its final position, then brace it so it cannot drift.