The best encoder for sim racing is a 20-detent EC11-type rotary with a push function, because it gives you crisp, countable clicks for cycling traction control, ABS and brake bias plus a button for confirming. The encoder type matters more than the brand: detented over smooth, quadrature output, and firmware that emits one clean pulse per click.
Rotary encoders are the controls I touch most after the paddles, and they’re also the part of a button box people most often buy wrong — grabbing a smooth potentiometer-style knob when they needed a stepped quadrature encoder, or a 30-detent dial that overshoots. This guide covers what to look for, the types worth your money, and how they behave in-game. It’s a companion to the button box guide and the DIY build.
Encoder versus potentiometer: get this right first
A rotary encoder sends incremental step pulses and spins endlessly; a potentiometer reports an absolute position over a fixed arc. For sim racing you almost always want an encoder, because in-car settings like TC and brake bias are relative “up one, down one” adjustments, not absolute dials. A pot maps badly to those functions and runs out of travel.
The confusion is understandable — they look identical with a knob on top. But functionally they’re opposites. An encoder turns forever and counts clicks; a pot has a start and an end and reports where it’s pointing. Every TC/ABS/bias rotary on my rig is an encoder. The only place a pot earns a spot is something genuinely analogue, like a brake-bias axis in a title that reads it as an axis rather than buttons — rare enough to ignore for a first build. Stick with a detented encoder for every adjustable setting and you will never have to revisit that decision once the box is wired.
Detents, steps and pulses per revolution
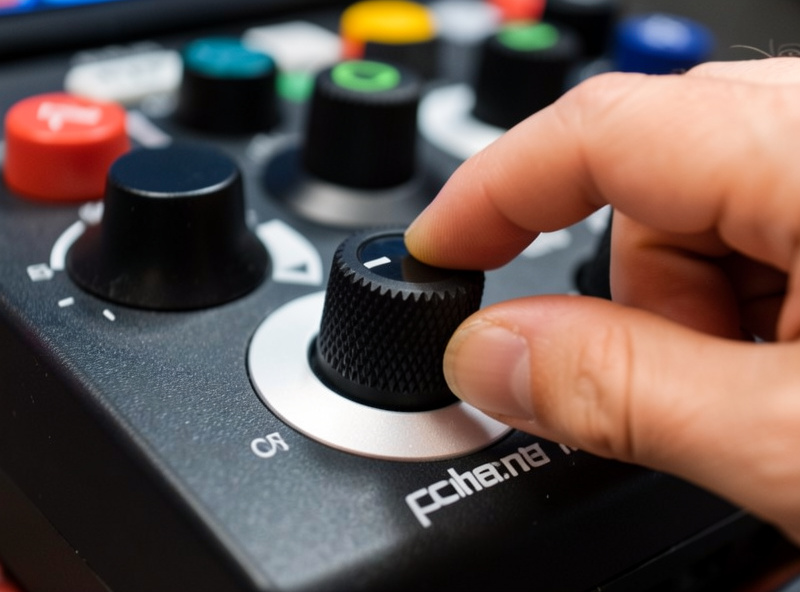
Detents are the tactile clicks per rotation, and for sim racing 20 detents is the sweet spot — enough resolution to feel deliberate without overshooting a setting. The common EC11 encoder gives 20 detents and 20 pulses per revolution, so one click equals one count, which is exactly what you want for stepping TC up or down.
Watch the detent-to-pulse ratio. Some encoders produce two pulses per detent, so a single click moves a setting two notches unless firmware compensates — the classic “my brake bias jumps in twos” complaint. A matched 1:1 encoder, or firmware set to read one pulse per detent, fixes it. I learned this the annoying way — my first batch of cheap encoders fired two pulses per detent, so brake bias leapt from 54% to 58% in a single click mid-race before I traced it to the encoder rather than my firmware; PJRC’s quadrature encoder reference is what finally made the pulse-per-detent maths click for me. When you’re cycling brake bias under braking into a hairpin, predictable single steps are the entire point.
| Encoder type | Feel | Best for | Watch out for |
|---|---|---|---|
| EC11 detented (20-step) | Crisp clicks | TC, ABS, brake bias | 2 pulses/detent on some units |
| Smooth (no detent) | Free spin | Fast MFD scrolling | Easy to overshoot |
| Encoder with push | Click + press | Cycle then confirm | Needs an extra pin |
| Thumb encoder | Rim-mounted dial | On-wheel adjustment | Costlier, fiddly to fit |
| Potentiometer | Fixed arc | True analogue axis | Wrong for stepped settings |
How many encoders do you actually need?
Three encoders covers the controls you adjust mid-stint — traction control, ABS, and brake bias — and a fourth is handy for MFD page or fuel mix. Beyond four you’re adding dials you’ll rarely turn. Most production race cars expose exactly this cluster, so three to four is realistic, not a compromise.
On my GT setup I run three rim-adjacent encoders plus one on the deck box. In open-wheel cars the rotary count climbs, but the principle holds: map the encoders to settings that change during a stint and leave the once-a-session stuff to plain buttons. The layout that has worked across every car I drive: TC and ABS as the two encoders my left thumb finds without looking, brake bias on a third under my right hand, and MFD scroll on a fourth I only touch on the straights. The rule I would give a first-timer is to skip the labels entirely and instead place each dial where its function feels right — bias near the brake hand, TC near the throttle hand — because muscle memory beats a printed label every time you are hunting for a control at 200 km/h into a braking zone. If you’re driving formula cars, the open-wheel guide walks through which rotaries those cars actually use.
Thumb encoders and on-wheel dials
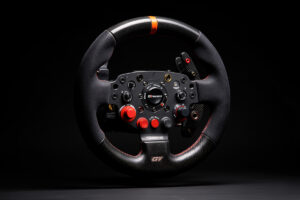
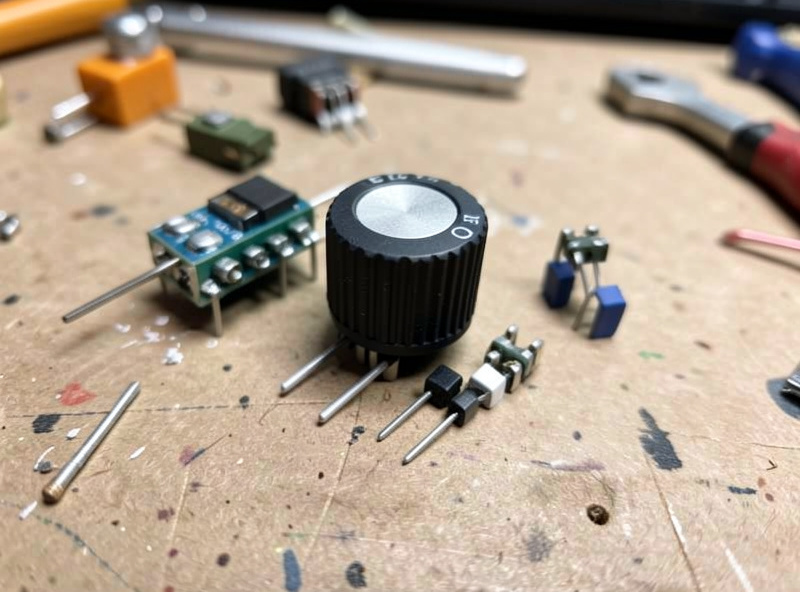
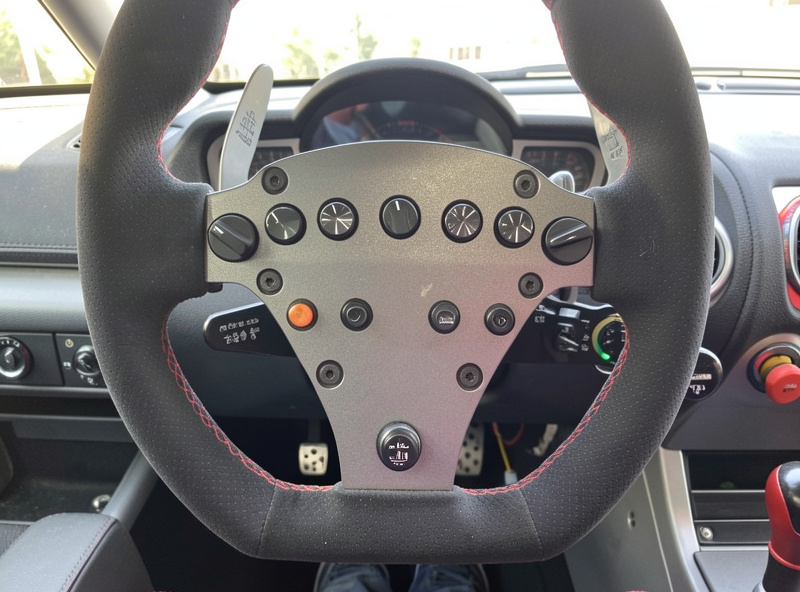
A thumb encoder is a low-profile rotary mounted on the wheel face so you can adjust settings without lifting a hand off the rim — the premium convenience that real GT wheels copy. They cost more and are fiddlier to mount, but for adjustments mid-corner they’re genuinely faster than reaching to a deck box.
Whether they’re worth it depends on your driving. For endurance racing where you’re trimming brake bias lap after lap, an on-wheel dial earns its keep. For casual sprint races, a deck-mounted encoder is fine and far cheaper. I run both — thumb encoder on the rim for bias, deck encoders for TC and ABS — and that split has held across the bases I’ve bolted on. The rim itself matters too; see the wheels buyer’s guide.
Build your own versus buying a wheel with encoders
If you’re handy, encoders are the cheapest upgrade per function in the whole hobby — EC11 units cost a couple of dollars each, versus paying a big premium for a rim with them pre-installed. A DIY button box with three good encoders costs less than the encoder premium on many pre-built wheels.
That said, integrated wheel encoders are tidier and wireless across the quick-release, with no extra USB cable. The trade-off is the usual one: DIY saves money and gives exact placement; pre-built saves time and looks cleaner. The full version of that decision is in the Arduino vs pre-built comparison, and the wiring detail for encoders is in the wiring guide. As an Amazon Associate I earn from qualifying purchases. For parts, look at 20-detent EC11 encoders or a ready button box with rotaries.
Binding encoders in your sim
In-game, each encoder direction binds as a separate button — “rotary up” to increase brake bias, “rotary down” to decrease — so a single encoder uses two inputs. Bind clockwise and counter-clockwise to the increment and decrement functions in the controls menu, and test that one click equals one step.
In iRacing and ACC this is straightforward: pick the function, turn the encoder one click, and it captures the input. If a click moves the setting two notches, your encoder is doubling pulses and you’ll need to adjust the firmware on a DIY box. Get this clean and the encoders disappear into muscle memory the way good force feedback does — you stop thinking and just adjust. If you are buying one thing today, get a five-pack of genuine 20-detent EC11 encoders rather than a single mystery dial — they are a couple of dollars each, you will inevitably want more, and starting from a known-good 1:1 part spares you the exact pulse-doubling headache that sends so many builders back to buying pre-built.
Frequently Asked Questions
What is the best rotary encoder for a sim racing button box?
A 20-detent EC11-type rotary encoder with a push function is the standard best choice. It gives crisp countable clicks for cycling traction control, ABS and brake bias, plus a press for confirming, and it is cheap and widely available.
What is the difference between an encoder and a potentiometer?
An encoder sends incremental step pulses and spins endlessly, ideal for relative up-and-down settings. A potentiometer reports an absolute position over a fixed arc. Sim racing settings like TC and brake bias are relative, so you want encoders, not pots.
How many encoders do I need on a button box?
Three covers traction control, ABS and brake bias, the controls you change mid-stint. A fourth for MFD page or fuel mix is handy. Beyond four you are adding dials you will rarely turn, so three to four is the realistic range.
Why does my encoder jump two settings per click?
Many encoders output two pulses per physical detent, so one click moves a setting two notches. A matched one-pulse-per-detent encoder fixes it, or on a DIY box set the firmware to read a single pulse per detent.
Are thumb encoders on the wheel worth it?
For endurance racing where you trim brake bias every lap, an on-wheel thumb encoder is genuinely faster than reaching to a deck box. For casual sprints a cheaper deck-mounted encoder is fine. Many drivers run both.
How do I bind a rotary encoder in iRacing or ACC?
Each direction binds as a separate button, so one encoder uses two inputs. In the controls menu pick the increment function and turn the encoder one click clockwise, then the decrement function and turn it one click the other way.