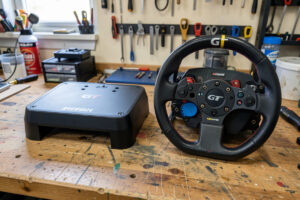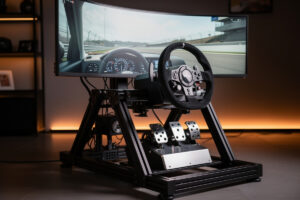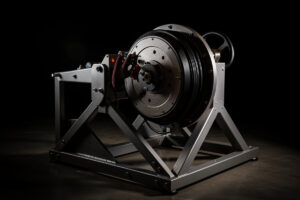
I’ve bolted direct-drive bases onto a desk, a folding wheel stand, and the welded steel rig I built myself — and the difference in force feedback detail is the first thing every sim racer notices. Wheel stands at $225-280 fold flat in under a minute and handle up to 15 Nm of torque without flex, making them the right call for shared spaces. Full cockpits at $350-1,500 bolt the seat, wheel deck, and pedal tray into one rigid frame that never shifts session to session. Your space, your budget, and whether you run load-cell pedals at high braking force decide which tier you belong in.
Without proper mounting, your sim racing experience suffers in three ways. First, force feedback quality degrades because desk clamps and floor-mounted pedals flex under load, absorbing the fine vibrations that direct drive wheels transmit. Second, your driving position changes between sessions because nothing is fixed, preventing your body from building the muscle memory that produces consistent lap times. Third, ergonomics suffer because desks and office chairs are not designed for the reclined driving position that racing requires.
Wheel Stands vs Full Cockpits
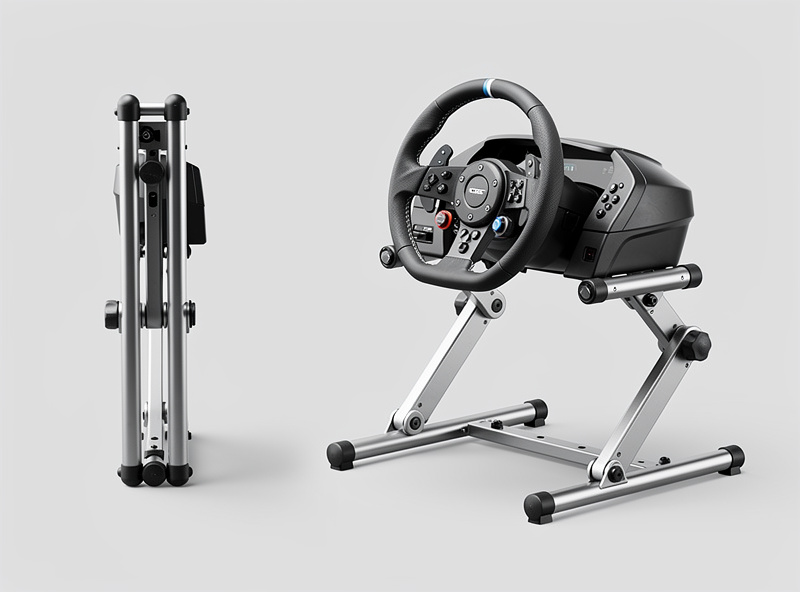
Wheel stands are freestanding frames that hold your wheel, pedals, and sometimes a shifter in a fixed position. They fold flat in under 60 seconds and slide under a bed or into a closet, making them ideal for apartments, bedrooms, or shared rooms. I’ve run a direct-drive base on a folding stand before the welded rig was finished, and the key stat is honest: the best wheel stands — the Next Level Racing Wheel Stand 2.0 and GT Omega APEX — provide enough rigidity for direct drive wheels up to 12 Nm without noticeable flex.
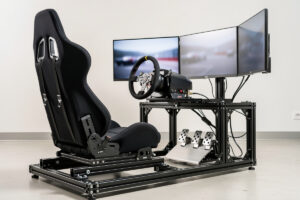
Full cockpits add a racing seat and a complete frame that connects wheel mount to pedal deck through rigid side rails. Cockpits do not fold or store easily — they require dedicated floor space of approximately 5 feet by 2 feet. The advantage is a completely fixed driving position where your seat, wheel, pedals, and shifter never move relative to each other. This rigidity is essential for high-torque direct drive bases (12+ Nm) and load cell pedals that require significant braking force.
The decision matrix is straightforward: if you share your space with others or need to store your setup between sessions, buy a wheel stand. If you have a dedicated room, garage, or corner that is permanently yours, buy a cockpit. If you are unsure, start with a wheel stand — they hold their resale value well if you later decide to upgrade. For the full picture on how the rig fits into a complete build, read our Sim Racing Setup: Complete Guide to Building Your Rig.
Best Wheel Stands and Cockpits Compared
| Product | Type | Price | Foldable | Max Torque | Seat Included |
|---|---|---|---|---|---|
| GT Omega APEX | Wheel Stand | $225 | Yes | 10 Nm | No |
| NLR Wheel Stand 2.0 | Wheel Stand | $279 | Yes | 15 Nm | No |
| Playseat Challenge | Folding Cockpit | $229 | Yes | 8 Nm | Yes |
| GT Omega ART | Cockpit | $350 | No | 20+ Nm | Yes |
| Next Level Racing GT Lite Pro | Folding Cockpit | $350 | Yes | 10 Nm | Yes |
| Trak Racer TR80S | 80/20 Cockpit | $499 | No | 16 Nm | No |
| Sim-Lab GT1 Pro | 80/20 Cockpit | $649 | No | 32 Nm | No |
| Next Level Racing F-GT Elite | 80/20 Cockpit | $999 | No | 30 Nm | Optional |
For most sim racers, the Next Level Racing Wheel Stand 2.0 at $279 is the best wheel stand because it handles up to 15 Nm of direct drive torque, includes a mouse tray and shifter mount, and folds flat. For full cockpits, the Sim-Lab GT1 Pro at $649 is the best value in aluminum profile construction — it handles any wheelbase on the market and accepts standard racing seats from brands like Sparco, OMP, and NRG.
80/20 Aluminum Profile Cockpits Explained
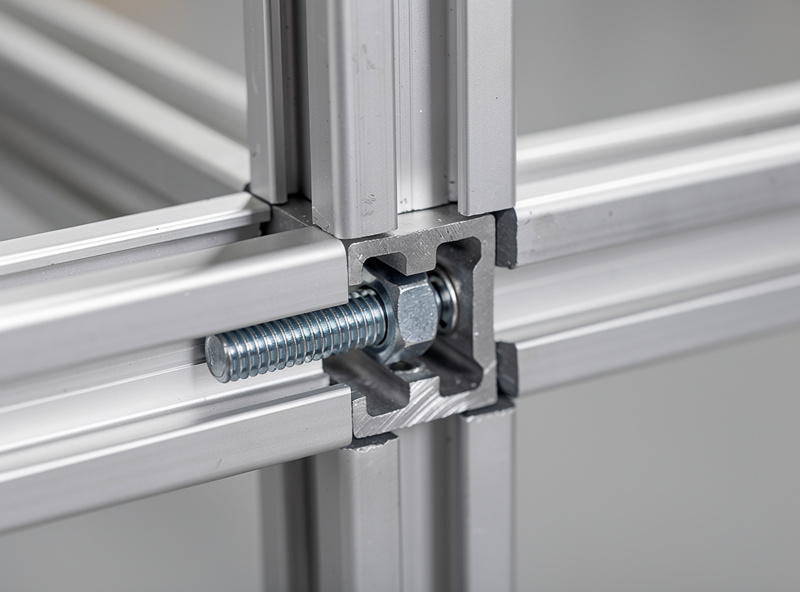
80/20 aluminum profile (also called T-slot or extruded aluminum) is the construction standard for premium sim racing cockpits. The name comes from the 80mm by 20mm cross-section of the most common profile size, though sim rigs use various sizes including 40×40, 40×80, and 40×120. Aluminum profile cockpits are infinitely adjustable — every joint uses bolts in T-nut slots, meaning you can reposition any component without drilling or permanent modifications.
The advantage of aluminum profile over steel tube construction is adjustability and expandability. You can adjust pedal distance, wheel height, seat angle, and monitor position with millimeter precision. On my own rig, I’ve repositioned the pedal tray three times as I switched pedal sets, and each adjustment took five minutes with a hex key — you can’t do that on a welded tube frame. You can add accessories — button boxes, keyboard trays, shifter mounts, handbrake brackets, and monitor arms — at any point along any rail. A well-built aluminum profile cockpit lasts decades and can be reconfigured as your setup evolves.
Building an aluminum profile cockpit from raw materials costs 30-50% less than buying a pre-built kit, but requires careful measurement and about 4-6 hours of assembly. Our DIY Sim Racing Rig Guide walks through the full build process including material lists, cut lengths, and assembly instructions. The 80/20 Aluminum Profile Build Guide covers every profile size, T-nut spec, and joint technique for a no-flex frame. Pre-built kits from Sim-Lab, Trak Racer, and Next Level Racing arrive partially assembled and can be completed in 2-3 hours.
Steel Tube vs Aluminum Profile: What Running Both Taught Me
My main rig is welded steel tube — MIG welds at every joint, torsionally rigid in a way nothing bolted can quite match, because there is no joint to flex in the first place. But I also built an 80/20 aluminum-extrusion profile rig specifically to compare the two, and the honest answer is that both are legitimate paths for different reasons. Welded steel wins on absolute rigidity and cost per unit of stiffness — raw steel tube and a welder’s time are cheap, and once the welds cool, the frame does not move, ever. Aluminum profile wins on flexibility: every dimension is reconfigurable with a hex key, no welder required, and if you sell a wheelbase or switch pedal brands, you unbolt and rebolt instead of grinding out old brackets.
Where this matters in practice: on the 80/20 rig, I could feel a faint amount of give at the wheel deck under peak torque from a high-torque direct-drive base that the welded rig simply does not have — not enough to call it flex in any FFB-ruining sense once everything was torqued to spec, but enough that I noticed it on the telemetry overlay as a marginally softer initial transient on hard kerb strikes. For most sim racers this is not a reason to avoid aluminum profile; it is a reason to torque every T-nut properly and avoid the cheapest, thinnest profile sizes (40×40 under a 15+ Nm base is asking for trouble — step up to 40×80 or 30×60 if you are running serious torque). If you do not own a welder and are not going to learn to weld for one project, a well-built aluminum profile cockpit from Sim-Lab, Trak Racer, or Next Level Racing gets you 90% of the way to welded-steel rigidity at a fraction of the effort.
Racing Seat Selection
Your seat determines your comfort during long racing sessions and your body’s angle relative to the pedals and wheel. Bucket-style racing seats provide lateral support that keeps you centered during hard cornering but can feel restrictive. Reclining seats offer adjustable back angle for comfort but less rigidity. Office chairs and gaming chairs are not recommended because their height-adjustable gas cylinders flex under load cell braking force.
For cockpits that do not include a seat, budget $150-425 for a compatible racing seat. The NRG Innovations FRP-301 at around $358 is a popular fixed-back fiberglass bucket seat — it fits most cockpits using standard side-mount brackets. My own rig runs a bucket seat on side-mount brackets bolted directly to the profile rails, and the difference in brake consistency versus an office chair is immediate. For reclining comfort, the Sparco R100 at around $425 offers adjustable back angle with adequate lateral support for sim racing. Avoid no-name eBay seats under $100 — they often have weak rails and thin padding that compresses within months.
Seat position affects your driving ergonomics more than any other factor. The correct position: your arms should be slightly bent (about 120 degrees) when gripping the wheel at 9 and 3 o’clock. Your legs should be nearly fully extended when pressing the brake pedal to maximum force. Your eye line should be roughly aligned with the center of your monitor. If your seat is too high, too low, or too reclined, you will develop neck and back fatigue within 30 minutes of racing.
Monitor and Display Mounting
Where you mount your monitor affects both immersion and reaction time. A monitor mounted too far away reduces your field of view and makes apex judgment harder. A monitor mounted too close causes eye strain. The ideal distance for a single 27-32 inch monitor is 24-30 inches from your eyes. For triple monitors or ultrawide displays, the center monitor should be at the same distance, with side monitors angled 45-60 degrees to create peripheral vision.
Most cockpit manufacturers sell monitor mount accessories that attach directly to the cockpit frame. Freestanding monitor stands are better for triple-monitor setups because they do not transmit cockpit vibration to the displays. I’ve run triples on a freestanding stand and a single ultrawide on a cockpit-mounted arm — the freestanding mount isolates every bit of road texture vibration from the panel, which matters when you’re running bass shakers. For VR users, no monitor mount is needed — the headset replaces the display entirely. For monitor selection and FOV configuration, see our Sim Rig Monitor Mounting Guide and Sim Racing Space Setup Guide.
Cable Management and Accessories
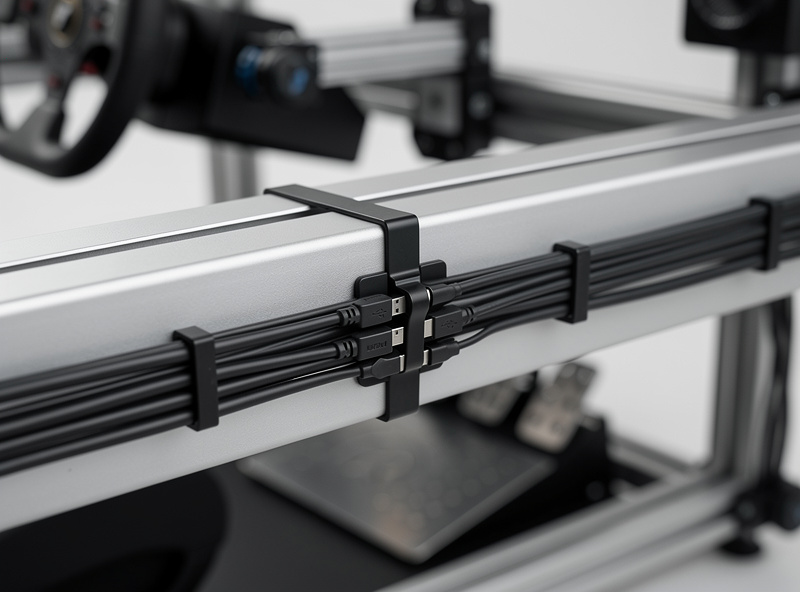
A sim racing cockpit with a wheel, pedals, shifter, handbrake, button box, and keyboard has 6-10 cables running between components. Poor cable management creates tripping hazards, can damage connectors, and looks messy. The solution is cable routing channels built into the aluminum profile or external cable management clips that attach to the frame.
Route all cables along the inside of the aluminum profile rails using T-slot cable clips. I run all pedal, shifter, and handbrake USB cables into a powered hub bolted under the seat — one cable to the PC instead of five. Bundle excess cable length with velcro ties (not zip ties, which are single-use). For the full wiring diagram, USB hub placement, and conduit routing through profile channels, see our Cable Management for a Sim Rig guide and Sim Racing Space Setup Guide.
Do I need a cockpit for sim racing?
You need at least a wheel stand for direct drive wheels above 5 Nm and load cell pedals. Desk clamps flex under high torque and floor-mounted pedals shift during hard braking. A wheel stand costs $225-280 and provides the rigidity needed for competitive sim racing.
What is the best sim racing cockpit in 2026?
The Sim-Lab GT1 Pro at $649 is the best value sim racing cockpit in 2026. It uses 80/20 aluminum profile construction that handles any wheelbase up to 32 Nm and offers infinite adjustability for pedal distance, wheel height, and seat position.
How much does a sim racing cockpit cost?
Sim racing wheel stands cost $150-280, folding cockpits cost $230-350, and full aluminum profile cockpits cost $500-1,500. Add $150-425 for a racing seat if not included. The sweet spot for serious sim racers is $600-700 for an 80/20 cockpit with a basic bucket seat.
Can I build my own sim racing cockpit?
Yes. Building from raw 80/20 aluminum profile costs 30-50% less than buying a pre-built kit. You need a miter saw with a metal-cutting blade, a tap set for threading, and about 4-6 hours. A DIY build typically costs $250-400 in materials.
Should I get a wheel stand or full cockpit?
Get a wheel stand if you share your space or need to store the setup between sessions. Get a full cockpit if you have dedicated floor space and a direct drive wheel at 12+ Nm. Wheel stands fold flat in 60 seconds; cockpits require permanent floor space.
Can I use a gaming chair with a sim racing cockpit?
Gaming chairs are not recommended because their gas cylinder height adjustment flexes under load cell braking force. Use a fixed racing seat bolted directly to the cockpit frame for the most rigid and consistent driving position.
Related Articles
- Building a DIY Sim Racing Rig — Aluminum Profile Frame Guide
- Setting Up a Sim Racing Space — Cable Management, Lighting, and Ergonomics
- Best Sim Racing Wheels 2026: Buyer’s Guide and Top Picks
- Best Sim Racing Pedals 2026: Load Cell, Hydraulic, and Budget
- How to Plan Your First Sim Racing Setup — A Budget and Space Framework