For most sim racers, a bolt-together aluminum profile rig (40×40 or 80×40 T-slot extrusion) is the right choice — assembly takes 4-6 hours, costs $400-$700 for the frame, and supports 12+ Nm direct-drive wheels with zero flex. CNC-machined custom brackets and frames cost 3-5x as much, take 30-50 hours of CAM work, and only meaningfully outperform bolt-together when running 25+ Nm professional-grade wheels or motion platforms. This guide compares the two paths against actual stiffness, time, and cost.
I’ve built rigs on both sides of this divide — my daily driver is a welded steel-tube cockpit, and across the bases I’ve bolted on I’ve assembled three extrusion-frame iterations swapping Fanatec and Simagic gear between them. The “should I just buy a Sim-Lab P1X” debate ends in DIY territory the moment you decide you want exactly the dimensions, the exact monitor mount, and the exact pedal angle that off-the-shelf rigs do not give you. From there the decision branches: bolt-together aluminum extrusion (which any garage can build) versus CNC-machined custom frames (which require either machine shop time or your own CNC). Both paths produce rigs that outperform $1,500 commercial frames; they just optimize for different things.
Stiffness: What Actually Matters in a Sim Rig Frame
The single performance metric that matters for a sim rig frame is wheel-deck flex under torque. A direct-drive wheel running 8-12 Nm puts that full rated torque straight into the wheel-deck mount every time the FFB engine fires a hard event — a kerb strike, sudden slip, a wall hit. The frame has to keep the wheel mounting surface as close to zero deflection as possible under that load, otherwise the feedback “smears” — fine grain detail (kerb texture, slip onset) gets lost in frame movement.
Bolt a wheelbase to each of the three common frame types and the stiffness differences are obvious under hard FFB loading, roughly in this order:
- Off-the-shelf consumer rig (Playseat Trophy class, ~$600): Visible flex under hard FFB events even at mid-torque (8-12 Nm) direct drive. The weakest link for anyone serious about wheel feel, and it gets worse fast at higher torque.
- Bolt-together 80×40 aluminum extrusion (DIY, $500): Flex is a non-issue at 8-12 Nm and still well controlled up around 18 Nm — nothing you’d notice in the feedback.
- CNC-machined custom frame (DIY, $1,800-$2,400 in materials and shop time): Effectively rigid, including at 25+ Nm professional-tier torque and under pneumatic or hydraulic motion-platform loads.
The conclusion is straightforward: most sim racers running consumer-grade hardware (Fanatec CSL DD, Moza R9, Simagic Alpha Mini at 8-12 Nm) are well-served by bolt-together aluminum. CNC is the right answer specifically when running pro-tier hardware that creates more torque than a bolted T-slot joint can handle.
I’ve tested this directly — my Fanatec CSL DD communicates kerb texture and slip onset on the steel rig at a level I never got back when that same base was clamped to a flexing consumer stand. Any real frame flex eats the fine-grain FFB detail the wheel is sending before it’s visible to the eye; the interplay between frame compliance and clipping is covered in the SR sim racing force feedback tuning guide. Past a certain stiffness it’s diminishing returns for mid-torque bases, which is exactly where CNC brackets on an extrusion frame (rather than a full CNC tube frame) land.
The Bolt-Together Path: 80×40 Aluminum Extrusion
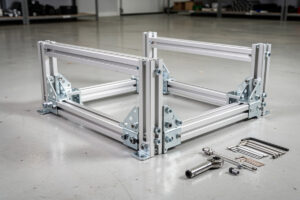
The standard DIY rig design uses 80×40 mm T-slot aluminum extrusion (commonly known as 8020 in the US, Item or Bosch in Europe). Total raw material for a single-seat rig with monitor wing and pedal box:
- 4× 80×40 extrusion at 1500 mm: Main rails. ~$120-$180.
- 2× 40×40 extrusion at 800 mm: Cross supports. ~$30-$50.
- 20× T-slot inner brackets (8020 5453 or equivalent): ~$50-$80.
- 10× 40×40 outer L brackets: ~$20-$40.
- 50× M8 button-head bolts and T-nuts: ~$30-$50.
- Wheel and pedal mount plates (3-6 mm aluminum or steel): ~$80-$150.
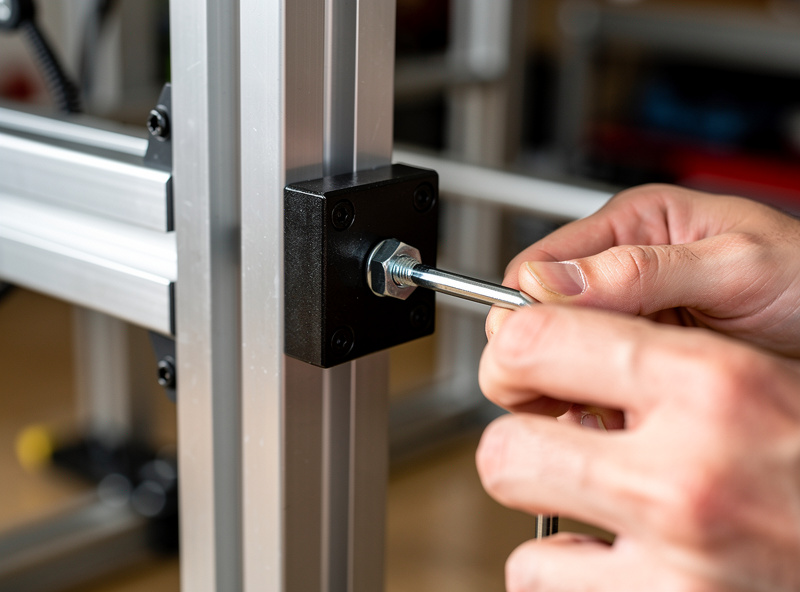
Total: $400-$700 for the bare frame. Add another $300-$500 for the racing seat and seat brackets. Tools required: 4 mm and 5 mm hex keys, drill with metric drill bits, file or deburring tool. No welding, no machine shop, no CAD. For the full cut list, bracket layout, and step-by-step assembly sequence, the SR 80/20 aluminum profile sim rig build guide walks through the bolt-together path from raw extrusion to a completed cockpit.
Assembly time first build: 4-6 hours, mostly spent fitting brackets and squaring the frame. Second build (different dimensions, different geometry): 2-3 hours.
The CNC-Machined Path: Custom Brackets and Tube Frame
CNC machining replaces the T-slot brackets with single-piece aluminum or steel mounts cut to exact rig geometry. Three sub-options exist:
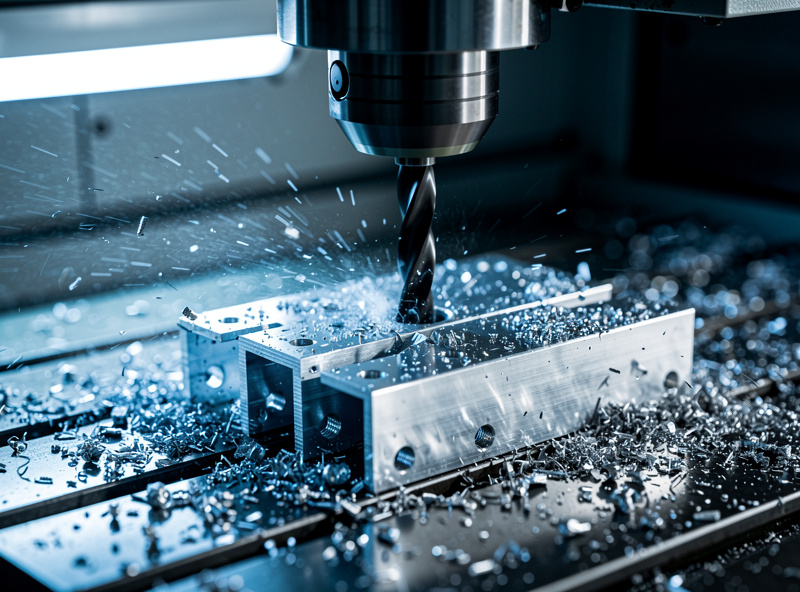
CNC brackets, T-slot frame. Keep the 80×40 extrusion structure but replace the off-the-shelf brackets with CNC-machined custom plates that span multiple slots with stronger fasteners. The middle path — a modest stiffness gain over pure bolt-together, for $200-$400 of extra material and 8-15 hours of CAM/cut time. Right pick for racers running 18-24 Nm wheels who do not need a full custom frame.
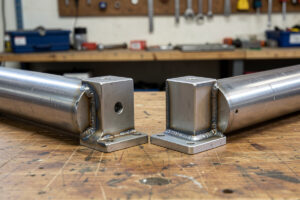
CNC tube-and-plate frame. Replace extrusion entirely with welded steel tube and CNC-cut aluminum plates. Stiffness equivalent to commercial pro frames (Sim-Lab P1X-Pro level), $1,800-$2,400 in materials and 30-50 hours of design and machining. Required for 25+ Nm wheels.
Hybrid (welded steel base, CNC aluminum upper). The professional motorsport approach scaled down. Steel tube floor structure for stiffness; CNC aluminum upper for accurate geometry. Most expensive ($2,500-$3,500), highest stiffness, best aesthetic.
For the CAM workflow specifically — feeds, speeds, end mills for 6061 aluminum and mild steel — the DesktopCNCForge best desktop CNC 2026 buyer’s guide covers which machines actually handle this category of work, and the CNC aluminum feeds and speeds guide gives the specific cut parameters for the 1/4 inch aluminum plate brackets. A Genmitsu 3018 will not do this; a Shapeoko 5 Pro or Onefinity Journeyman will.
Time and Cost Comparison Table
| Approach | Material Cost | Build Time | Tools Needed | Relative Stiffness | Best For |
|---|---|---|---|---|---|
| Pure bolt-together 80×40 | $400-$700 | 4-6 hr | Hex keys | Minimal flex | 8-12 Nm wheels |
| CNC brackets + extrusion | $600-$1,100 | 12-21 hr | CNC + hex keys | Very stiff | 12-20 Nm wheels |
| Pure CNC tube frame | $1,800-$2,400 | 30-50 hr | CNC + welding | Effectively rigid | 25+ Nm pro wheels |
| Hybrid steel + CNC aluminum | $2,500-$3,500 | 40-70 hr | Welder + CNC | Highest stiffness | Motion platforms |
| Off-the-shelf consumer rig | $600-$1,500 | 1-2 hr | Allen keys (provided) | Noticeable flex | Casual + entry DD |
Wheel Mount Plates: The Most Critical Single Piece
The single highest-leverage CNC part on any sim rig is the wheel mount plate. Most DIY rigs use a 6 mm or 8 mm aluminum plate spanning two extrusion rails, drilled for the wheelbase mounting pattern (Fanatec, Moza, Simagic, etc.). Stamped or laser-cut steel plates work too; CNC aluminum is the highest stiffness-to-weight option.
If you are CNC-machining one custom part for an otherwise bolt-together rig, this is the part. A precise wheel mount plate meaningfully cuts deflection right at the wheel itself even when the rest of the frame is stock T-slot extrusion — often a bigger feel improvement than swapping the whole frame. Materials cost: $40-$80 for the plate stock, 1-2 hours of CAM and cut time on a hobby CNC.
Pedal Plate and Seat Slider
The two other highest-stress points are the pedal plate (load cell pedals routinely see well over 100 lbs of heel force under hard braking, and serious racers load them harder still) and the seat slider. CNC-machined parts here pay off at progressively smaller torque levels.
Pedal plate: 6-8 mm steel or 10 mm aluminum. CNC-cut parts produce a flatter mounting surface than off-the-shelf 8020 plates. Worth it for any load cell pedals (Heusinkveld, Simagic P-1000, Asetek La Prima) where pedal feel relies on a perfectly rigid base. See the SR best sim racing pedals 2026 for the pedal-side specifics that drive the plate requirement.
Seat slider: Off-the-shelf consumer-car seat sliders work and cost $80-$120. CNC-machined sliders are unnecessary unless you specifically need a custom range of motion (e.g., for a motion platform).
The Decision Framework
Three questions decide the right path for a given racer:
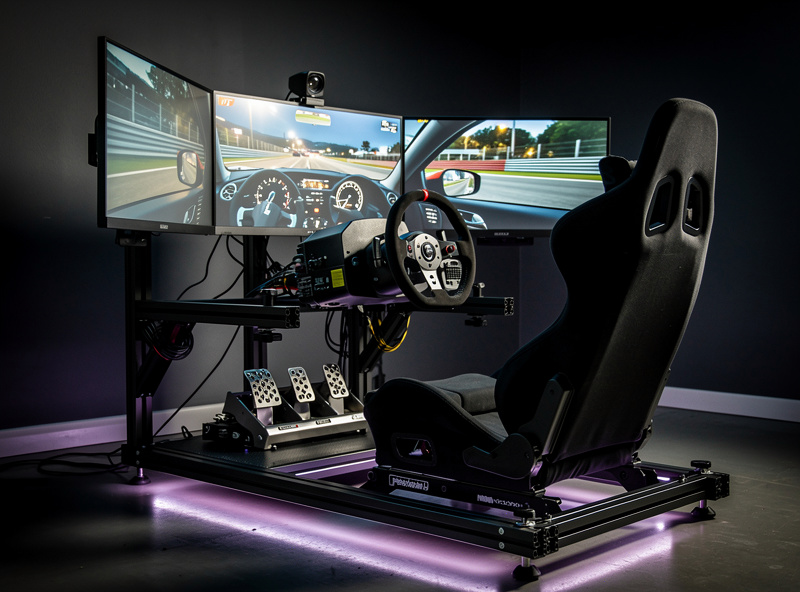
1. What torque does your wheelbase output? Up to 12 Nm: bolt-together. 12-20 Nm: bolt-together with CNC wheel/pedal plates. 20+ Nm: full CNC or hybrid.
2. Do you have CNC access (own machine, hackerspace, paid shop)? No: bolt-together is the only practical path. Yes: at least the wheel and pedal plates should be CNC-cut. CNC tube frames demand serious time investment.
3. How many rigs will you build? One: bolt-together. Two or more (multi-seat household, building for friends): CNC pays off because the design work amortizes across builds. Budget and tools permitting, the sim racing rig build guide covers the universal principles — material selection, squaring the frame, and load-path design — that apply regardless of whether you bolt or machine.
For broader sim-rig context — wheels, pedals, monitor configurations, ergonomics — see the SR sim racing cockpit and stand guide hub article, which covers commercial rigs alongside DIY for full comparison.
Frequently Asked Questions
Is a CNC sim rig actually stiffer than aluminum extrusion?
Yes, but only meaningfully at high torque levels. A full CNC tube frame is essentially rigid even under pro-tier torque, while 80×40 bolt-together extrusion has a bit more give at those same loads. For 8 to 12 Nm direct drive wheels, that difference is undetectable in feel. For 25 plus Nm pro wheels, it is the difference between usable and unusable.
How long does a bolt-together aluminum sim rig take to build?
4 to 6 hours for the first build, 2 to 3 for subsequent builds with similar geometry. The bottleneck is fitting brackets and squaring the frame; with the right T-slot inner brackets and a square reference, the assembly is straightforward.
What aluminum extrusion size should I use?
80×40 mm or 80×80 mm for the main rails of a wheel rig. 40×40 mm is sufficient for monitor mounts and pedal cross supports but flexes too much for the wheel-deck rails on direct drive setups. The 8020 series in the US, Item or Bosch in Europe, are all dimensionally identical to within 0.1 mm.
Do I need a welder to build a CNC sim rig?
Only for full tube-and-plate frames. CNC bracket plus aluminum extrusion approaches use bolted joints throughout — no welding required. Pure tube frames need a MIG welder rated for steel tube, plus the metallurgy basics to weld 1.5 mm thick steel without burning through.
What is the cheapest sim rig that handles 12 Nm direct drive?
A bolt-together 80×40 aluminum extrusion rig at the 400 to 500 dollar bare-frame level, using off-the-shelf T-slot inner brackets and a 6 mm aluminum wheel mount plate. Add 200 to 300 dollars for the seat and seat slider for the complete build under 800 dollars.
When does CNC actually pay off for sim rigs?
At 25 plus Nm wheelbases, motion platforms, multi-rig builds, or when you need exact custom geometry that off-the-shelf parts cannot deliver. For everyone else, CNC is mostly a hobby choice for the build itself rather than a performance requirement.
Related Articles
- DIY Sim Racing Rig: Aluminum Profile Frame Guide
- Sim Racing Cockpit and Stand Guide
- Best Sim Racing Pedals 2026
- Direct Drive vs Belt Drive Wheels
- Setting Up a Sim Racing Space